
13218307
Superscript
Create a Secret Garden Hideaway
for Kids and Families to Enjoy
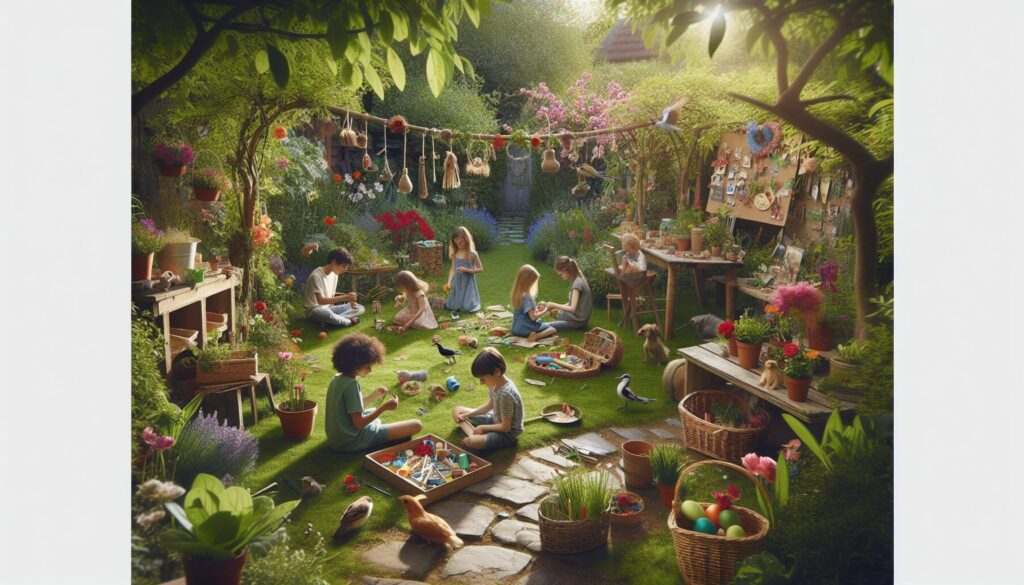
Create a Secret Garden Hideaway for Kids and Families to Enjoy
Imagine a world where adventure awaits just beyond your back door—a whimsical realm filled with secret pathways, lush greenery, and endless opportunities for imaginative play. Welcome to the enchanting concept of creating a secret garden hideaway for kids and families to enjoy! In an age where screens often reign supreme, transforming your outdoor space into a magical retreat can spark joy, creativity, and quality family time without requiring a treasure map or a pirate’s chest of gold! Join us as we dive into the delightful world of secret gardens, where laughter blooms, and the only requirement is a sprinkle of creativity— no gardening skills required (seriously, we promise)! So, grab your gardening gloves and a sense of humor, and let’s dig into the fun of crafting the ultimate family escape right in your backyard!
Table of Contents
Creating an Inspiring Vision for Your Secret Garden Hideaway
Choosing the Right Location and Space for Your Garden Retreat
Incorporating Nature: Selecting Plants and Features for Enrichment
Designing Comfortable and Inviting Areas for Relaxation and Play
Engaging Activities: Ideas to Foster Connection and Exploration
Safety Considerations for a Family-Friendly Garden Environment
Sustainable Practices: Making Your Secret Garden Eco-Friendly
Cultivating Lasting Memories: Tips for Family Participation and Enjoyment
Creating an Inspiring Vision for Your Secret Garden Hideaway
Imagine a place where nature weaves a tapestry of wonder, inviting children and families to explore, play, and create lasting memories. To craft an inspiring vision for your secret garden hideaway, start by envisioning the core activities and experiences you want to offer. Consider incorporating elements like:
Interactive Learning Spots: Designate areas for nature-based learning, such as a small vegetable patch or a sensory garden filled with different scents and textures.
Play Zones: Create spaces for free play, including a treehouse, swings, or even a simple hideout made from natural materials.
Relaxation Corners: Set up cozy nooks with benches or hammocks where families can unwind and connect with nature.
Next, think about the aesthetics that will make your hideaway enchanting. Consider colorful flowers, climbing plants, and whimsical features like fairy houses or painted rocks. Additionally, involving the children in the creation process can enhance their connection to the space. Here are a few ideas:
Feature
Garden Art
Incorporate elements like sculptures or wind chimes made from recycled materials.
Storytelling Circle
Create a cozy area with logs or stones for seating, perfect for reading tales or sharing stories.
By seamlessly blending functionality with beauty, your secret garden hideaway can transform into a sanctuary that nurtures creativity while promoting family bonds and a love for the natural world.
Choosing the Right Location and Space for Your Garden Retreat
When selecting the ideal location for your garden retreat, consider a few critical factors that can significantly influence the atmosphere and functionality of the space. First, aim for a spot that receives a balance of sunlight and shade. Sunshine is essential for plant growth, yet shaded areas provide a refuge from the heat for children playing and help maintain a cool habitat. proximity to natural features, like trees or shrubs, can enhance the ambiance while providing privacy. Moreover, think about accessibility; your secret garden should be easily reachable from the main living area of your home, encouraging frequent use by the family.
The size and layout of your space are paramount in creating a hideaway that feels both spacious and cozy. An area of at least 100 square feet is recommended for a functional retreat where kids can safely play.Consider incorporating elements such as:
Pathways made from natural materials to guide exploration
Seating areas for parents or guardians to supervise
Natural shelters, like trellises with climbing plants, for shady nooks
Interactive zones featuring garden games or small water features
Ultimately, the perfect blend of functionality and serenity will encourage families to enjoy their retreat year-round. A thoughtfully designed garden not only nurtures plants but also fosters creativity and togetherness.

Incorporating Nature: Selecting Plants and Features for Enrichment
Creating a secret garden hideaway begins with choosing the right plants that not only enrich the environment but also engage the senses of children and families. Consider incorporating native plants,which are well-adapted to your local climate and attract local wildlife,enriching the ecosystem. A few great options might include:
Lavender: Its calming scent promotes relaxation.
sunflowers: Tall and vibrant,they fascinate children with their size and cheerful appearance.
Butterfly Bush: This flowering shrub draws butterflies, enhancing the sense of wonder.
to enhance the overall experience, incorporate features that invite exploration and play. A meandering pathway made of soft stepping stones can lead to secret nooks, while a small water feature, such as a fountain or pond, adds soothing sounds and attracts wildlife. Additionally, consider including:
Seating Areas: benches or hammocks for quiet reading and relaxation.
Art Installations: Colorful sculptures or garden decorations for visual interest.
Open Spaces: Clear areas that offer opportunities for games and activities.
Lavender
Promotes relaxation and attracts pollinators.
Butterfly Bush
Encourages wildlife and educational opportunities.
Water Feature
Creates a calming atmosphere and attracts birds.
Designing Comfortable and Inviting Areas for Relaxation and Play
Creating a secret garden hideaway requires thoughtful consideration of the elements that foster relaxation and play. Start by incorporating a diverse range of plants that stimulate the senses, such as fragrant flowers and textured foliage. Adding paths made of natural materials like gravel or stone can lead to various play areas, while seating options—like benches, hammocks, and picnic tables—allow families to unwind together. Consider integrating a small water feature, such as a fountain or pond, which not only adds tranquility but also attracts wildlife, enhancing the immersive experience for children learning about nature.
Play areas should be designed with creativity in mind. installing natural play structures like tree stumps for balancing or logs for climbing encourages children to engage with their surroundings. You may also incorporate themed zones within the garden, such as a fairy tale corner with whimsical decorations or an arts and crafts area with surfaces for creative expression. To ensure full enjoyment, supply a variety of toys and materials that families can use in these spaces, fostering both individual and collaborative play. consider a simple table to display options,enhancing accessibility and inviting participation:
Description
Nature Scavenger Hunt
Encourages exploration with a list of items to find
Art Supplies
Includes biodegradable paints and recycled materials
Gardening Tools
child-sized tools for hands-on learning about plants
Engaging Activities:
Ideas to Foster Connection and Exploration
Creating a secret garden hideaway can be an enchanting project for kids and families,encouraging creativity and a love for nature. To enhance the experience, consider incorporating the following elements:
Nature Scavenger Hunt: Prepare a list of natural items like specific leaves, stones, or flowers for kids to discover.
Interactive Garden Journal: Provide a journal for children to record their observations, drawings, and thoughts about the plants and creatures they encounter.
Storytelling Corner: Create a cozy nook with cushions and blankets where kids can gather for storytelling sessions surrounded by the beauty of nature.
Wildlife Watching Station: Set up a designated area for birdwatching or insect observation, complete with a guidebook to identify local species.
In addition to these activities, the design of the garden itself can facilitate exploration and connection. Consider crafting pathways using natural materials like pebbles or mulch to encourage wandering and discovery. Add unique features such as:
Mini Waterfall
A small water feature can attract wildlife and create a soothing ambiance.
Secret Nooks
Use trellises, shrubs, or small trees to create hidden spaces that invite curiosity.
Interactive Plant Beds
Incorporate sensory plants like herbs that can be touched and smelled.
Safety Considerations for a Family
-Friendly Garden Environment
Creating a safe haven for children and families in your garden requires thoughtful planning and awareness of potential hazards. Start by ensuring that all plants are non-toxic to pets and children. Consider using a variety of plants that not only beautify the space but also contribute to safety. For instance, shrubs with thorny branches, such as roses, should be positioned away from play areas. Additionally, it’s crucial to secure fences and gates to prevent unsupervised access to potentially risky areas or nearby roads. Regularly inspect and maintain garden furniture and play equipment to ensure they are sturdy and free from sharp edges.
Another crucial aspect of a family-friendly garden is the management of garden tools and materials.Store any gardening tools,chemicals,or equipment in a locked shed or designated area that is out of reach from children. Incorporate natural barriers, like raised beds or decorative boulders, to delineate zones within the garden while enhancing the aesthetic. Creating a gentle flow with pathways can guide kids through the landscape while encouraging adventure in a controlled manner. To further enhance safety, consider implementing a garden safety checklist like the one below:
Non-Toxic Plants
Choose plants that are safe for children and pets.
Secure Boundaries
Install childproof gates and maintain fencing.
Tool Safety
Store tools and chemicals in a locked, designated area.
Play Area Inspections
Regularly check and maintain play equipment.
Natural Barriers
Create defined zones with beds or boulders.
Sustainable Practices:
Making Your Secret Garden Eco-Friendly
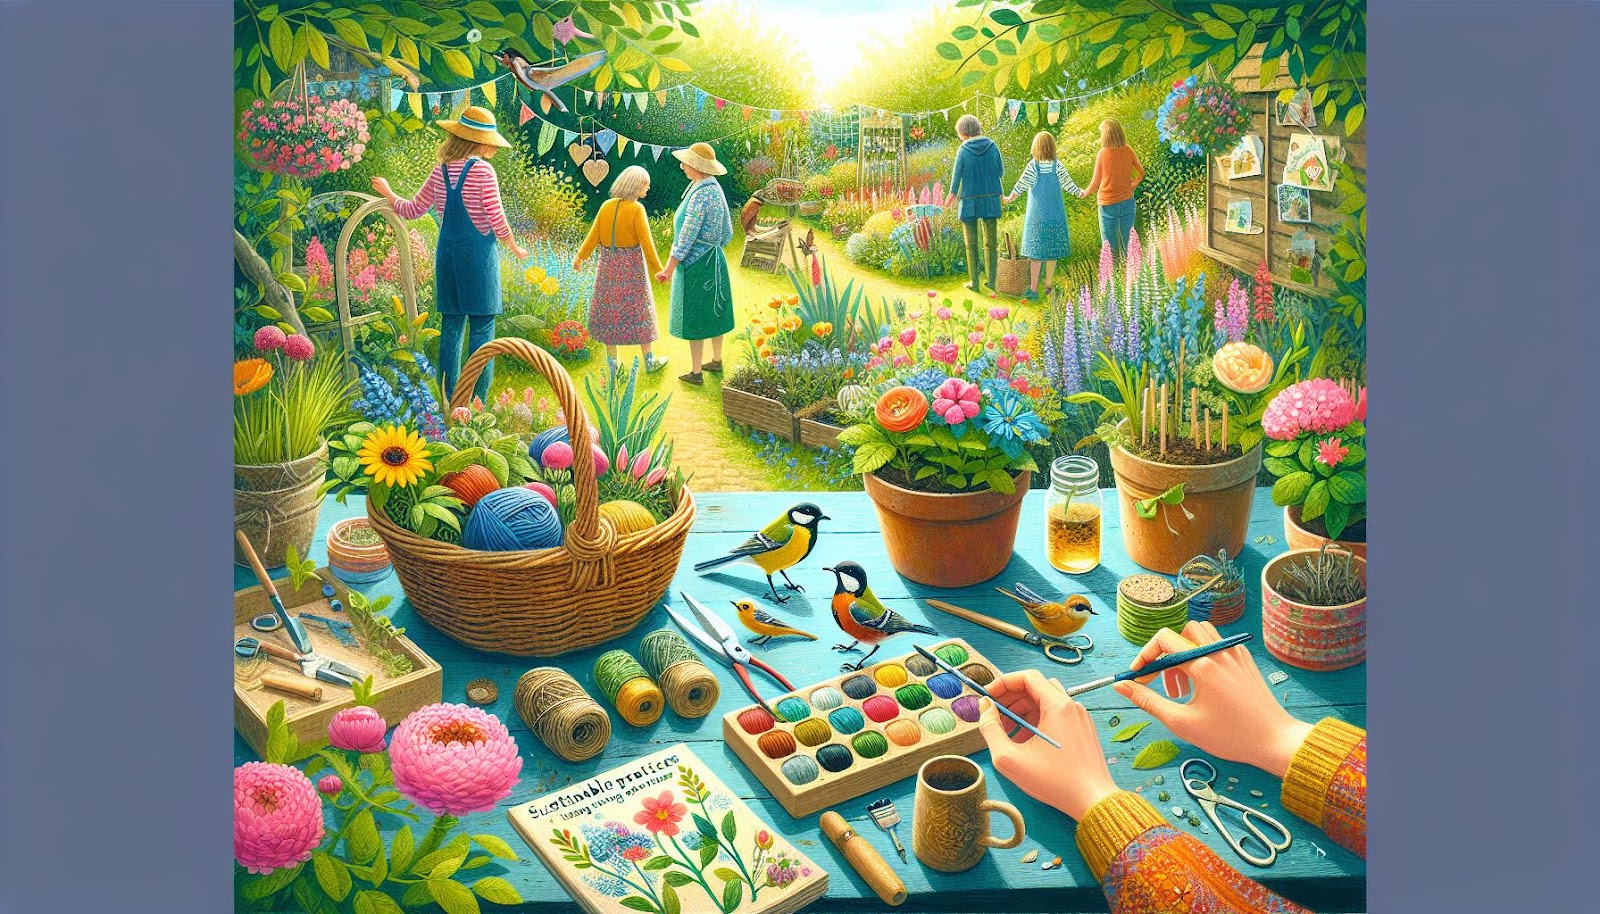
Creating an eco-friendly secret garden is not just beneficial for the environment, but it also provides a rich learning experience for children and families. Start by incorporating native plants, which require less water and maintenance while supporting local wildlife. Consider using companion planting techniques, where plants are grown together for mutual benefits, such as pest control and improved growth. Such as, pairing tomatoes with basil can enhance flavor and deter pests, making your garden both functional and delightful. Additionally, implement a rainwater collection system to irrigate your plants naturally and reduce reliance on municipal water. This not only conserves water but provides an excellent prospect to educate children about sustainable practices.
Another essential aspect of an eco-friendly garden is creating a habitat for local wildlife. You can do this by adding insect hotels, birdhouses, and native pollinator plants to attract beneficial insects and birds. To reduce waste and promote soil health, consider starting a compost bin to recycle kitchen scraps and yard waste, creating a nutrient-rich soil amendment for your plants.
Cultivating Lasting Memories:
Tips for Family Participation and Enjoyment
Transforming a simple area into a secret garden hideaway offers an enriching experience for the whole family, fostering togetherness among loved ones.A thoughtful layout can enhance participation, allowing everyone to contribute their ideas and creativity.Consider involving children in the planning phase; ask them to choose plants or colors they love. You might want to incorporate elements like:
Personalized plant markers: Use stones or wooden stakes decorated by the kids.
Cozy seating: Create a small circle of cushions or a blanket for family gatherings.
Art stations: Set up an area with painting supplies or crayons to inspire artistic expression.
As you develop your secret garden, emphasize activities that encourage family bonding. Organizing garden games, such as a treasure hunt or a mini scavenger hunt, can significantly boost the enjoyment factor. Establish a schedule for family gardening days where everyone gets together to plant or maintain the garden, engaging in tasks like watering, weeding, or even crafting garden decor.
FAQ
What are the benefits of creating a secret garden hideaway for kids?
Creating a secret garden hideaway for kids offers numerous benefits that encompass physical, emotional, and cognitive aspects of child progress. Emotionally, a hidden space away from the hustle and bustle of daily life provides children with a sense of safety and belonging. This protective environment can help them unwind and engage in unstructured play,which is essential for emotional regulation.
Physically, gardens often encourage kids to explore nature, leading to increased activity and a greater understanding of their environment. As an example, studies suggest that children who spend time outdoors display improvements in their social skills and reduce symptoms of anxiety and depression. Additionally, getting hands-on with soil, plants, and wildlife can promote a sense of obligation and stewardship for the environment, instilling lifelong habits of sustainability.
Cognitively, creating their own secret space enhances creativity and critical thinking. As children design and decorate their hideaway,they exercise problem-solving skills,learning how to adapt their visions to real-world constraints. they can incorporate elements like garden art, natural habitats, or even small gardening projects, fostering a love for learning about ecology and biology.
What plants are best suited for a secret garden hideaway?
Selecting the right plants is crucial for establishing an enchanting secret garden that captures children’s imaginations while remaining safe and manageable. When choosing plants, consider native species that thrive in your local climate. Native plants frequently enough require less maintenance and provide valuable habitats for local wildlife, promoting biodiversity.
For a kid-friendly environment, consider incorporating a mix of perennials, shrubs, and vegetables:
Lavender: Its soothing fragrance is appealing and can attract pollinators like bees and butterflies.
Lemon balm and mint: These herbs are safe to touch, offer delightful scents, and can be enjoyed in teas or snacks.
Sunflowers: They add height and visual interest; children love watching them grow and can be involved in the planting and harvesting process.
Cherry tomatoes: Easy to grow, these tasty fruits encourage kids to eat healthily and participate in food cultivation.
Beyond aesthetics, it’s essential to select non-toxic plants, especially for younger children who might potentially be prone to putting things in their mouths. Resources such as the ASPCA’s list of toxic and non-toxic plants can guide you in making safe choices for your garden.
How can parents involve their children in the garden creation process?
Involving children in the creation of a secret garden can be a rewarding experience that fosters collaboration and creativity. It’s essential to start with a brainstorming session. Gather your family to discuss what they envision for their hideaway—think about themes, colors, and activities they might want to do there. This early engagement helps children feel invested in the project.
Next, choose tasks that suit different age groups and skill levels. For younger kids, simple activities such as planting seeds or watering can be fun and educational.For older kids, introduce more complex tasks like planning the layout, choosing plants, or building structures. A study by the National Gardening Association indicates that children who participate in gardening activities show increased enthusiasm for learning about science and nature.Incorporate fun elements that spark creativity. Consider having a “design day” where kids can create sketches of their ideal hideaway. You might also include art projects,like painting signs or crafting garden decorations from natural materials. This hands-on involvement not only nurtures creativity but also strengthens family bonds through shared experiences.
What features make a secret garden hideaway child-friendly?
A child-friendly secret garden should prioritize both safety and sensory engagement. Safety features include:
Non-toxic plants: Ensure that all plants are safe for children to touch and potentially eat.
Soft paths: Use mulch, grass, or rubber mats for walkways to reduce the risk of falls.
Fencing or natural barriers: Create boundaries to keep children contained in their little paradise while preventing entry from wandering wildlife or stray pets.
In terms of engaging features, consider adding elements that trigger exploration and play. Hideaways like small tepees,benches,or tree stumps for sitting create inviting spaces for rest or imaginative play. Including features that allow for sensory experiences, such as a water feature (like a small fountain) or a dedicated area for exploring textures and smells can stimulate curiosity.Incorporating artistic components, such as colorful garden art or themed sections (e.g.,a fairy garden or a dinosaur corner),can also enhance the magical atmosphere of the garden. Encourage kids to participate in the decoration process to personalize their space, making it a true reflection of their personalities.
How can families maintain a secret garden hideaway together?
Maintaining a secret garden can be a wonderful opportunity for families to bond while teaching responsibility. Start by establishing a maintenance schedule that rotates tasks among family members. This could include weeding, watering, and pruning. Studies show that children who are engaged in regular gardening activities develop a better work ethic and learn about the consequences of care and neglect in a tangible way.
Utilize seasonal checklists to divide responsibilities. For example:
Spring: Planting and initial weeding.
Summer: Regular watering,harvesting,and monitoring for pests.
Fall: Cleanup and planning for winter, which can include composting fallen leaves and planning for next year’s planting.
Introduce fun learning opportunities alongside maintenance, such as observing plant growth and recording changes in a gardening journal. This practice can teach children about science concepts like life cycles and environmental changes. Sharing results with family members during gatherings adds a layer of communal enjoyment and reflection.
Additionally, consider incorporating family days in the garden. The garden can host picnics or outdoor arts and crafts days,reinforcing the spaces as family gathering points that go beyond simple maintenance tasks.
What are some creative activities to enjoy in a secret garden hideaway?
A secret garden hideaway is not just a place to cultivate plants; it can be an interactive space filled with a multitude of imaginative activities. Here are some creative pursuits that families can enjoy together:
Nature scavenger hunts: Create a list of items like specific leaves, flowers, or insects for children to find. This encourages exploration and observation skills.
Storytime nooks: Set up cozy corners with cushions or blankets where families can gather to read stories, turning the garden into a delightful literary escape.
Incorporating arts and crafts is another extraordinary way to engage children.Consider having activities like flower pressing,where kids can collect blooms and preserve them between heavy books to create art for cards or framed decorations. Garden-themed art projects can include painting rocks or creating bird feeders from recycled materials—both of which enhance the environment and encourage wildlife visits.
Organizing outdoor games can also be enjoyable. Games like “garden tag” or relay races that weave through the planted paths can energize the space and encourage physical activity. By fostering a mix of artistic, educational, and playful activities, families can transform their secret garden into a multi-faceted haven that encourages ongoing interaction with nature and each other.
The Conclusion
As we wrap up our exploration of creating a secret garden hideaway for kids and families, it’s clear that this delightful project goes beyond mere aesthetics. Not only does it offer a magical escape brimming with creativity and adventure, but it also fosters a connection with nature that can have lasting benefits.
Studies show that outdoor play significantly enhances children’s physical health,emotional well-being,and social skills. By integrating elements like sensory gardens, cozy nooks, and playful features, you can craft a space that inspires imagination and promotes family bonding.
So, gather your tools, unleash your creativity, and start transforming that overlooked corner of your yard into a hidden gem. Whether it’s planting vibrant flowers, constructing whimsical pathways, or incorporating interactive installations, every effort you make will contribute to the joy and enrichment of your family’s life.
Remember, your secret garden is not just a retreat—it’s a canvas for experiences, memories, and a deeper gratitude of the natural world.
Happy gardening!
How to Make a Fort Outside:
Fun, Fresh Air, and Creativity
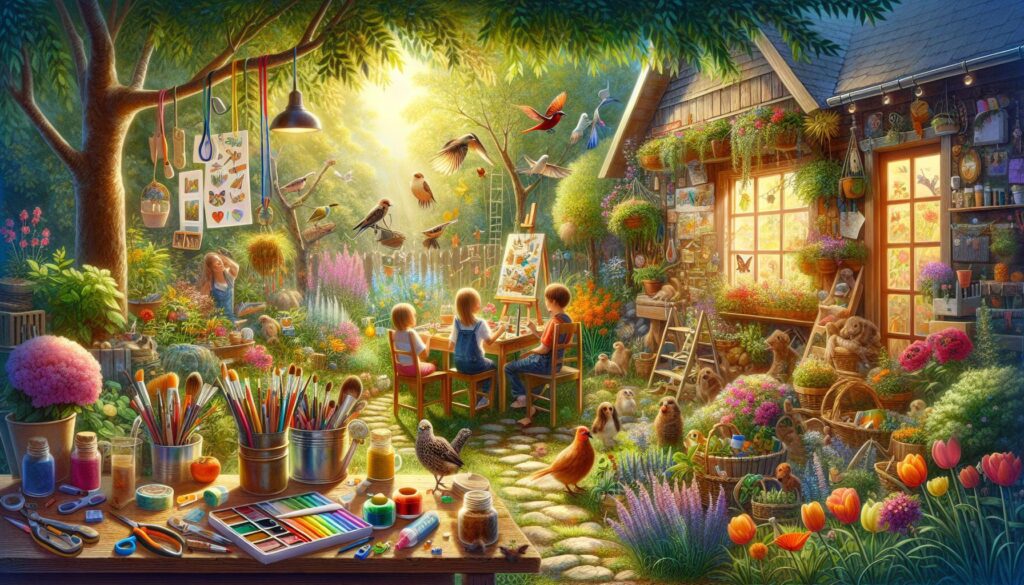
Are you tired of the same old indoor activities? Say goodbye to screens and hello to adventure! Building a fort outside isn’t just child’s play; it’s a gateway to creativity, fresh air, and family fun that even adults can thoroughly enjoy. Imagine cozying up in your handcrafted haven, basking in the sun, with the gentle rustle of leaves providing the perfect soundtrack for your mini-escape. whether you’re channeling your inner architect or crafting a whimsical hideaway,this article will guide you through each step,ensuring you not only construct a fort worthy of legendary tales but also create memories that will last a lifetime (and maybe a few ghost stories). Grab your blankets, gather your friends, and let’s turn that backyard into a fortress of creativity!
Choosing the Perfect Location for Your Outdoor Fort
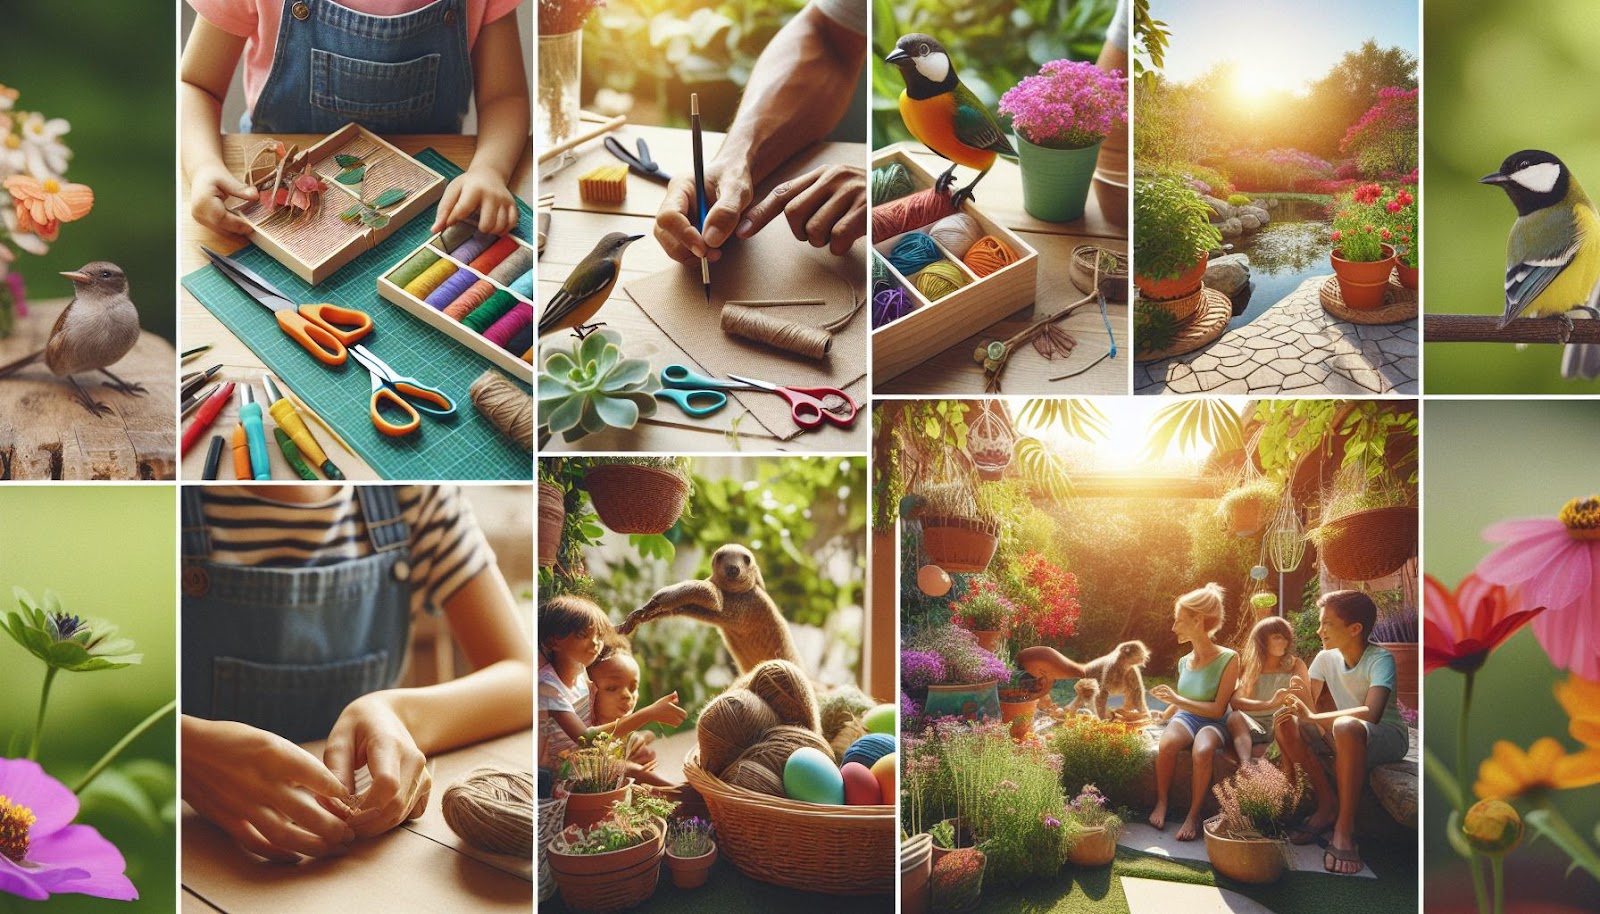
When it comes to building an outdoor fort,the location plays a pivotal role in the overall experience and integrity of your creation. Look for an area that offers a mix of natural shelter and still provides enough space to work with. Ideal spots include:
Under Trees: The natural shade and support from tree branches can provide a cozy environment.
Near Fences or Bushes: These elements create boundaries, making the fort feel more private and secure.
Flat Ground: Ensure the surface is level to prevent any awkward angles that could compromise the structure.
Before settling on a spot,consider accessibility and visibility as key factors. You want your fort to be a safe retreat but also within reach for easy play and exploration. Also, think about nearby amenities, such as:
Feature
Proximity to Water
Enhances play options for water games or washing hands.
Shade from Structures
Helps keep the fort cool on hot days.
Visibility of the House
Allows for easy supervision while children play.
By carefully selecting your fort’s location and considering surrounding features, you’ll create an inviting and functional space that fosters imagination and adventure.Happy fort building!

Essential Materials for Building a Durable and Creative Fort
Creating a fort that stands the test of time and intrigue involves selecting materials that not only promise durability but also ignite creativity. Here’s a collection of essential resources to consider:
Tarps and Blankets: Sturdy tarps can act as strong walls and roofs, while colorful blankets add warmth and personality.
Rope and String: Useful for securing structures and creating ties, they can also help with imaginative designs and suspension elements.
Cardboard Boxes: Perfect for crafting unique shapes and providing easy access points; they are lightweight and versatile.
Pillows and Cushions: Ideal for creating comfortable seating and cozy nooks within the fort.
Wooden Planks: For a more rigid structure, planks can be used to provide foundational support.
Additionally, it’s beneficial to consider the environment and available items nearby. Utilizing natural components can enhance creativity and stability:
Natural Materials
Branches
For scaffolding and structural integrity.
Leaves
As decorative elements or camouflage.
Stones
To anchor structures and provide stability.
Sand
For filling gaps and adding weight to fort walls.
Incorporating Nature:
Using Surroundings to Enhance Your Fort
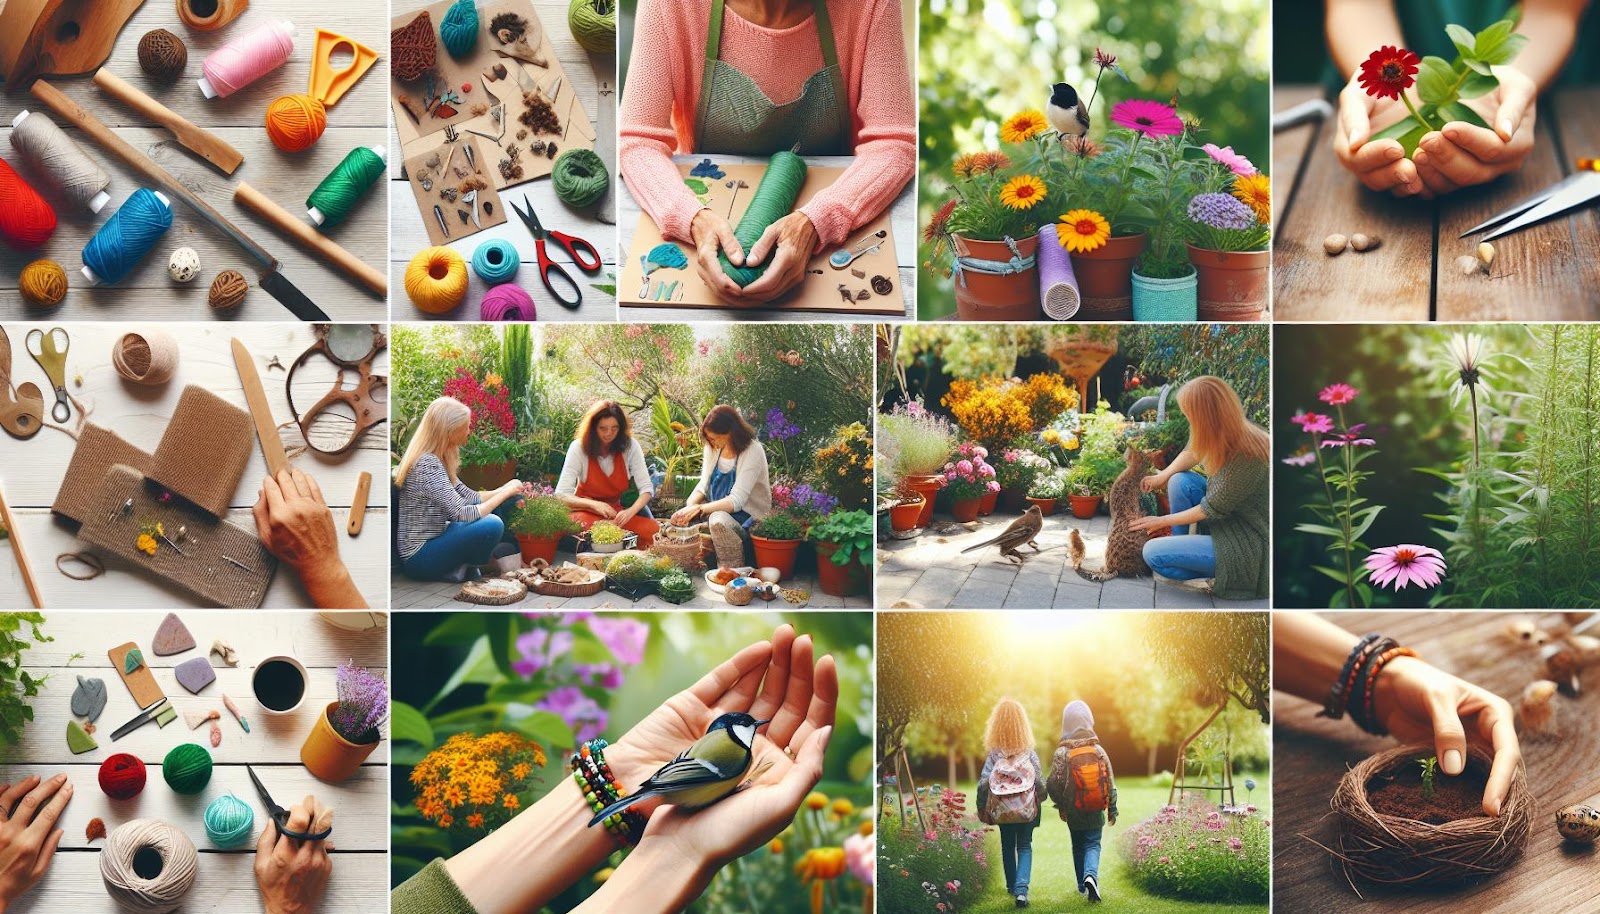
When creating your outdoor fort, the natural environment can be an invaluable ally. Start by surveying the area around you; notice tall trees that can serve as sturdy supports or large rocks that provide natural barriers. these elements can enhance the fort’s structure and offer essential camouflage,blending your creation into its surroundings. Consider using:
Branches and Twigs: Stack them for walls or a roof, adding both structure and a rustic aesthetic.
Leaves and Ferns: Use them for insulation and decoration, creating a cozy atmosphere inside the fort.
Grass: A soft floor can be made by laying down a layer of grass, adding comfort as well as a connection to the environment.
Nature not only provides materials but also sets the mood for your fort-building adventure. The sounds of wildlife and the fresh scent of the earth can turn your fantastical hideaway into an immersive experience.
Incorporating elements from the landscape can spark creativity and imagination. For instance, think about painting with mud or decorating the walls with colorful flowers.These natural accents not only personalize your fort but also make it a vibrant part of the ecosystem around you. To visualize this, creating a simple plan can help organize your materials and ideas:
Materials
Sticks
Framework/Support
Leaves
Decor/Insulation
Rocks
Natural Walls
Flowers
Colorful Decoration
This collaborative design with nature will ensure that your fort is not only a physical structure but a testament to creativity and the wonders of the outdoors.
Design Ideas to Boost Imagination and Functionality
Creating an outdoor fort offers a perfect blend of imagination and practicality. Start by selecting a suitable location—a space that provides natural elements such as trees, bushes, or a gentle slope works wonderfully. Using materials from your surroundings or household items can substantially enhance creativity. Consider these ideas for fort construction:
Branches and Sticks: Use fallen branches to create the framework.
Blankets or Tarps: Drape them over structures for walls and roofs.
Boxes and Crates: Stack them to build walls and platforms.
Natural Elements: Incorporate stones or logs for added stability and aesthetic appeal.
Functionality is paramount in fort design, providing a space for play, relaxation, or storytelling. Think about how to maximize the fort’s usability with these considerations:
Ventilation: ensure your fort has enough openings for fresh air.
Seating Areas: Create cozy nooks with cushions for comfortable lounging.
Storage Solutions: designate areas for toys or books to keep the space organized.
Creative Features: Add a ‘window’ for peeking out or a ‘door’ for entry/escape; these details can enhance play!
Safety Considerations When Building Your Fort
When embarking on your outdoor fort-building adventure,it’s crucial to keep safety in mind. Start by assessing your chosen location for any potential hazards. Look out for sharp branches, thorny bushes, or uneven ground that could pose a risk of injury. Additionally,consider the area’s proximity to water or any tools you might be using. Setting clear boundaries can prevent accidents, especially if younger children are involved. Always ensure a clear path for escape in case of sudden weather changes or wildlife encounters.Encourage your kids to think about safety by discussing these aspects before they dive into construction.
Moreover, the choice of materials plays an integral role in fort safety. Opt for sturdy yet lightweight components, such as dried leaves, old blankets, and non-toxic paints if you decide to decorate. Avoid using materials that can splinter or break easily, such as glass or sharp metal pieces. To enhance stability,consider building a base with larger,heavier items at the bottom and stacking lighter materials on top.
Here’s a quick reference table to help you choose safe building materials:
Material
Wood (Untreated)
Stable, can splinter if not sanded
Old Blankets
Soft, but ensure they are clean
Plastic Tarps
Waterproof but can flap in the wind
Clay or Mud
Can be slippery and messy
Stones
Stable, but heavy – use with care
Engaging Kids in the Fort-Building Process for teamwork and Learning
Building a fort is not just a way to enjoy the great outdoors but also a platform for kids to engage in teamwork and develop essential skills. As your little architects gather their supplies—sticks, blankets, and whatever they can find—they can learn to communicate effectively.Encourage them to brainstorm ideas together, discussing which materials will work best and how to position them for maximum stability. Promoting a spirit of collaboration in this scenario fosters problem-solving skills, as they will likely encounter challenges that require creative thinking and cooperation to overcome.
To further enhance the teamwork experience, consider designating specific roles among the kids, such as a builder, a designer, or a materials collector. This not only gives each child a sense of obligation but also emphasizes the importance of each contribution to the project’s success. Setting clear goals, such as completing the fort within a certain timeframe or incorporating specific features (like a lookout tower or a secret entrance), encourages them to stay focused and work together. Here’s a simple breakdown of roles that can help streamline the fort-building process:
Description
Builder
Responsible for assembling the fort structure and ensuring it’s sturdy.
Designer
Creates the layout and plans the fort’s overall look and feel.
Materials Collector
Gathers all necessary supplies and ensures they’re within reach.
Maintaining and decorating Your Fort to Extend Its Life and Enjoyment
To ensure the longevity and enjoyment of your outdoor fort, regular maintenance and thoughtful decoration are key. Start by inspecting the structure for any signs of wear and tear, such as loose branches or frayed ropes. You can reinforce weak spots using simple materials like adhesive tape or additional twine. Waterproofing the exterior with non-toxic sprays not only protects your fort from weather conditions but also extends its life, ensuring that it remains a safe haven for play. A cleaning schedule can definitely help keep the area tidy, encouraging creativity and fostering a fun play environment.
decorating your fort inspires imagination and personal expression. consider incorporating natural elements, such as hanging clusters of flowers, pinecones, or colorful leaves to enhance its aesthetic appeal.Use eco-friendly paints to create vibrant murals on the wooden panels or stones. A small table inside can serve as an arts and crafts area, while incorporating soft cushions and blankets makes the space cozy and inviting. Engage your kids in a DIY project to create personalized decorations, such as dream catchers or painted rocks, which will not only beautify the fort but also foster creativity and teamwork.
Fun Activities to Do Inside Your Fort for Memorable Outdoor Experiences
Transforming your fort into a magical retreat can make for some truly unforgettable moments. One of the best ways to enhance the experience is through themed activities that engage creativity and imagination. Consider organizing a storytelling night where everyone gathers inside the fort to share spooky tales or imaginary adventures. Set the mood with fairy lights and cozy blankets to create an inviting atmosphere. Alternatively, you can plan a mini talent show where each member showcases their unique skills, whether it’s singing, magic tricks, or stand-up comedy, fostering a supportive environment that encourages expression.
In addition to storytelling and talent shows, explore interactive games that spark fun and creativity. You might enjoy shadow puppetry, using a flashlight to cast fun shapes and characters on the fort’s walls, creating a show where everyone can participate. If you’re up for challenges, set up a scavenger hunt with clues hidden around the fort, leading to small treasures or treats. For a quieter afternoon, consider a crafting session wherein participants can decorate the fort with drawings, paintings, or handmade banners, turning the space into a customized masterpiece. These engaging activities ensure that your time spent inside the fort is not only about shelter but also about bonding, creativity, and laughter.
Faq
What Materials Do I Need to Make an Outdoor Fort?
Building a fort outside can be a thrilling project that encourages creativity and teamwork. When gathering materials, consider using items that are easily accessible and safe for children. Some basic materials include:
Tarps or old blankets: these can create the roof and walls of your fort, providing shade and a cozy atmosphere. Make sure they are durable enough to withstand outdoor elements.
Rope or sturdy twine: This can be used to secure the tarps or blankets to trees, poles, or other anchoring points.
Wooden pallets or crates: These create a solid base or can serve as walls for your fort. They are often available for free from local businesses.
Sticks or branches: Gather fallen branches for additional structural support. Select larger, stronger branches for framing and smaller ones for decoration or roofing.
Additionally, the creativity of children can lead to using unconventional items like cardboard boxes, lawn furniture, or even garden furniture as walls or to enhance the fort’s aesthetics. The only limit is your imagination. Always inspect materials beforehand to ensure that they are safe and free of sharp edges or harmful substances.
How Can I Choose the Best Location for my fort?
Selecting the right spot for your outdoor fort is crucial. Look for an area that offers both safety and comfort. an ideal location may possess several features:
Shade from Trees: This keeps your fort cool and protects it from the full force of sunlight or unexpected rain. Choose a site with a mix of sun and shade to cater to different weather conditions.
Level Ground: Building on a flat surface decreases the risk of accidents or structural instability. Look for areas sheltered from wind, as this helps in building a more secure fort.
Proximity to resources: Having nearby access to natural materials like branches or leaves can inspire creativity and facilitate easy access during construction. If your fort is near a water source, it could also become a great location for games.
Remember to survey the area for potential hazards like thorny bushes or steep hills. By creating a safe, inviting space, children will likely spend more time enjoying their fort, engaging in imaginative play, and making memories.
What Safety Precautions Should I Take When Building a Fort?
Safety is paramount when constructing and using an outdoor fort. While the aim is to foster creativity and fun, a few precautions can help prevent accidents. Here are essential considerations:
Choose Safe Materials: Avoid sharp or rusty items that can cause injuries. Make sure all materials are child-friendly. Give special attention to securing heavy pallets or crates to avoid tipping.
Supervise Children: It’s essential for an adult or an older sibling to supervise the building and playing process. This ensures that kids are using materials correctly and not engaging in risky behavior.
Set Up Boundaries: Encourage children to create boundaries around the fort, indicating which areas are safe for play and which parts should be kept clear of obstacles. This helps prevent tripping hazards.
Keep a first aid kit nearby as a precaution. Educating children about basic safety practices,such as not climbing on unstable structures and being aware of their surroundings,can greatly reduce risks. By emphasizing safety, you ensure that playtime remains enjoyable and injury-free.
How Can I Personalize My Fort to Enhance Creativity?
personalizing the fort will not only enhance its aesthetic appeal but also make it feel special and unique to its users. Encouraging children to add personal touches can amplify their connection to the fort and stimulate their creativity.Here are some ideas:
Decorative Elements: Allow children to decorate the fort with items like paintings, drawings, or natural elements like flowers and leaves. Fabric swatches or colorful ribbons can add flair, transforming a basic structure into a personalized haven.
Themes: Encourage kids to come up with themes for their fort. It could be a pirate ship, a princess castle, or a secret hideout. they can incorporate items that reflect these themes,like pirate flags,cushions,or even fairy lights (solar-powered) for evening fun.
Functional Spaces: Create specific areas within the fort for different activities. A reading nook with pillows, a ‘command center’ with supplies for imaginary play, or a craft corner can all be incorporated. This allows children to engage in varied forms of play, boosting creativity.
By giving kids the freedom to add their creative flair,you not only enrich their play experience but also foster skills like problem-solving and collaboration. Creating a space that resonates with their imaginations can lead to hours of imaginative play and exploration.
What Activities Can We Do Inside Our Outdoor Fort?
Once the fort is built, it becomes a hub for a variety of fun and engaging activities that can entertain children for hours. Here are some activities that can be enjoyed inside the fort:
Themed Play: Depending on the fort’s theme, kids can engage in role-playing activities. They can pretend to be adventurers on a quest or family gathering in a countryside cabin, encouraging imaginative scenarios.
Storytime: Reading books inside the fort creates a cozy environment and transforms storytelling into an adventurous experience. Consider using flashlights or fairy lights for soft illumination to make it extra special during evening reading sessions.
Arts and Crafts: Set up a small crafts station where kids can use materials like leaves, sticks, and colorful papers to create projects. This activity not only enhances creativity but also engages fine motor skills.
Rest and Relaxation: Sometimes, a fort simply serves as a comforting retreat where children can take a break, ponder, or simply enjoy the surrounding nature. Adding cushions or blankets creates an inviting space for relaxation.
Incorporating a variety of activities ensures that the fort is not just a structure but a hub of creativity and comfort, allowing for an array of experiences that keep children engaged and entertained. Engaging in collective activities enhances social skills and cooperative play among children, making it a rich prospect for development.
How Do I Maintain Our Outdoor Fort for Long-lasting Fun?
To ensure that your outdoor fort provides enjoyment over a longer period, some maintenance practices can help preserve its structure and aesthetics. Here are some steps to consider:
Regular Inspections: Check for any damage that might occur from weather conditions or play. Look for frayed fabric, loose nails, or anything that may require replacement or reinforcement. Regularly maintaining the integrity of the fort eliminates hazards and ensures safety.
Cleaning: Periodically, clean the fort by removing old leaves, dirt, and debris. This keeps the area welcoming and reduces the risk of attracting insects. For fabric elements, consider washing or replacing them as needed.
Seasonal Adjustments: Depending on the seasons, you may need to make adjustments.As a notable example, during winter, it’s best to dismantle the fort or cover it to prevent heavy snow accumulation that could damage your structure. Conversely, during summer, consider adding a sunshade for extra comfort.
Regular upkeep not only extends the fort’s life but also rejuvenates interest among children. Keeping the fort clean, safe, and functional encourages ongoing imaginative play and adds to the overall enjoyment of outdoor experiences. Through consistent care, children can create lasting memories in their forts year after year.
In Conclusion
As we wrap up our exploration of building the perfect outdoor fort, it’s evident that this simple activity is much more than just a way to pass the time. With a bit of creativity and some basic supplies, you can create an enchanting space that not only fosters imaginative play but also encourages teamwork, problem-solving, and a love for the great outdoors. Remember, as supported by research, outdoor play is crucial for children’s development, promoting physical health and emotional well-being.
So grab those blankets, gather your friends or family, and let your imagination run wild as you construct your fortress.
Whether it’s a cozy hideaway or an elaborate castle, the memories you create will be cherished for years to come. Embrace the fresh air and let the fun begin—your outdoor adventure awaits
Backyard Camping
This is a FAQ description. Add more detail about this service, such as benefits, appearance, components and value
Exploring Under the Night Sky
This is a FAQ description. Add more detail about this service, such as benefits, appearance, components and value
Themed Activities for Cozy Time with your Kids
Themed Activities
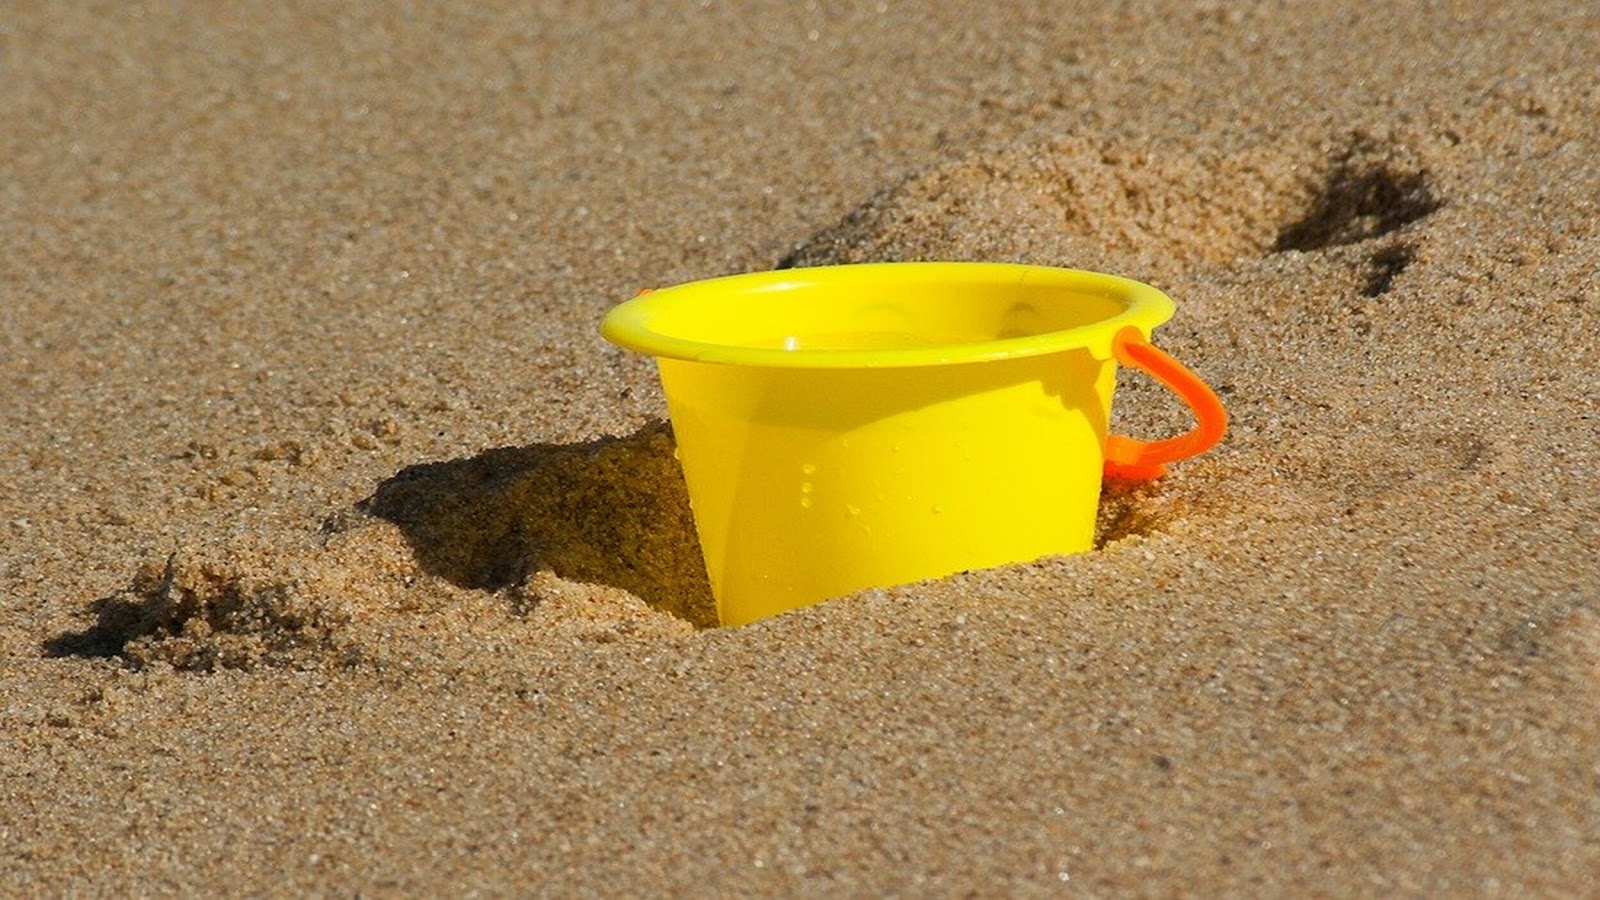
Beach/Summer Theme
Activities for Younger Students:
The Crabby Crab book read-aloud on YouTube, also available on Education.com
Pete the Cat - Pete at the Beach book read-aloud on YouTube
The Truth About My Unbelievable Summer book read-aloud on YouTube - great for making inferences, retelling the story with elementary schoolers
That’s Silly Beach Scene from Highlights - spot what’s wrong with the picture, works great as a green screen background!
Beach Coloring Pages from Super Coloring - color online using annotate or the coloring tools provided
Balloon Pop game (with fish and water) on Toy Theater - great for taking a quick break between activities
Abby’s Sandbox Search Sesame Street game
Daniel Tiger Sandbox Game on PBS Kids
Pretend Play PowerPoint game by Spiffy Speech - choose characters and vehicles, pretend to pack a suitcase and then travel to the beach, great for virtual social skills groups
Free 3 In a Row Summer Boom Cards by PlayLearnTalk
Free Beach What Do I Need? Boom Cards by MsTonisSpeechTools
Green Screen Activity: Change yourvirtual background to any photo of a beach bucket or a swimming pool. Using a green pocket or tube, “pull” household items or beach-themed pictures out of the bucket or toss them into the pool after having the student name them from a verbal description.
Activities for Older Students:
Summer Themed Mini Unit by The Speech Express - address all goals including artic, reading comprehension, vocabulary, critical thinking, figurative language
Summer Reading Comprehension Paragraphs by Spiffy Speech - great for stating the purpose, stating main idea, writing intro/conclusion sentences, finding the evidence, answering “why” questions (available on TpT and Boom)
Beach Themed No-Print Language Cards by The Speech Express - target just about ANY language goal with these digital cards! They are perfect for pairing with any activity or game and can be used for ALL of your groups right in a row - no prep, no sweat!
Lego Stop Motion Beach video on YouTube - great for making inferences, narrating, answering critical-thinking questions
Funny Beach Jokes on YouTube - great for explaining multiple meanings, the difference between sound-alike words (ex: popsicle, possible), and word relationships
Beach Memory Game online on MEMOZOR
Summer MadLibs online on Amy’s Wandering
Swimming Pro Racing Game - great as a quick break between activities
Free Beach Sequencing Cards on TpT by The Spark Innovations - black and white so students can also color them in on screen
Make a summer bucket list of activities or projects you want to do this summer (type into the white board)
Pick a vacation destination and make packing list after researching activities, weather, etc. (type into the white board)
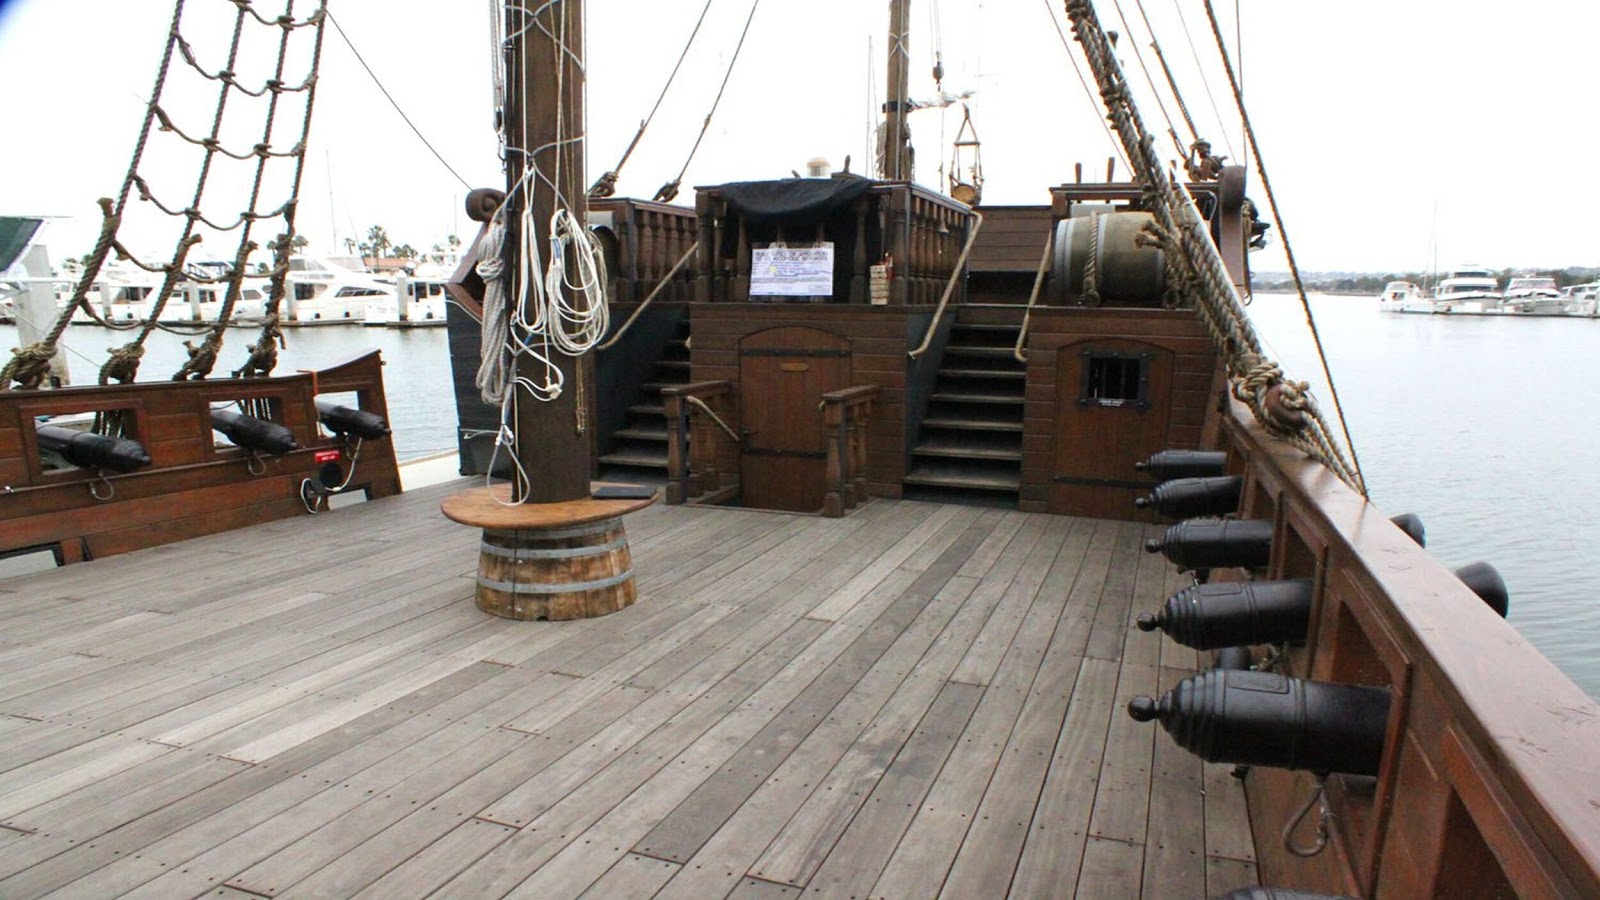
Pirate Theme
Activities for Younger Students:
Jake and the Neverland Pirates games on Disney LOL, check out the Jake Sticker Scenes game
Pirate Party articulation Boom card game by Speechable Moments
Snoring Pirates game on ABCYa
Treasure Island Adventure Boom card board game by Speech Safari
Pirates Love Underpants - book read-aloud on YouTube, mute and pause to read aloud yourself
Pete the Cat and the Treasure Map - book read-aloud on YouTube, mute and pause to read aloud yourself
Peg and Cat Hungry Pirates game on PBS Kids
Virtual Ride - Peter Pan at Disneyland on YouTube
Virtual Ride - Pirates of the Caribbean at Disneyland on YouTube
Free Pirate Barrier Game Boom Cards by The Crafter Teacher
Free 100 Trials Articulation Pirate Treasure Challenge on TpT by Peachie Speechie
Free App: Comomola Pirates - Explore the seas with this adventure
Green Screen Activity: Change yourvirtual background to a pirate ship. SLP bonus points if you wear an eye patch or a pirate hat during this activity! Print/cut pirate-themed pictures that can be added to the ship (ex: pirates, eye patch, hat, parrot, sword) by sticking them onto your screen screen. Or, use household objects or pictures of items that the boat accidentally bumped into while sailing in the water. You can pretend to reach into the water over the side of the boat and pull things out or you can throw the objects overboard.
Activities for Older Students:
Pirate Themed Mini-Unit by The Speech Express - address ALL goals including arctic and higher-level language
Pirate Facts on DK Find Out - work on reading comprehension, inferencing, vocab
5 Pirate Myths that are Actually True video by Nat Geo on YouTube
Pirate Online MadLibs on Scratch
Pirate Online MadLibs by Glow Word Books
Pirate Jokes on YouTube - great for explaining multiple meanings, sound-alike words, and word relationships
How Pirate Be Ye? Personality quiz on CBC Kids - hilarious quiz that requires translating pirate speak, great for determining meanings of vocab and expressions from context clues
Escape from Treasure Island Escape Room online by Andover Public Library
Free Pirate Talk Conversation Topics on TpT by Nichole Brezel
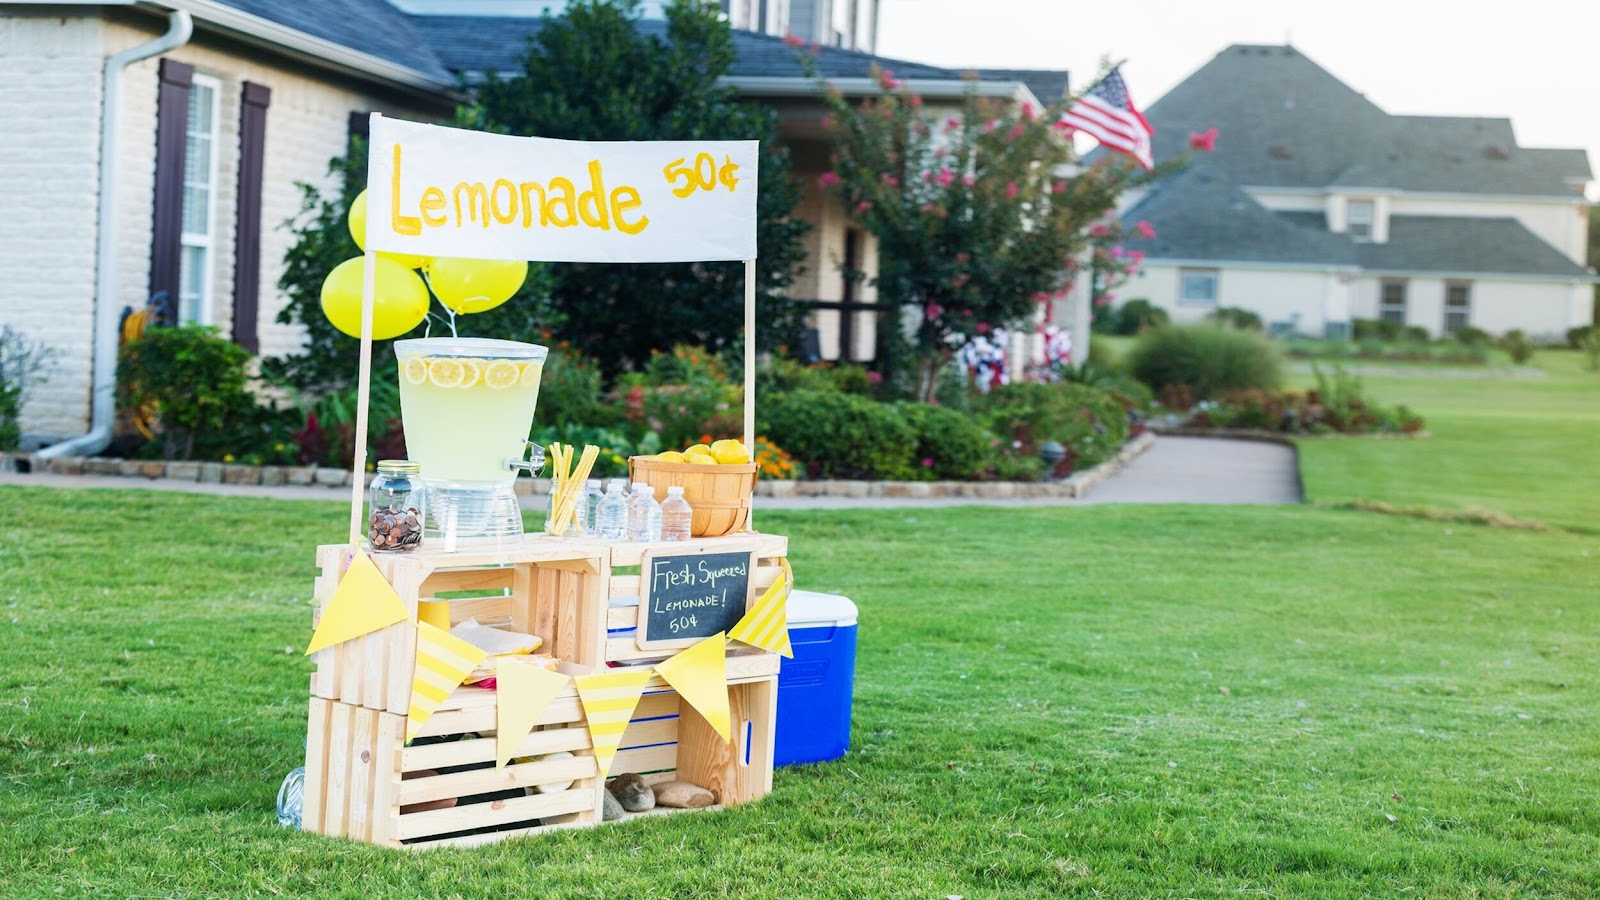
Lemonade Theme
Activities for Younger Students:
Lemonade Stand Game on Nick Jr
Elmo and Grover’s Lemonade Stand on Sesame Street
Peg and Cat Lemonade Stand video on PBS Kids
Pinkalicious Lemonade Stand video on PBS Kids
Daniel Tiger Mad at the Lemonade Stand video on PBS Kids
Olivia Opens a Lemonade Stand book read-aloud on YouTube
Splat the Cat and the Lemonade Stand book read-aloud on YouTube
Free No Print Lemonade Language Activities on TpT by Sensory Speechies - describing, expanding utterance length, location concepts
Language Lemonade Stand Boom Cards by Speechable Moments - includes language activities like sequencing, guessing the lemonade stand customer from a description, problem-solving and listening for absurdities
Green Screen Activity: Change yourvirtual background to a picture of a lemonade stand. Print/cut pictures of lemonade components (a pitcher, lemons, sugar, water). Stick each component onto the green screen as the student tells the steps to make lemonade. Role-play having a pretend play lemonade stand where the SLP and student (or multiple students in a social group) take turns being the seller or customer.
Activities for Older Students:
Lemonade in Speech Activity on TpT by Spiffy Speech - including “sweet” or “sour” (expected/unexpected) social scenarios, photo sequencing cards for making lemonade, lemonade recipe for retell, and other language activities like lemonade-themed sentences with context clues
Chilled Paper Lemonade Craft on ABCya - work on narrating or retelling steps to create the craft
13 Lemonade Flavors You Have To Try This Summer on Spoon University - use for describing, comparing/contrasting, paraphrasing or making inferences about captions accompanying each picture, guessing ingredients based on the photo/description
Lemonade Facts for Kids on Kiddle - use for vocab and reading comprehension
A Surprisingly Disgusting History of Lemonade Stands - high-level reading comprehension for high schoolers
Lemonade Jokes - great for explaining multiple meanings and word relationships

Wizard Theme
Activities for Younger Students:
Harry Potter iSpy Game by Paper Trail Designs
Harry Potter Lego Stop Motion Video on YouTube - great for describing, retell, vocab, answering basic “wh” questions
Wizard Exams Boom Card Game (for language goals) by Spiffy Speech
Harry Potter Pets Memory Matching Game by Match The Memory
Free What’s Behind the Hat Boom Cards Game by SlpYogi - great for describing, labeling nouns or answering yes/no & 2 choice questions to label objects
Free Harry Potter Articulation Game on TpT by Achieve Beyond
Green Screen Activity: Change yourvirtual background to a magical cauldron. Using a green tube or pocket, pretend to place objects into the cauldron or pull out the finished product that you created using a magic spell!
Activities for Older Students:
Hogwarts Escape Room online by Peters Township Public Library
Mila’s Magic Shop Game on ABCya
Wizarding World - create a free online account to access crosswords, Harry Potter articles, quizzes
Harry Potter Online MadLib on MadTakes
Harry Potter Jokes - great for explaining multiple meanings, sound-alike words, and word relationships
Harry Potter Quotes - work on reading comprehension, paraphrasing, making inferences about character traits
Harry Potter Spot the Difference on Buzzfeed - use for comparing/contrasting, describing, formulating a sentence containing a target word
25 Best Harry Potter Characters (with photos and descriptions) Slideshow on IGN - great for reading comprehension, comparing/contrasting, describing
16 Magical DIY Crafts - great for having students narrate, describe, or tell steps in each procedure
Free Harry Potter Character Riddles on TpT by Apples’nABCs
Free Harry Potter Descriptive Writing Activity on TpT by Cyndy’s Creations
Free Harry Potter Guess Who on TpT by Sarah Miout
Free Root Words and Affixes with Harry Potter on TpT by Teacher Tessa - research names used in Harry Potter to determine how/why J.K. Rowling came up with them!
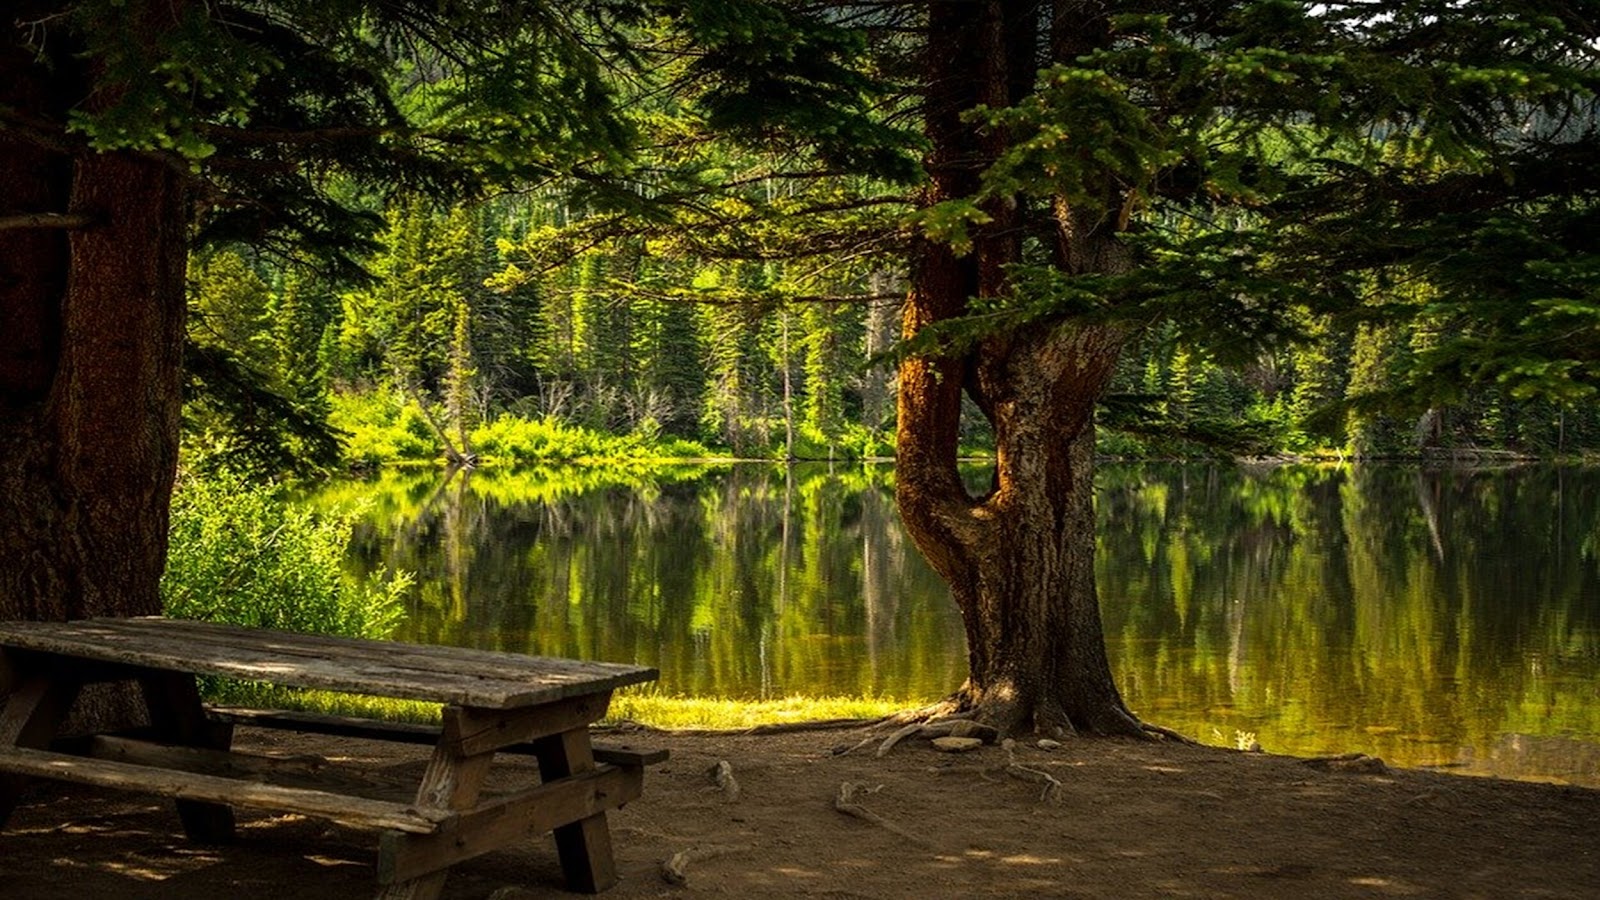
Parks / National Parks Theme
Activities for Younger Students:
Nature Cat Park Builder Game on PBS Kids - great for following directions, describing, location concepts
Rocky Mountain Roundup Game on PBS Kids
Arthur’s Park Board Game on PBS Kids
Hello National Parks - book read-aloud on YouTube
Shark in the Park - book read-aloud on YouTube
Sesame Street National Park Series videos - explore the Grand Canyon National Park and Gateway National Park
Visiting The Park Memory Matching Game by Match the Memory
Green Screen Activity: change yourvirtual background to a park with a picnic table or a picture of an open picnic basket. For the picnic table, have the student name items you describe, describe items, request, or compare/contrast before you place them on the table. For the picnic basket, use a green pocket or tube and pretend to add food/drink items to the basket or pull them out. While the background is up, play the game, “I’m going on a picnic and I’m bringing…” where players take turns saying an object and trying to recall everything said before their turn. Pretend to throw each item into the basket (no pictures or actual objects required!)
Activities for Older Students:
Weird But True: Unbelievable Facts About America’s National Parks on Nat Geo
Here’s How the National Park Service Got Started video on YouTube by History Channel
Virtual Tours of National Parks by Travel and Leisure
National Parks Online Activities by National Park Service - lots of activities for reading comprehension, interviewing, crafts for sequencing, and more
National Parks Activity Map on National Park Foundation (NPF) Kids - students can do research online to answer questions about our national parks or make inferences based on icons and locations
Which National Park Should You Visit Quiz on How Stuff Works
The Redwood Forests of California article on NewsELA
Green Screen Activity: change yourvirtual background between various national parks. Have students make inferences about each park such as about which states this park might be in, which park this might be (from among different choices after hearing brief descriptions of each), what activities they could do there, what the weather is like, etc.
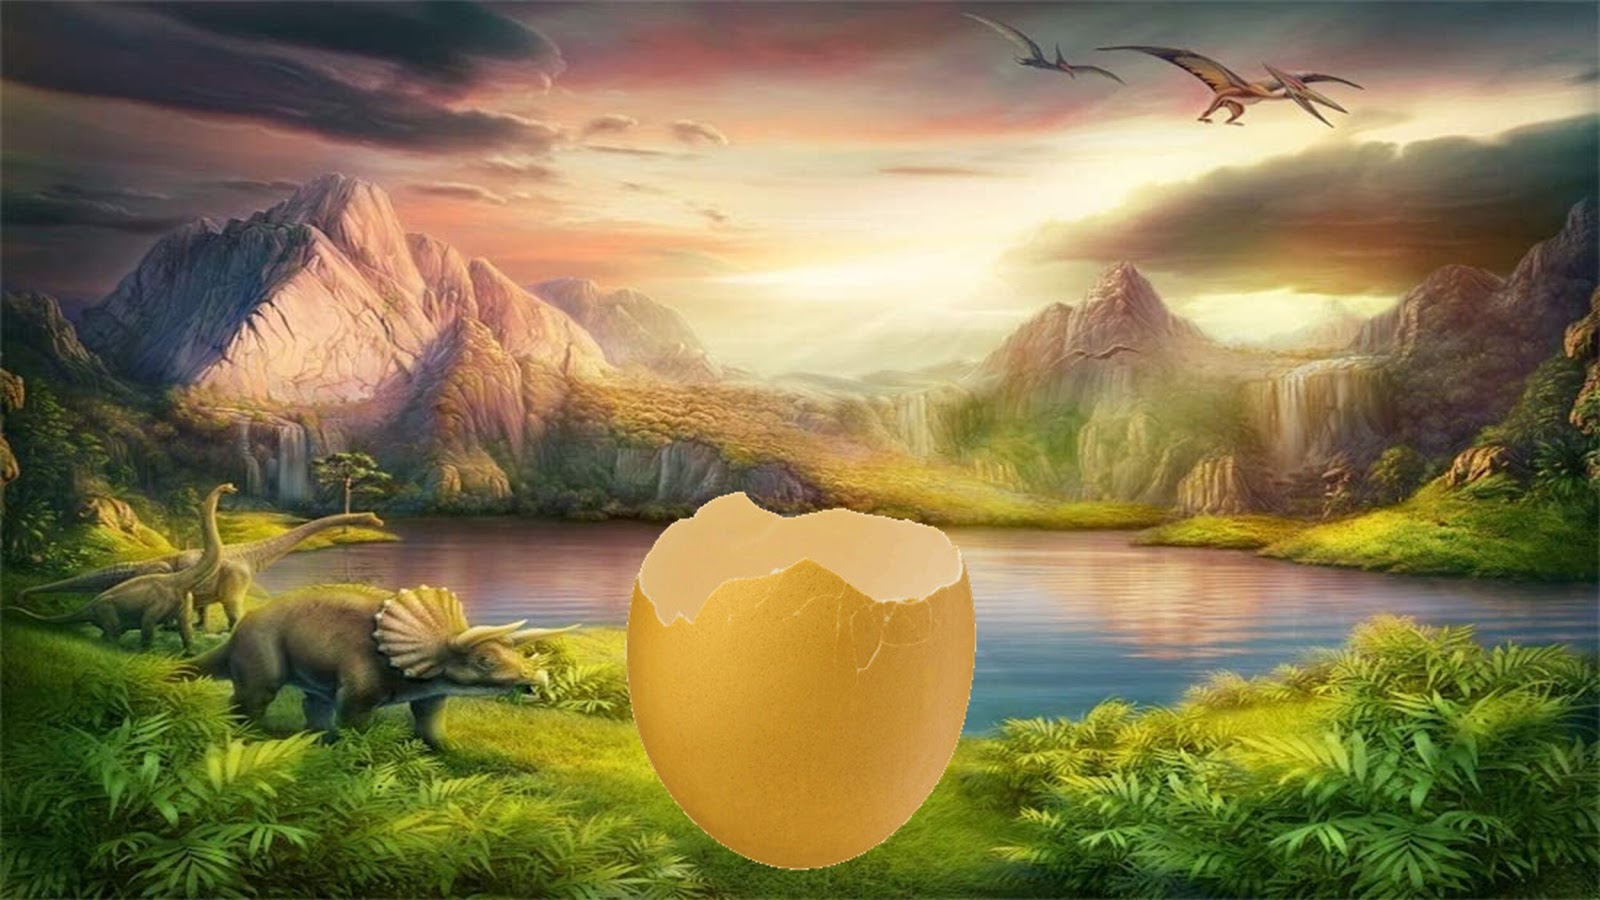
Dinosaur Theme
Activities for Younger Students:
Dinosaur Train games, field guide with dino facts, videos on PBS Kids, check out the Dino Car Designer game which has sticker scenes!
Ernie’s Dinosaur Daycare game on PBS Kids, feed and wash dinos
The Great Dino Dig articulation Boom card game by Speechable Moments
Pete the Cat Cavecat Pete - book read-aloud on YouTube
Crunch Munch Dinosaur Lunch - book read-aloud on YouTube
Green Screen Activity: Change yourvirtual background to a dinosaur scene that has a cracked egg. Print/cut pictures of dinosaurs that are different sizes, colors, and have different features. Pretend that the egg is hatching and using a green pocket or tube, make each dinosaur come out of the egg one at a time. Use the dinosaur pictures to practice describing, comparing/contrasting, and location concepts.
Activities for Older Students:
What Dinosaur Are You? Personality Quiz on Nat Geo Kids
Virtual Tour of Dino Hall at the Natural History Museum LA
Virtual Tour of Smithsonian National Museum of Natural History including dino exhibits
Dinosaur Facts sorted on Facts Just for Kids sorted by type of dinosaur
Green Screen Activity: Change yourvirtual background to pictures of dinosaur types one at a time. Have the student make inferences about each dinosaur and explain their guesses-- for example, do you think the dinosaur was strong or weak? Where do you think you would find this type of dinosaur (air, water, sky?) What do you think this dinosaur might have eaten?
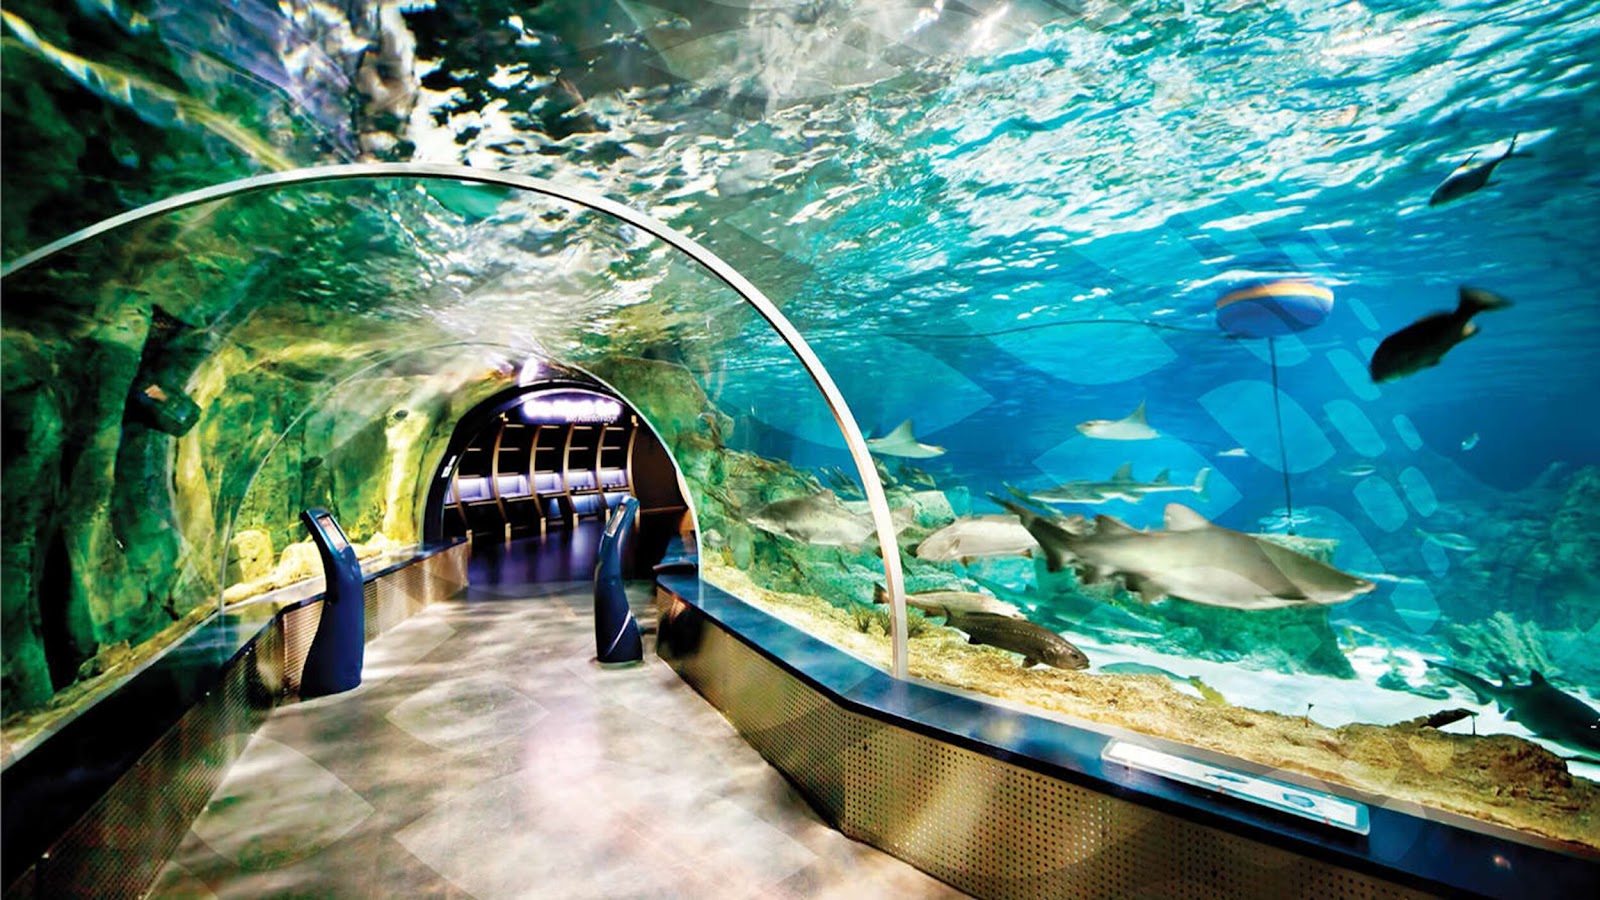
Ocean/Water Theme
Activities for Younger Students:
Sticker Book Scene: Oceans! by The Speech Express - these super fun, no prep pages allow students to place clip art stickers on an ocean background to create a digital picture! Students can describe each animal or object they want placed in the scene and then use prepositions to describe where in the scene they want their sticker placed! This simple activity is great for targeting just about any goal.
Virtual Aquarium Tours -Monterey Bay Aquarium,Georgia Aquarium,National Aquarium,Seattle Aquarium
The Rainbow Fish book read-aloud on YouTube
Splash and Bubbles Games on PBS Kids
Splash and Bubbles Ocean Guide (sea creature facts) on PBS Kids - presents a few facts about each (verbally), great for working on auditory recall/comprehension!
Sink or Float Video by PBS Kids - great for making predictions
Wild Kratts Creature Powersuit Underwater Challenge Game on PBS Kids
Shark Attack Lego Stop Motion Video on YouTube
Green Screen Activity: Change yourvirtual background to an aquarium, underwater scene, or ocean wave. Print/cut pictures of various ocean animals, plant life, or other things that can go in water (ex: a surfboard). Pretend that different sea creatures are swimming over to you or that different objects are being washed up towards you. Describe them for the student to guess. You can also have the student name ocean items and then “toss” them into the water.
Activities for Older Students:
Sharks Trivia Quiz on Nat Geo Kids
Which Shark Are You? Personality Quiz on Nat Geo Kids
Ocean MadLibs online by Glow Worm Books
Strange Sea Creatures (with photos) by Nat Geo Kids - great for describing, comparing/contrasting, reading comprehension
Weirdest Animals of the Deep Sea by The Kid Should See This - has captions and includes higher-level vocab for reading/listening comprehension
Lego Theme
Activities for Younger Students:
Virtual Tour of LEGOLAND Florida - includes LEGO MOVIE World, LEGO Kingdoms, VR Ride
Lego Coloring Pages - color online using annotate or the coloring tools provided, great for describing, vocab, and following directions
Lego Stop Motion Videos on YouTube - great for artic, describing, vocab, answering basic “wh” questions
I’m Fun Too Lego Book read-aloud on YouTube - good for teaching emotions vocab, answering basic “wh” questions
Lego City Adventures Fire Truck to the Rescue Book read-aloud on YouTube
Green Screen Activity: Change yourvirtual background to a scene from the Lego Movie, Lego Batman Movie, a picture of a Lego City backdrop, or Lego bricks. Print/cut pictures of Lego movie characters or just Lego people that have different appearances/occupations. Describe characters for the student to guess and then stick them somewhere in the background. The student can work on location concepts, describing, comparing/contrasting. Have the Lego people engage in conversations while moving around or have the student generate a narrative using the characters.
Activities for Older Students:
Explore Lego Characters - for describing, comparing/contrasting, and the short descriptions of characters are fantastic for auditory recall/comprehension
Lego Stop Motion Videos on YouTube - great for artic, narrating the plot, answering basic and inference questions
Mecabricks Virtual Lego-Like Builder Online - students can give or follow specific directions to build objects with bricks like LEGOs
Lego Photos - explore photos of kids’ LEGO creations, can be used to work on describing, comparing/contrasting, formulating a sentence given a target word
Lego Games - tons of options, click any game title that have a computer symbol to play online
Lego Facts by Nat Geo Kids
Lego Jokes (with pictures) on Beano - great for explaining multiple meanings, sound-alike words, and word relationships
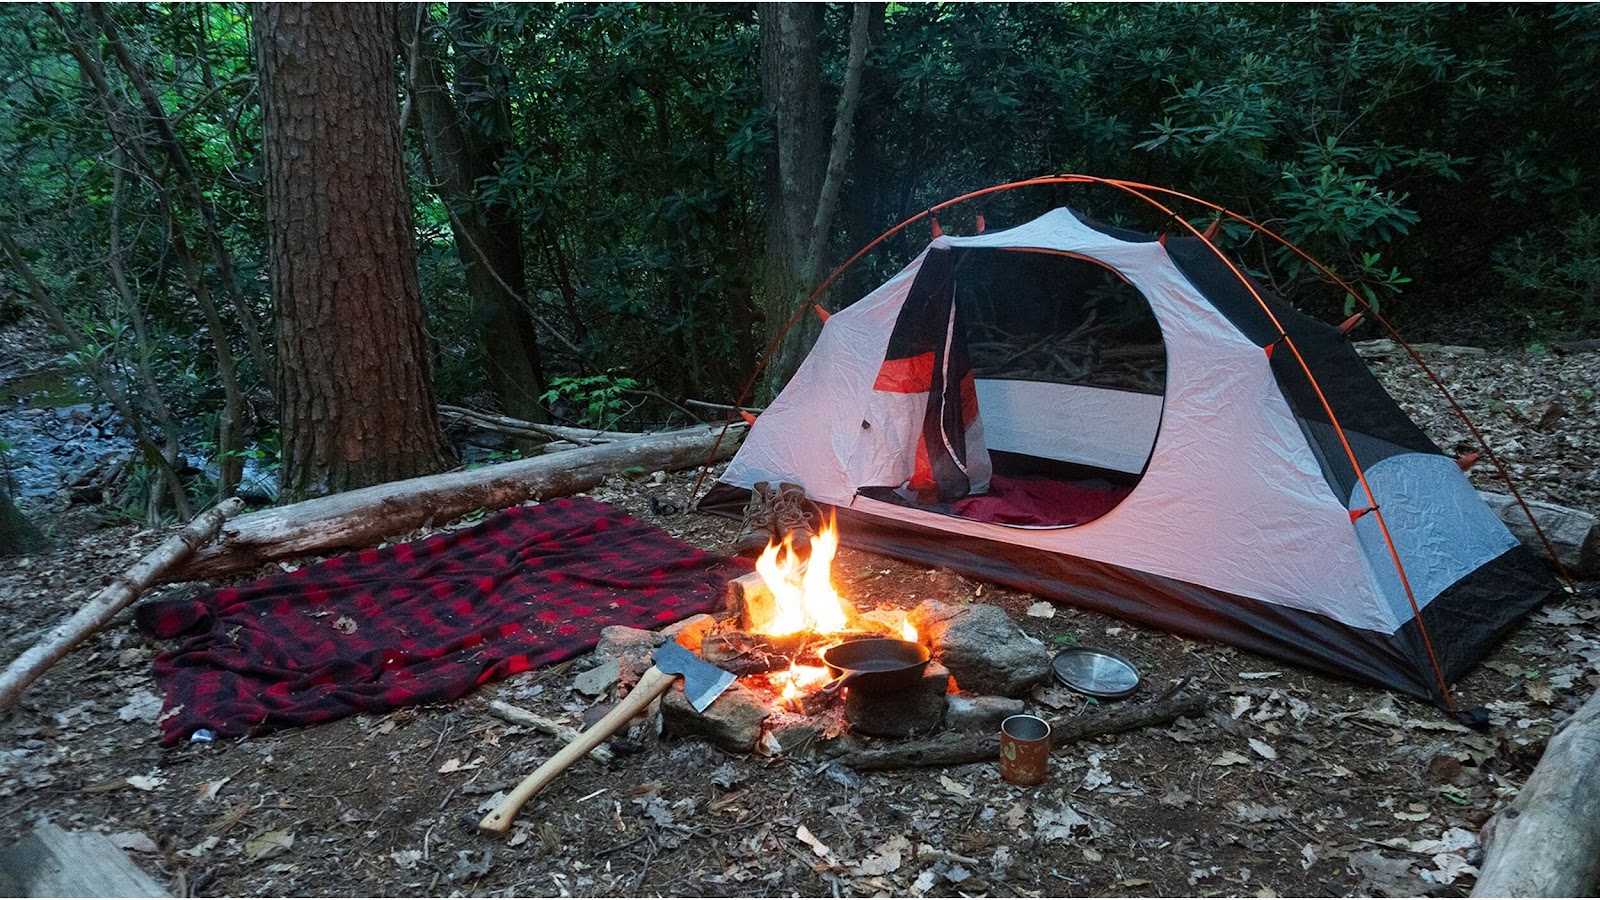
Camping Theme
Activities for Younger Students:
The Cat in the Hat Camp Time game on PBS Kids - set up a tent, roast marshmallows, etc., great for pretend play
Dinosaur Train Buddy’s Camping Adventure Game on PBS Kids
Pete the Cat Goes Camping - book read-aloud on YouTube
A Camping Spree with Mr. Magee - book read-aloud on YouTube
Mia’s First Camping Trip - book read-aloud on YouTube
Scaredy Squirrel Goes Camping - book read-aloud on YouTube
Free Camping What Do I Need? Boom Cards by MsTonisSpeechTools
Going on a Bear Hunt song on YouTube by The Kiboomers - great for preschoolers
Green Screen Activities:
1) Change yourvirtual background to a camping scene such as one that has a tent or an open backpack. Print/cut pictures of objects that you would take camping (ex: marshmallows, sleeping bag, flashlight). Have the student name objects that you describe and then place them in the scene or use a green tube or pocket to make them disappear into (or emerge from) the tent or backpack!
2) Print out a flashlight and tape green paper on the light part. Set your green screen as a camping scene with objects for students to spot (e.g. tent, campfire, river, canoe, bear, etc.). The background will only show up on the green portion of the “magic flashlight” as you move it around the screen. You could also use or print out binoculars for this activity!
Activities for Older Students:
Camping Themed Language Cards by The Speech Express - These CAMPING themed digital task cards are perfect for targeting ANY language goal and even some social skills goals too, including perspective-taking, problem solving, and conversation (asking questions/making comments)
Camping Safety for Kids by AAA State of Play - great for reading comprehension, main idea, vocabulary
15 of The Best Places to Camp Around the World by Rough Guides - great for reading comprehension and loaded with high-level, tier two vocabulary, has gigantic photos for describing or comparing/contrasting
Indoor S’Mores Recipe from Kids in the Kitchen - great for retelling steps in a procedure
Camping Conversation Starters (including Would You Rather) questions
Green Screen Activity: Pack for a camping trip or for wilderness survival - set your virtual background as a picture of a camping location (i.e. mountaintop, lakeside, desert, beach, etc.) and have the student create a packing list for that spot using the whiteboard tool
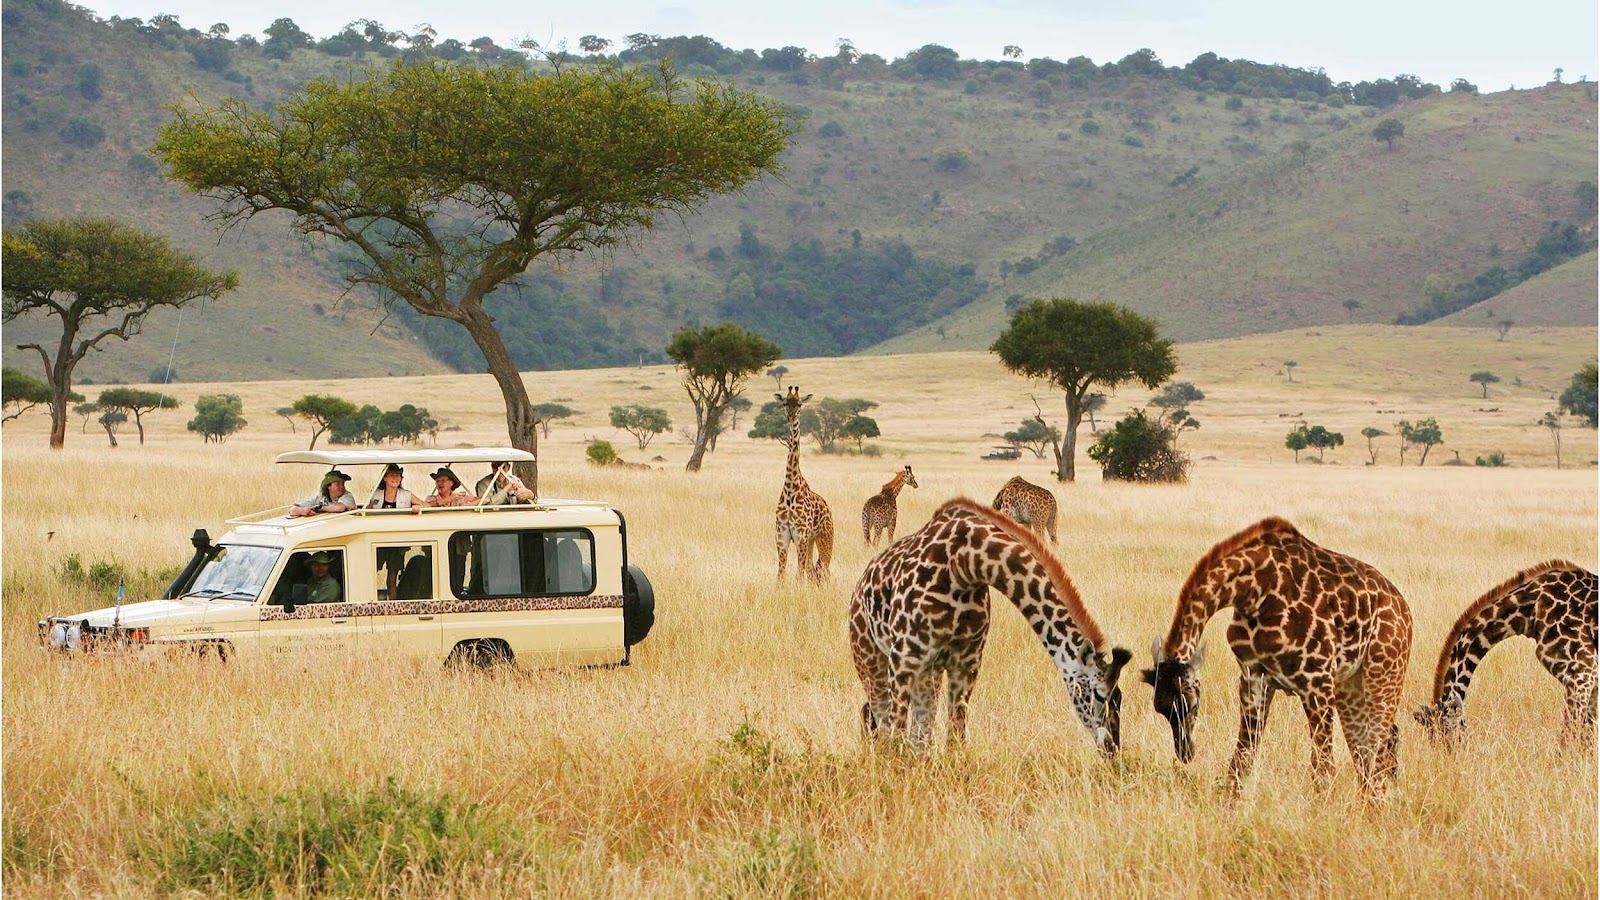
Zoo or Wild Animals Theme
Activities for Younger Students:
Wild Kratts Games on PBS Kids including Baby Animal Rescue, Creature Mobile, Photoshoot Game, Monkey Mayhem
Goodnight Gorilla Wordless Picture Book (animated!) on YouTube
The View at the Zoo book read-aloud on YouTube
Never Ever Shout in a Zoo book read-aloud on YouTube
Class Two at the Zoo book read-aloud on YouTube
Green Screen Activities:
1) Change yourvirtual background to a picture of a zoo scene or safari scene. SLP bonus points if you wear a safari hat or have actual binoculars or a camera! Print/cut pictures of various wild animals. Have the student name animals that you describe or have them describe an animal that you have placed into the scene by sticking it onto your green screen. You can pretend to search for animals using your binoculars before each one appears and/or can pretend to snap a picture of the animal with your camera after it appears. For greater language opportunities, make sure that your wild animals are performing various actions (ex: elephant spraying water, hippo swimming, tiger sleeping).
2) Change your virtual background to a giant panda. Have students tell you to feed the panda food items or pictures that you have printed.
Activities for Older Students:
Wild Cats Reading Comprehension and Visuals by The Speech Express - 10 passages about various wild cats, each with targets for predicting, text structure, context clues, literal and inferential comprehension questions, main idea/summarizing. Visuals are also included for each goal area
What Animal Pattern Are You? Personality Quiz on Nat Geo Kids
Wild Cat Personality Quiz on Nat Geo Kids
Cute Baby Animal Personality Quiz on Nat Geo Kids
Amazing Animals and Funny Animal Videos on Nat Go Kids
Green Screen Activity: Change yourvirtual background between various zoo animal parts (ex: an extreme closeup of a tiger’s tail). Have the student make inferences about what animal it might be and why.
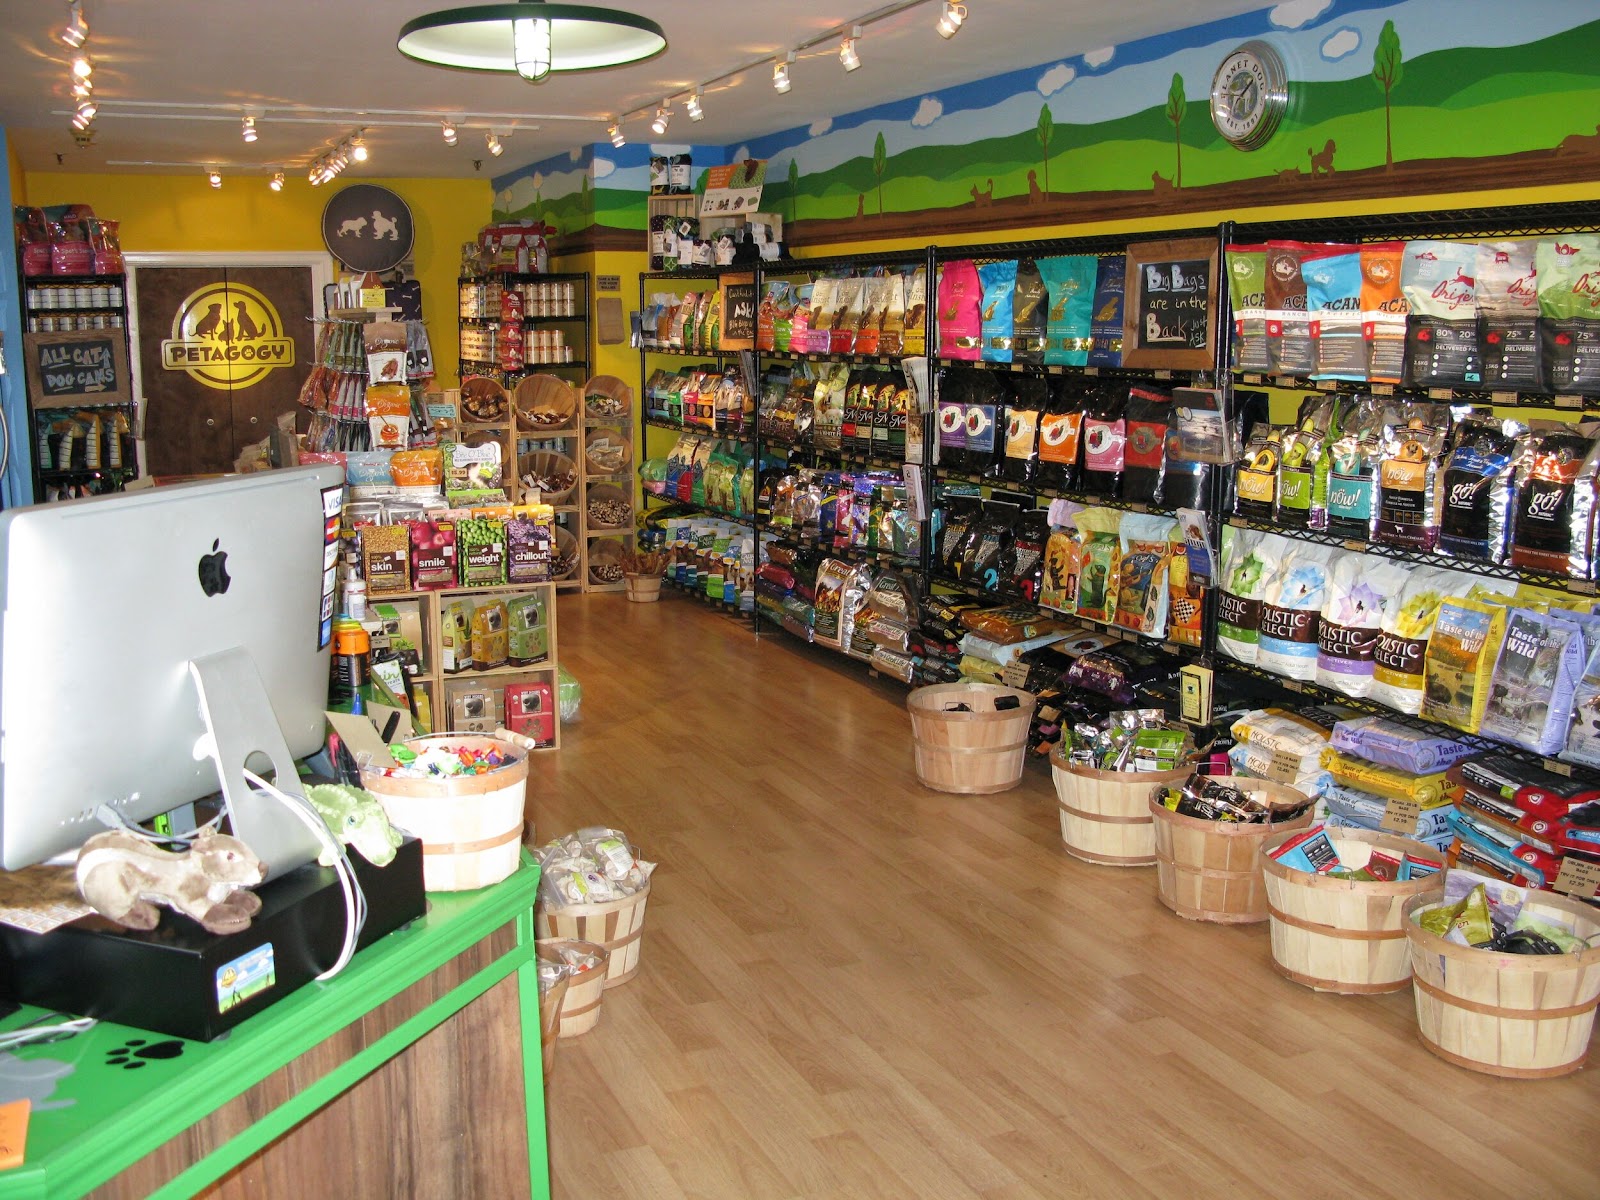
Pets Theme
Activities for Younger Students:
Martha Speaks (dog) Games on PBS Kids like Scrub a Pup
Arthur’s Animal Home Builder Game on PBS Kids - great for describing, requesting, following directions
Pet Themed Games on Disney LOL like My New Puppy
Giant Hamster Run Game on ABCya
Rescue Dog Mission - great for reading/listening comprehension, describing, and making inferences for elementary schoolers
Arthur’s Pet Business book read-aloud on YouTube
My Pet Wants a Pet book read-aloud on YouTube
Pete the Cat A Pet for Pete book read-aloud on YouTube
Simon’s Cat Wordless Animated Shorts on YouTube - pause the videos and they become coloring pages, color one part of the picture using the Annotate tool to direct the child’s attention when answering q’s! You can also give directions for the student to color
Green Screen Activity: Change yourvirtual background to a pet store scene. Print/cut pictures of pets and pet supplies (ex: chew toy, bone, leash). Have the student name pets/supplies from a description and then tell you where to place them in the scene using specific location concepts. Stick pictures onto your green screen to arrange them in the scene.
Activities for Older Students:
Search for pets on Petfinder.com - use photos for describing, comparing/contrasting and use descriptions for reading comprehension, context clues, making inferences about ideal owners
Pip Animated Short Film on YouTube - this wordless short features a young puppy that is learning to be a seeing eye dog. It’s great for inferencing, retelling/narrating the plot!
Funny Pet Video Compilation (this is one of many) on YouTube - great for inferencing, answering “why” qs, describing what happened in each clip
Which Cat Breed Are You? Quiz on PlayBuzz
“Shop” for a pet on Amazon!
Have the student write a persuasive paragraph or essay convincing a parent/caregiver to let them get a pet of their choice

Disney or Castle Theme
Activities for Younger Students:
Disney Games on Disney LOL - Tons of games featuring popular characters like Mickey Mouse, Cars, Disney princesses, Frozen
Disney Coloring Pages on Disney LOL - color online using provided coloring tools or annotate feature
Green Screen Activity: Change yourvirtual background to the outside of a castle such as Cinderella’s castle. Print/cut pictures of Disney characters and/or magical objects (ex: the genie’s lamp from Aladdin). Describe characters or objects for students to name and have them tell you where to put them in the castle scene. Stick them to the green screen in the various locations.
Activities for Older Students:
Walt Disney Facts for Kids on Kiddle
Disney Would You Rather Game on Oh My Disney
Disney Personality Quizzes and Trivia Quizzes on Oh My Disney
Cinderella Escapes Escape Room by Henika District Library
Escape From Wonderland Escape Room by MCCLS
Magical Disney Lock-In Escape Room by Richmond Hill Public Library
Star Wars Digital Escape Room by Dover Area Library
Green Screen Activity: Change yourvirtual background to a photo of the outside of a castle. Change your backgrounds to different rooms within the castle so that the student can go on a virtual castle tour. Have the student make inferences about the different rooms (ex: Which room is this? How do you know? What might someone do in this room?)

Superhero Theme
Activities for Younger Students:
Superhero Coloring Pages on Hello Kids
Ten Rules of Being a Superhero read-aloud on YouTube
Super Hero Adventures - These are the Avengers book read-aloud on YouTube
Even Superheroes Have Bad Days book read-aloud on YouTube - great for social skills and loaded with tier two vocab
Green Screen Activity: Change yourvirtual background to a picture of a city such as Gotham City. Print/cut pictures of familiar superheroes. If the kiddo is into Legos, you can also use printouts of Lego superheroes. Have students describe and compare/contrast the superheroes. They can use location concepts to request where they should go in the scene. Attach superheroes to your green screen to arrange them. Have the student come up with dialogue for the superheroes or generate a narrative that includes characters, setting, problem, and solution.
Activities for Older Students:
Marvel Games on Marvel HQ
Marvel Characters Descriptions on Marvel HQ - reading comprehension, describing, comparing/contrasting
Marvel Comics on Marvel HQ - great for reading comprehension, emotions, inferencing, and loaded with tier two vocab
15 Surprising Facts About Your Favorite Superheroes on Reader’s Digest - reading comprehension, vocab / context clues
Superhero Personality Quiz on Nat Geo Kids
Marvel Avengers: Escape from the Hyrda Base! Escape Room by Richmond Hill Public Library

Outer Space Theme
Activities for Younger Students:
Ready Jet Go! Games on PBS Kids
Martha Speaks Socks in Space Game on PBS Kids
Ready Jet Go! Tour Of The Solar System video (and other activity ideas) on PBS Kids
If I Were an Astronaut book read-aloud (read by an astronaut!) on YouTube
Me and My Place in Space book read-aloud on YouTube
Pete the Cat Out of this World book read-aloud on YouTube
Green Screen Activity: Change yourvirtual background to an outer space scene. Print/cut pictures of outer space items (ex: star, planet, rocket, moon). Have the student name each item from a description and then tell you where to place the item in the scene as you stick them onto your green screen.
Activities for Older Students:
Space Explorer Training Escape Room (ages 11 and up) by Campbell County Public Library
Parts of Speech Asteroid Game on ABCYa
Outer Space Jokes for Kids on Funology - great for explaining multiple meanings, sound-alike words, and word relationships
Space MadLibs Online on Nasa
Spaced Out MadLib Online on Nat Geo Kids
Which Planet Should You Call Home? Personality Quiz on Nat Geo Kids
Space Facts on The Planets - reading comprehension, vocab, context clues
Virtual Field Trip - Slime in Space by Nickelodeon on YouTube
Virtual Field Trip - Johnson Space Center on Boeing Future
Green Screen Activity: Change yourvirtual background to a blank Tic Tac Toe board. Print/cut pictures of a few outer space items like astronauts and planets that can fit inside the squares. Play a game of Tic Tac Toe where each player uses a space-themed item inside of an X or an O. Require students to use specific location concepts to request where items should be placed relative to one another (ex: in the top row, in the middle row next to the ____).

Snow Day Theme
Activities for Younger Students:
100 Snowballs Game on ABCya
Make a Snowman Game on ABCya
Snoring (Winter Edition) Game on ABCya
The Ruff Ruffman Show Fish Force Game on PBS Kids
Sid the Science Kid Snowflake Match Game on PBS Kids
Sid the Science Kid Snow Search Game on PBS Kids
Winter Games on Disney LOL
Sneezy the Snowman book read-aloud on YouTube
Snowman Magic book read-aloud on YouTube
At Home With Olaf video clips on YouTube
That’s Silly Winter Scene by Highlights - works great as a green screen background
Green Screen Activities: Change yourvirtual background to a snowy day scene.
1) Print/cut pictures of snowman components (ex: three snowballs of different sizes, a carrot, pieces of coal, scarf, etc.) Have the student sequence steps to build a snowman and request each component. Stick pictures onto the green screen to assemble the snowman. For more opportunities to request, describe, and compare/contrast, print multiple options for clothing items (ex: scarves that are different colors, carrots that are different sizes).
2) Pretend to dig in the snow using a real shovel that you have at home. Describe items for the student to name and then pull them out of the snow magically using a green tube or pocket. These can be pictures of winter items, pictures of arctic words, or actual household objects.
Activities for Older Students:
Winter MadLib Online (Funny Fill-In) on Nat Geo Kids
Snow Sculptures Gallery on Nat Geo Kids - great for describing, comparing/contrasting, formulating sentences about a picture given target words
Snow-Themed Articles on Nat Geo Kids
Snow Jokes by Fun Kids Jokes - great for explaining multiple meanings, sound-alike words, and word relationships
Which Winter Activity Should You Do? Personality Quiz by Beano
Winter Themed Mini Unit by The Speech Express - address all goals included reading comprehension, context clues, inferencing, articulation

4th of July Theme
Activities for Younger Students:
Daniel Tiger Daniel’s First Fireworks book read-aloud on YouTube
Daniel Tiger First Time for Fireworks video on PBSKids
Fourth of July Mice book read-aloud on YouTube
The Night Before the 4th of July book read-aloud on YouTube
How to Make a Cherry Pie and See the USA book read-aloud on YouTube
July 4th History for Kids video on YouTube
Fireworks Song - can be used as a warm-up with preschoolers
4th of July Coloring Pages on Hello Kids
Virtual 4th of July Parade on YouTube
Free 4th of July Picture Scene Boom Card Game - use to work on prepositions, direction-following, vocab, describing, and more
Free 4th of July Bingo Boards - use for naming to description, cross off items as they’re named
Free 4th of July Facts Boom Cards by SpedEdLove - great for basic listening comprehension/recall
Green Screen Activities:
1) Use avirtual background (click for 200+ free backgrounds) of the night sky and print/cut pictures of fireworks that are different sizes/colors. Whenever the student answers a question, says their target sound, describes a picture, etc., add a firework to your green screen so that it appears in the sky! Use the fireworks themselves to work on making choices (ex: between two types), describing, comparing/contrasting, or location concepts. You can find a free sound clip of a firework exploding to play as you add each firework to make the activity even more realistic!
2) Use avirtual background of a backyard barbecue with an open grill. Print/cut pictures of barbecue food items to “cook” on the grill. Use food items to work on describing, talking about food likes/dislikes, comparing/contrasting, or categorizing into barbecue / non-barbecue foods.
Activities for Older Students:
4th of July Jokes on imom.com - great for explaining multiple meanings, sound-alike words, and word relationships
The 4th of July Facts by Kids Konnect
7 Myths About the 4th of July on beliefnet
History of the 4th of July Article on History.com
4th of July Crossword Puzzle on allfreeprintable.com
4th of July Photos on Pixabay - use for describing, comparing/contrasting, formulating a sentence given a target word
What is Your 4th of July Anthem Personality Quiz on Playbuzz (song plays at the end!)
U.S. President Personality Quiz on Nat Geo Kids
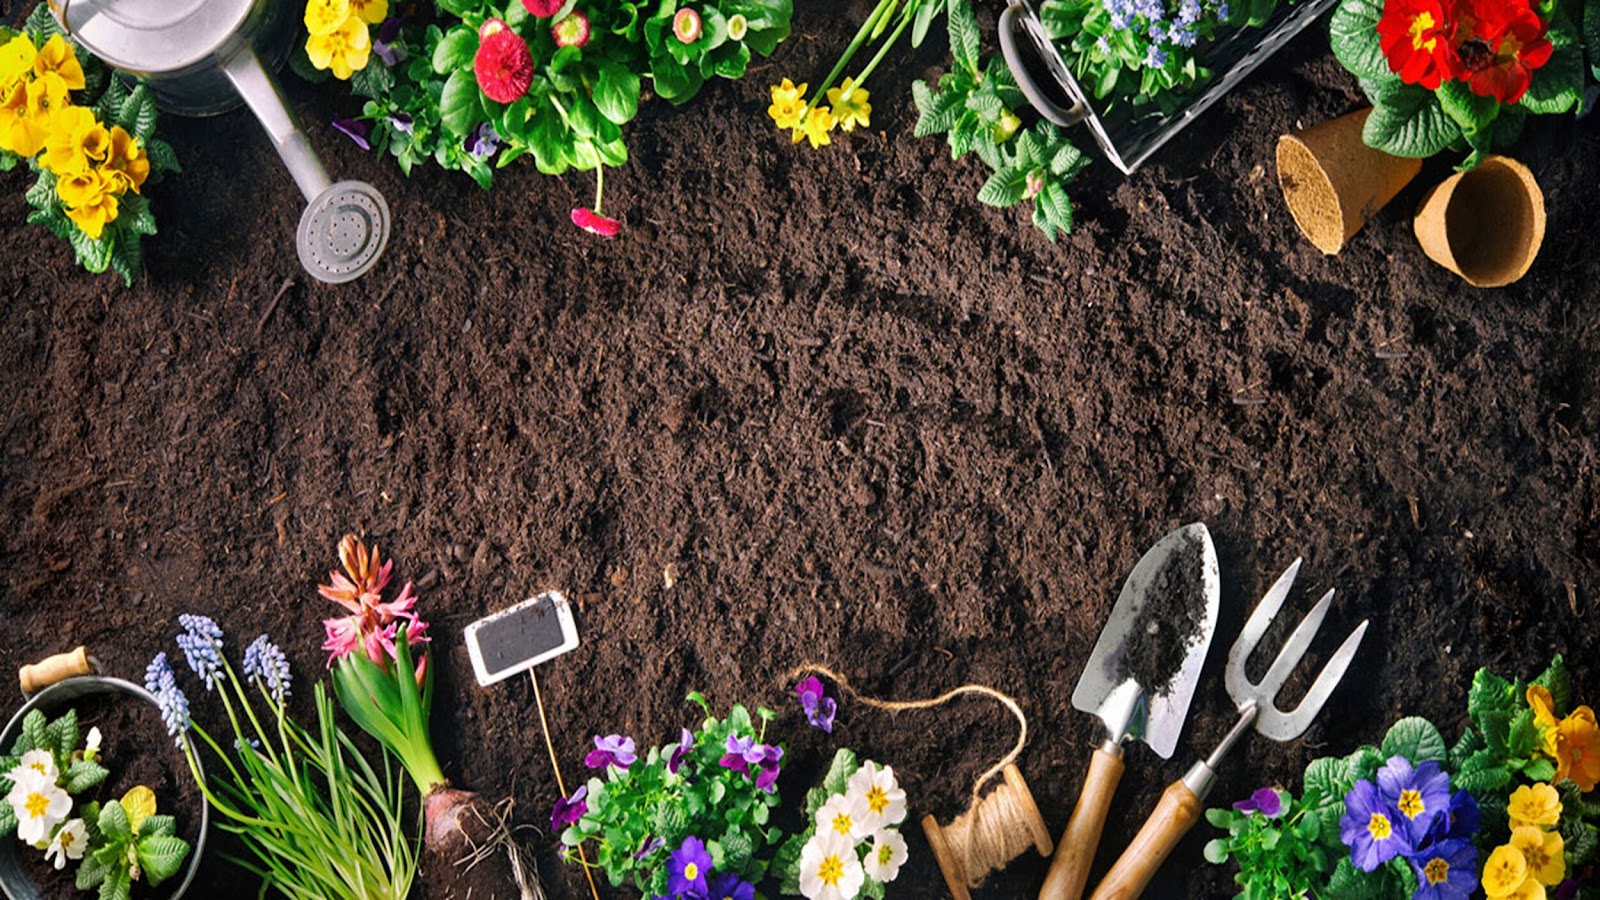
Bug Theme
Activities for Younger Students:
Curious George Bug Catcher Game on PBS Kids
Good Luck Charlie Bugs Be Gone Game on Disney LOL
How to Make a Bouncy Butterfly (Craft) video on ABCya - great for retelling steps in the procedure, describing supplies
Bug Games on Pest World for Kids - check out Bug Builder and Sort the Bugs
Plant Monster PowerPoint Game by Spiffy Speech - includes a variety of language visuals and activities
Bug Hunt book read-aloud on YouTube
Heads and Tails Insects book read-aloud on YouTube - great for naming bugs from a description
The Bugliest Bug book read-aloud on YouTube - loaded with tier two vocab!
Green Screen Activities:
1) Change yourvirtual background to a picture of a flower garden. Print/cut pictures of bugs that have various sizes, colors, and attributes. Stick bugs all over your green screen and use a real net to “catch” the bugs. Have the student request bugs for you to catch, name bugs that you describe, describe the bug you catch, or compare/contrast two bugs. SLP bonus points if you pretend to scream and run away from the bee! 2) Change your virtual background to a picture of a garden with dirt. Use a real shovel and pretend to dig in the dirt for the bugs.
Activities for Older Students:
Pest Detective Game on Pest World for Kids - great for reading comprehension, critical thinking
Pest Rangers Game on Pest World for Kids
Wacky Weekend Bizarre Bugs on Nat Geo Kids - great for describing, comparing/contrasting, writing captions
Experts Answer 20 Common Questions About Bugs on Scholastic
Bug, Spider, Insect Jokes and Riddles on Enchanted Learning - great for explaining multiple meanings, sound-alike words, and word relationships
Yummy Bugs on Science News for Students - reading comprehension
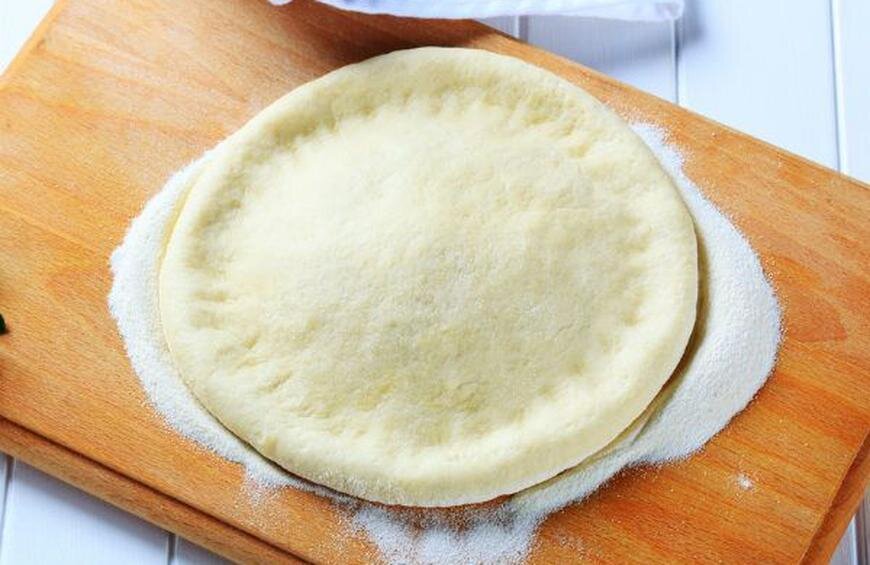
Pizza Theme
Activities for Younger Students:
Make a Pizza Game on ABCya - great for turn-taking, describing, requesting, direction following
Peg and Cat Pizza Place Game on PBS Kids - great for direction-following, describing, quanitity concepts
Pete the Cat and the Perfect Pizza Party book read-aloud on YouTube
Secret Pizza Party book read-aloud on YouTube
Curious George and the Pizza Party book read-aloud on YouTube
Cooking with Pixar Forky’s Pizza Planet Pizza video on Disney LOL - great for retelling steps in a procedure, describing actions
Green Screen Activity: Change yourvirtual background to a pizza parlor scene that has a large crust. Print/cut a picture of sauce, cheese, and various toppings. Have the student sequence steps to make a pizza and request each ingredient. Add ingredients to the pizza by sticking them onto your green screen.
Activities for Older Students:
Crazy Pizzas Around the World - great for vocabulary, paraphrasing, expressions/idioms
Pizza Party MadLibs Online by Glow Word Books
Alan’s Pizzeria Game on ABCya - great for sequencing steps in procedures
What Your Favorite Pizza Topping Says About Your Personality on Little Things
Pizza Jokes on Pug Jokes - great for explaining multiple meanings, sound-alike words, and word relationships
36 Amazing Facts You Didn’t Know About Pizza by Deniro’s Pizza
Sweet Treats Theme
Activities for Younger Students:
Make a Cake Game on ABCya
Make a Cupcake Game on ABCya
Make an Ice Cream Game on ABCya
Cookie Friend Game on Disney LOL
The Ruff Ruffman Show Ruff’s Cookie Creator Game on PBS Kids
Cookie Monster Games on PBS Kids
Free Create Your Own Ice Cream Boom Cards by Teacher Kimmy
Daniel Tiger O Drops His Ice Cream video on PBS Kids
Arthur An Ice Cream Experiment video on PBS Kids
Splat the Cat Scream for Ice Cream book read-aloud on YouTube
Groovy Joe Ice Cream and Dinosaurs book read-aloud on YouTube
Curious George Goes to an Ice Cream Shop book read-aloud on YouTube
Monster Bake Shop Boom Cards andMonster Sundae Shop Boom Cards by Speech Safari for direction-following, describing with attributes
How to Make Ice Cream video on YouTube
Green Screen Activity: Change yourvirtual background to a candy world or ice cream parlor scene. Print/cut pictures of cones, bowls, spoons, various ice cream scoops, and toppings such as m&ms, fudge, or a cherry. Have the student request each component to describe their desired ice cream as you stick each piece onto your green screen to assemble it.
Activities for Older Students:
Virtual Tour - Ben & Jerry’s Factory on YouTube
Nouns and Verbs Ice Cream Game on ABCya
Ice Cream Personality Quiz on Nat Geo Kids
11 Fun Facts About Ice Cream You Probably Didn’t Know on Stanpac - reading comprehension
Dessert Jokes on Jokes4Us - great for explaining multiple meanings, sound-alike words, and word relationships
33 Easy Dessert Recipes (photo slideshow) on Delish - use photos for describing, formulating sentences given a target word, comparing/contrasting, and use recipes for retelling steps in a sequence
Chocolate MadLib Online by Glow Word Books
60+ Funnest outside activities
60 + Funnest Outside Activities for Kids
Get some fresh air!
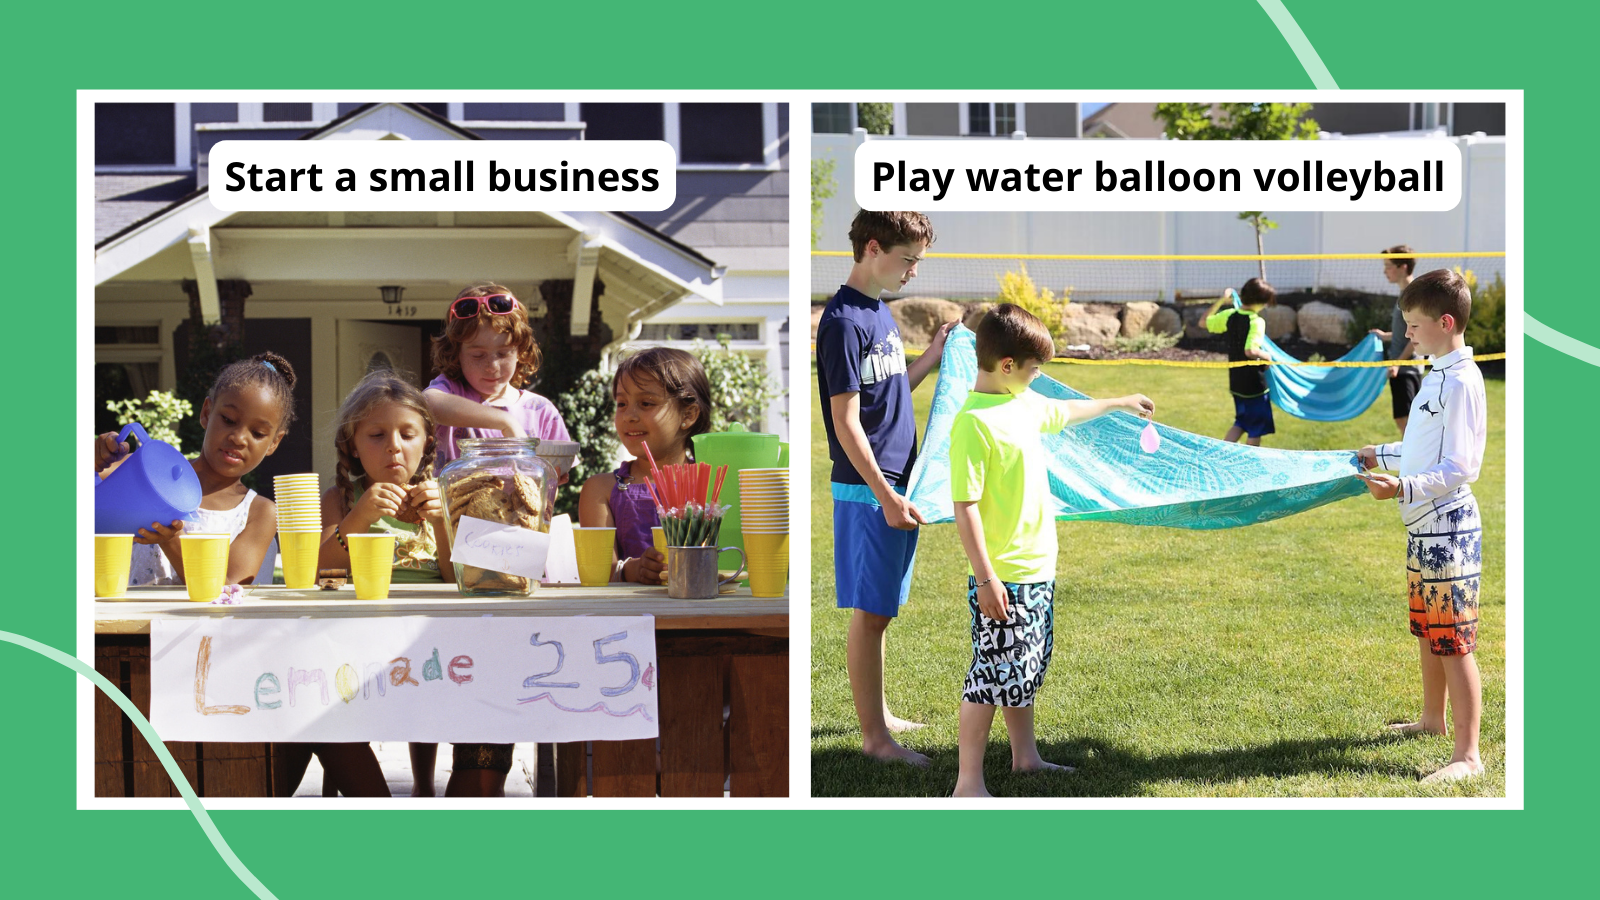
Whatever the weather, it’s always a good time to get outside. From water play to crafts and more, there’s plenty of fun in the great outdoors to be had by all. Here are our favorite outside activities for kids that keep them active and engaged all year long.
Have a picnic
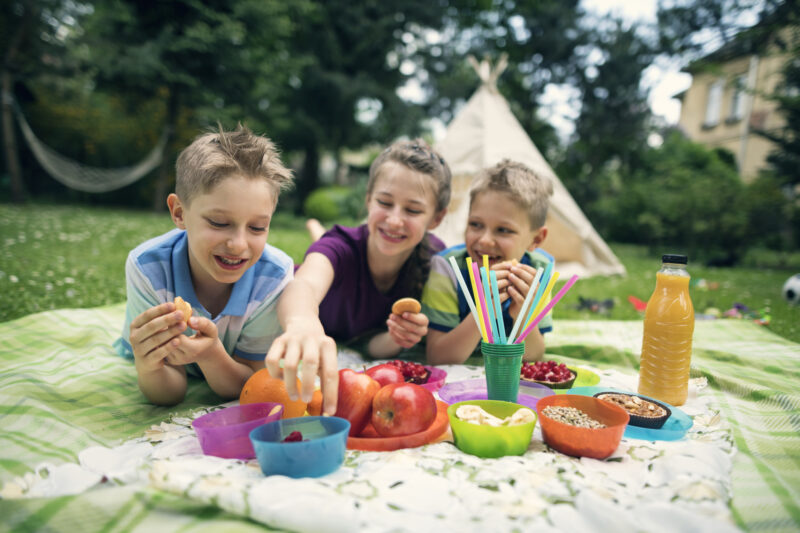
Picnics are tried-and-true outdoor activities for kids. Bringing a blanket and a basket out into the yard or to the park makes any meal special.
Learn more: Picnic Food Ideas/Love and Lemons
Camp in the backyard
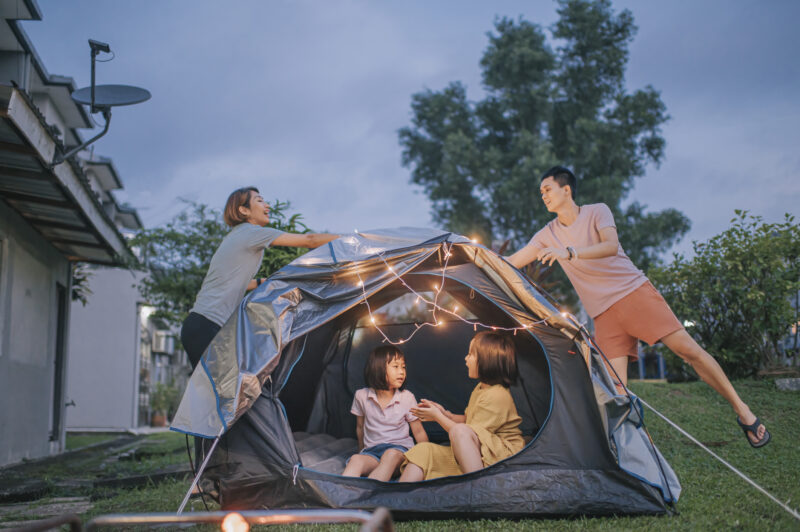
Set up a tent, or bring out blankets so the kids can make one of their own, and spend the day outside. If it’s an actual tent and your kids are old enough, let them sleep out in the backyard for a night (or two).
Play snail
Play a version of hopscotch that involves a snail shell.
Go stargazing

A clear night is a great time to see stars. Here is a guide of five constellations that kids can spot.
Outside movie night
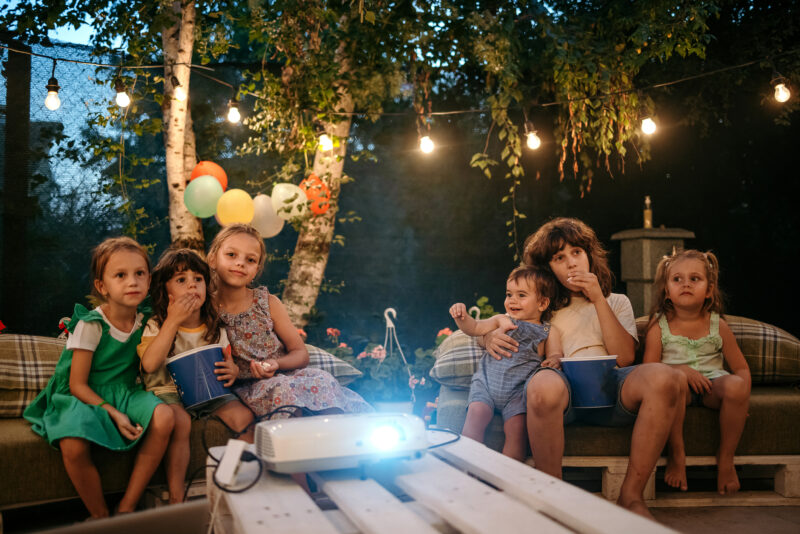
Outside movie nights are memorable activities for kids. Set up a projector screen (could also be a white sheet) or pull a TV to where you can see it from outside and cue up a favorite movie.
Kick hopscotch up a notch
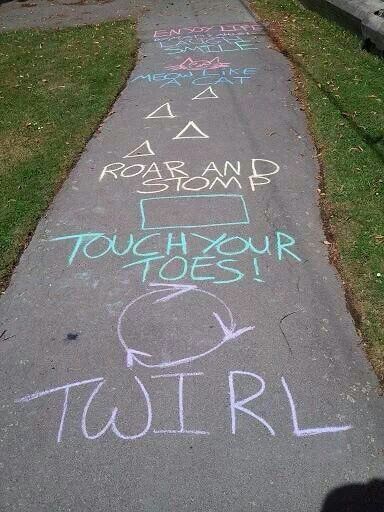
Make hopscotch more challenging by writing directions for what kids should do when they land on each square. Turn around, do a jumping jack, stomp like a dinosaur, all the way down the sidewalk.
Learn more: Clever Ways To Play Hopscotch/Crafty Morning
Play Duck, Duck, Splash
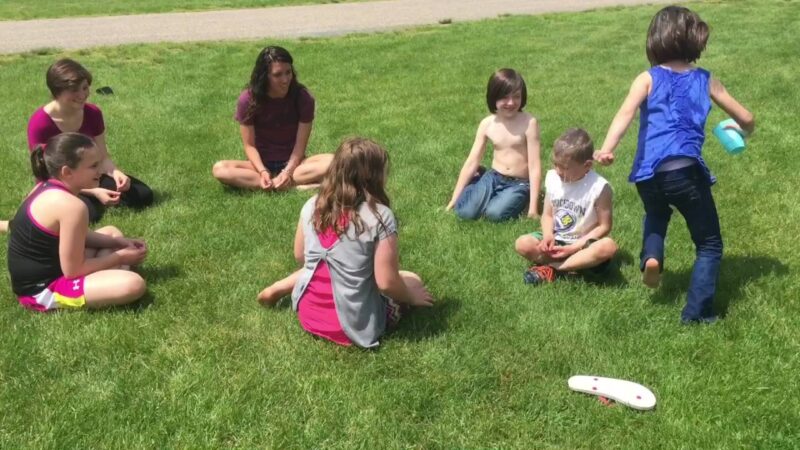
It’s like Duck, Duck, Goose, but instead of goose, you’re carrying a water spray bottle or squirt gun, and you splash the person you want to chase.
Learn more: Duck, Duck, Splash/Inspiration Made Simple
Play water balloon volleyball
Using a beach towel as a springboard, launch a water balloon over the net. The other team tries to catch it in their towel and launch it back over. If the balloon breaks on your side of the net, the other team gets a point.
Learn more: Water Balloon Volleyball/It’s Always Autumn
Stage a car race in the driveway
Use sidewalk chalk and other obstacles (sticks, rocks, pool noodles cut in half) and create a racecourse for cars.
Learn more: Outdoor Racetrack/Mum’s Grapevine
Play Frisbee tic-tac-toe
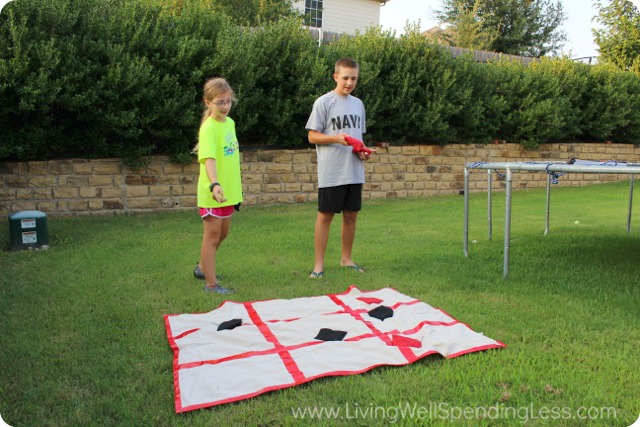
Turn an old sheet into a tic-tac-toe board with some tape, then use Frisbees (or beanbags) of different colors, or with Xs on half, to play tic-tac-toe.
Image: Frisbee Tic-Tac-Toe/Living Well, Spending Less
Play field hockey with pool noodles
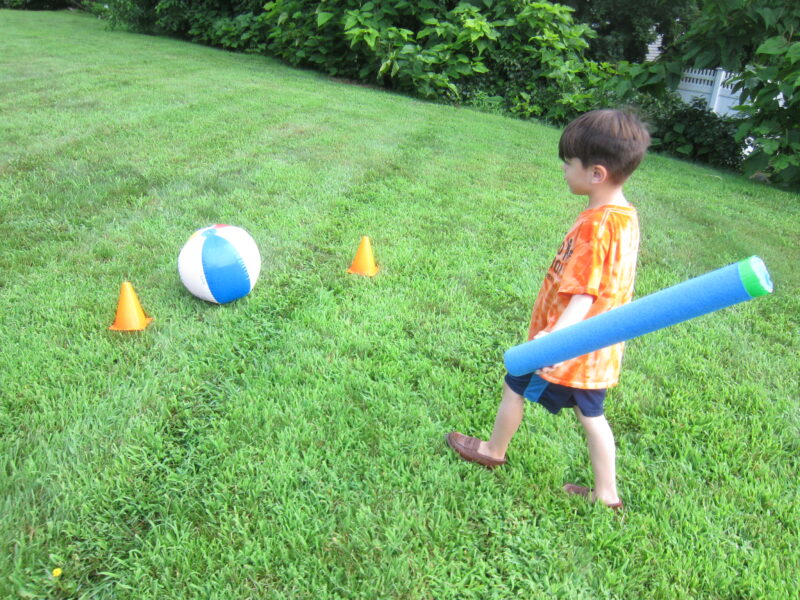
Use pool noodles as sticks, balloons for the ball, and two laundry baskets for goals. The pool noodles move the balloons across the lawn to score goals in the laundry basket.
Learn more: Pool Noodle Hockey/Joyful Parenting
Sail in a paper-boat race
Create paper boats, then us straws to create wind while racing them in a kiddie pool or tub.
Make frozen suncatchers
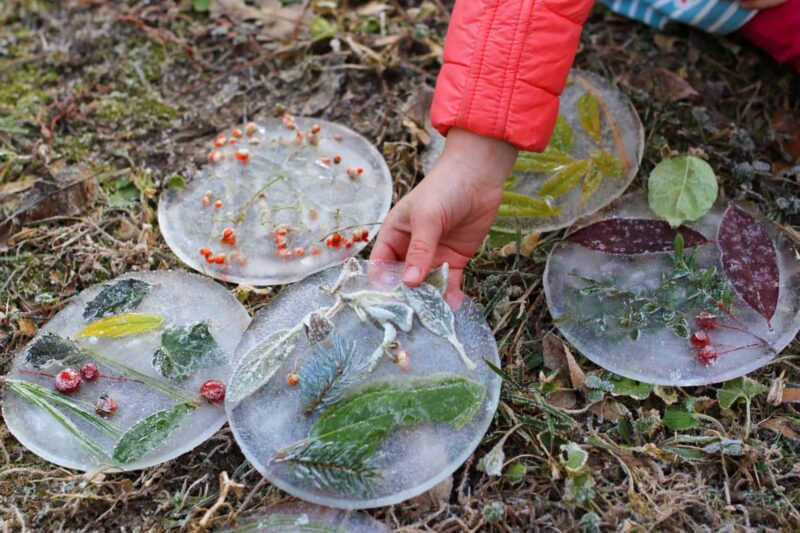
Gather items from outside—berries, evergreen boughs, twigs, leaves. Then, put out a plastic lid or pie plate as a mold. Fill the mold with water and arrange the elements. Leave it outside overnight to freeze in winter or pop it in the freezer in the summer. Then, remove the ice from the mold and you have a suncatcher to prop outside on your window to admire.
Learn more: Frozen Suncatcher/Run Wild My Child
Make a DIY obstacle course
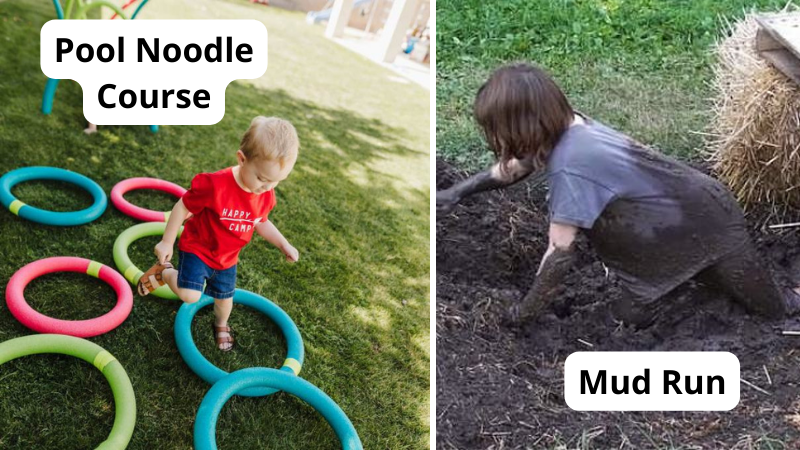
Obstacle courses are fun outside activities for kids. Pull out all the outside gear for this one. Use jump ropes, Hula-Hoops, pool noodles, and whatever you have to create an obstacle course.
Learn more: DIY Obstacle Courses
Paint with flyswatters
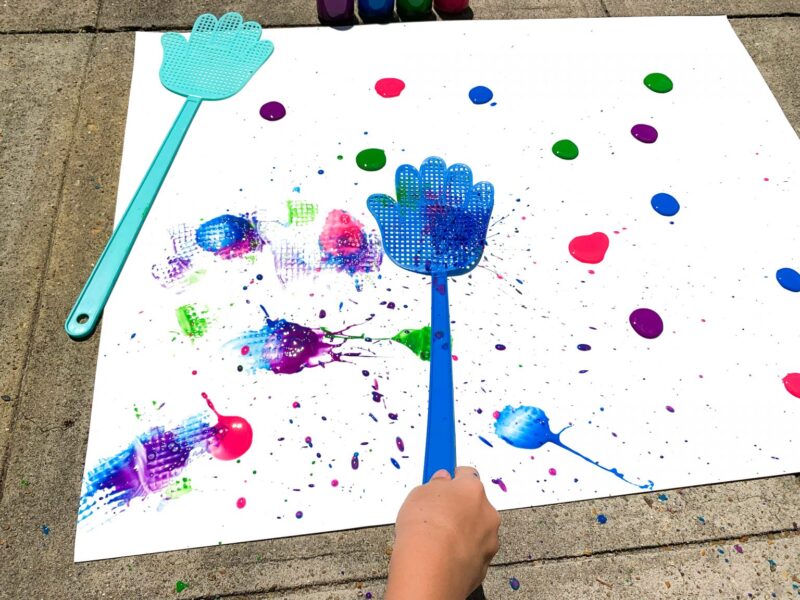
Dip a flyswatter in paint, or put dots of paint on paper, and use the flyswatter to spread the paint around.
Learn more: Fly Swatter Finger Painting/Little Bins for Little Hands
Melt crayons in the sun
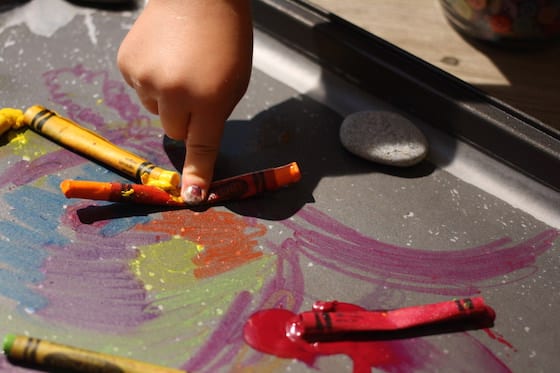
Looking for outside activities that incorporate repurposing items you no longer need? Gather up old crayons and paper plates and aluminum foil. Place the aluminum foil on top of the paper plates. Then, put the crayons on the foil and place it in the sun. You can put the crayons inside of cookie cutters to give them shape. Once they are done melting, you can take them out of the cookie cutters and have new crayons.
Learn more: Sun-Melted Crayons/Happy Hooligans
Build a birdhouse
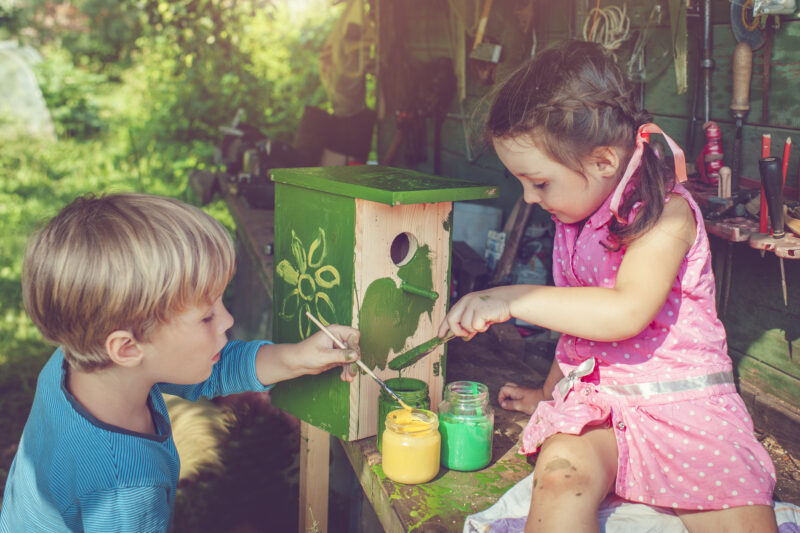
It’s easy to create a bird feeder using materials that you can find around the house, from plastic containers and spoons to oranges and birdseed. To make it more interesting, make a few bird feeders and hang them in different spots in your yard so you can see what kinds of birds visit each.
Learn more: Bird Feeder Ideas/Spruce Crafts
Catch fireflies
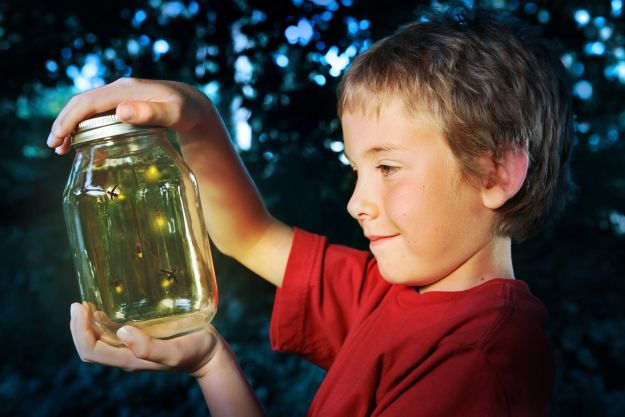
Catch fireflies in a jar to observe the insects. Release them at the end of the evening.
Learn more: Guide To Catching Fireflies/Homesteading
Create a fairy garden
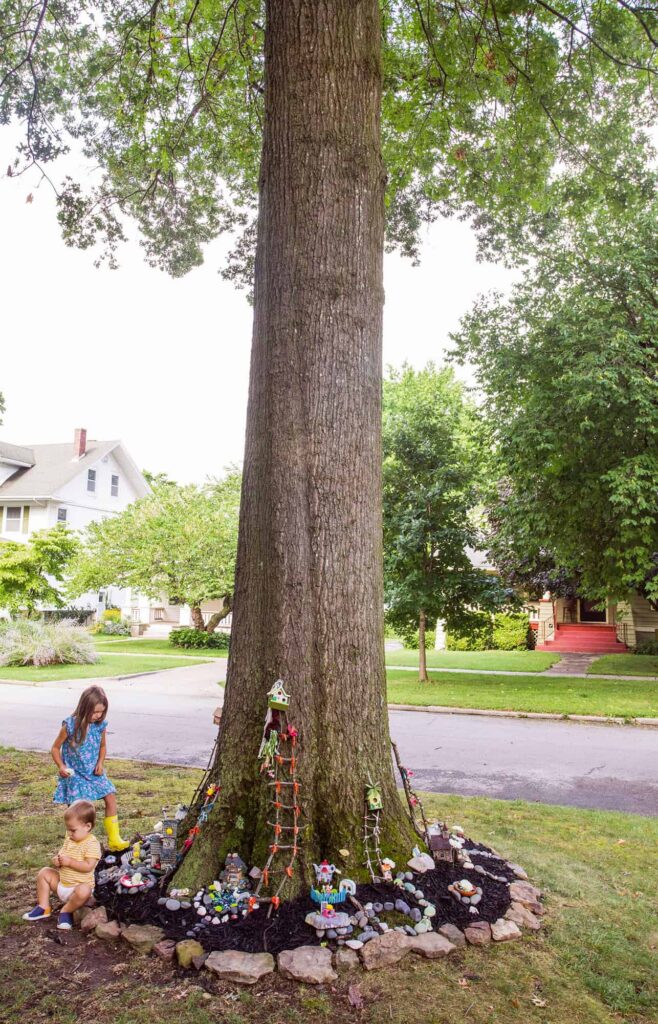
Find things from around the house, like spools, clay, broken pots, and more, to create a fairy garden. Or purchase a fairy garden kit at Amazon to get you started.
Learn more: Fairy Garden Tour/A Beautiful Mess
Go on a bug hunt
Scavenger hunts are classic outside activities for kids. In this version, they’ll hunt for bugs. How many different types of bugs can they find in the backyard? Bring a magnifying glass or jar to catch and observe them.
Learn more: Bug Hunt/Family Corner
Make mud pies
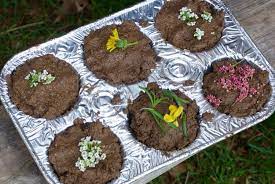
Get dirt, add water, and use old cake pans and plates to create mud pies. Decorate them with flowers and leaves.
Learn more: Make Mud Pies/Sparkle Stories
Have a bike parade
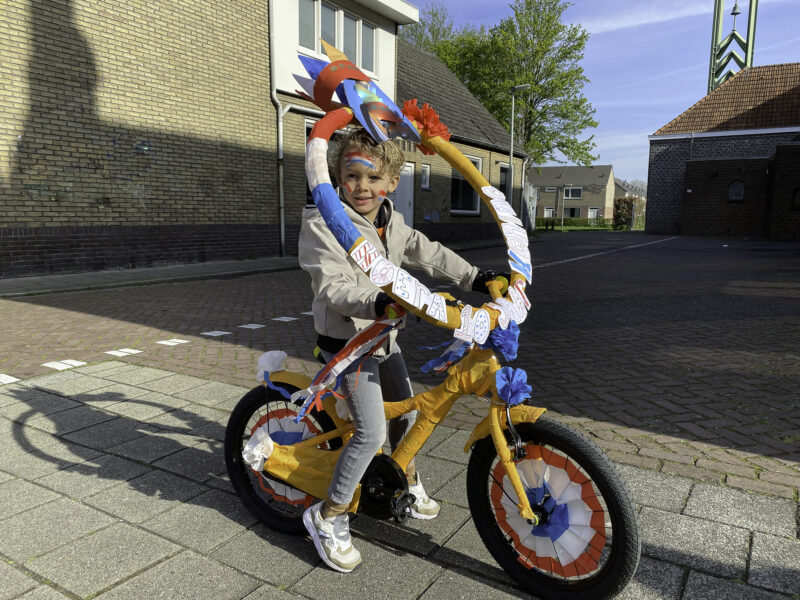
Decorate bikes with streamers, balloons, and flags. Then, bike around the neighborhood. Better yet, get other kids involved in the fun and keep the parade going. You might associate bike parades with the 4th of July, but Memorial Day, Labor Day, even the holidays (think: adding Christmas lights to bikes) are all good excuses for a bike parade.
Construct a cardboard fort
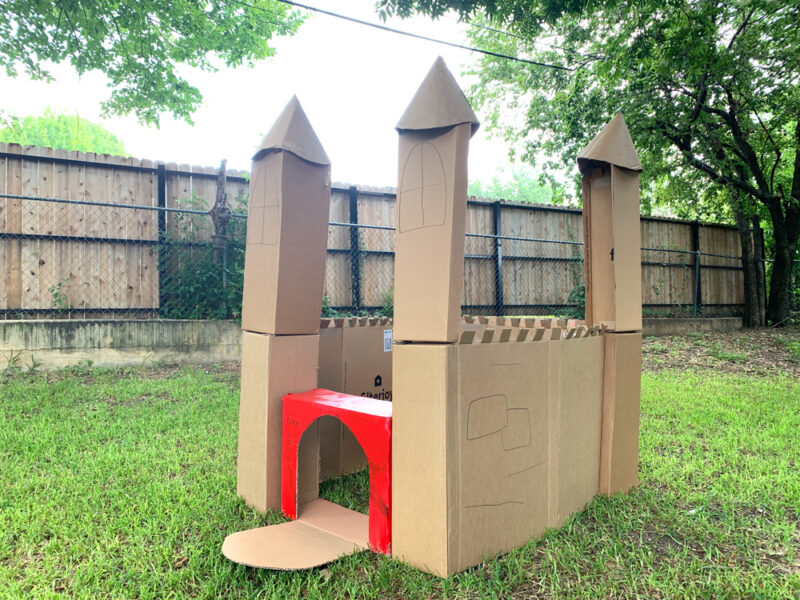
Get a bunch of cardboard boxes, tape, paint, and markers and see what your kids can make out of them.
Learn more: Cardboard Box Fort Ideas/Backyard Summer Camp
Make a rock garden
Search for rocks—the smoother the better. Then, paint them and create a rock garden. You can also get a rock-painting kit that comes with inspiration from Target.
Learn more: Rock Garden Ideas/SheKnows
Map the neighborhood
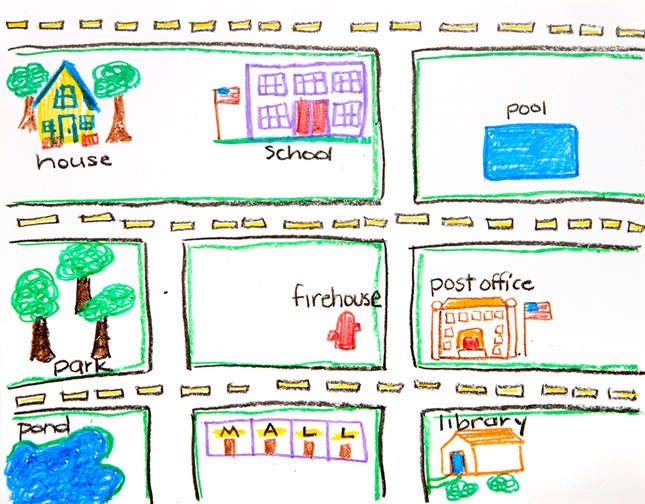
Look at maps of your city. Then, have your kids take a paper and pencil and walk through their neighborhood, making their own map.
Learn more: Nifty Neighborhood Maps/Crayola
Hold a neighborhood scavenger hunt
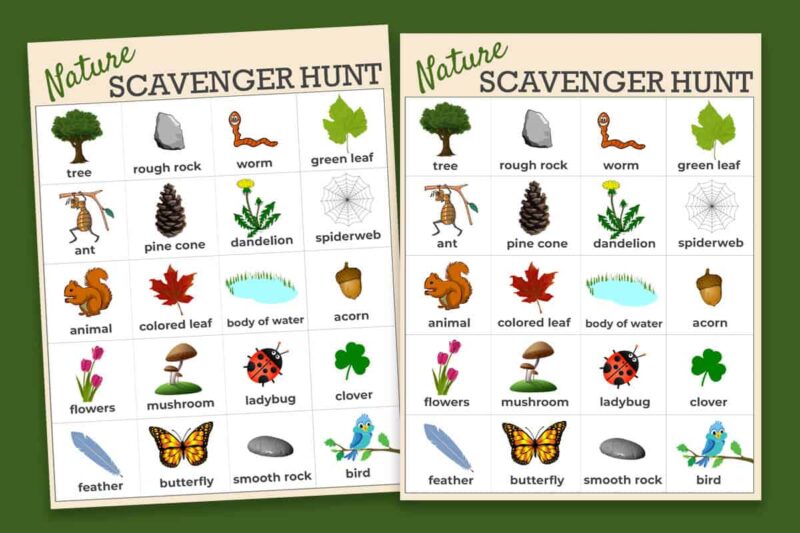
Beforehand, walk around your neighborhood and make a list of things that the kids are sure to find (stop sign, red house, mailbox shaped like a barn). Then, give your kids the list and see if they can find everything on your list.
Learn more: Scavenger Hunt Printable/Miss Merry
Play water limbo
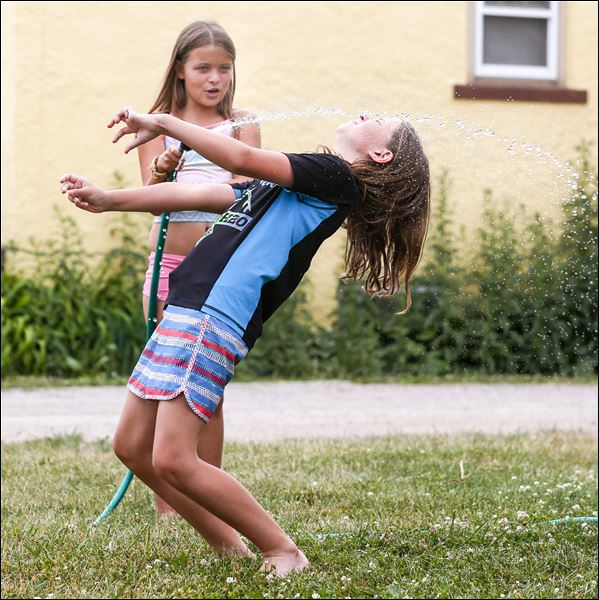
Use a hose as a stick and spray water in a stream for kids to limbo under.
Learn more: Water Hose Limbo/Great Camp Games
Toss water balloons
There are plenty of outside activities for kids using water balloons. For this one, fill up water balloons and have kids start close together. Toss the balloon, then take a step back. Repeat until the balloon bursts, then start over.
Learn more: Eco-Friendly Water Balloons/Cool Mom Picks
Buy it: Bunch O Balloons at Amazon
Build igloos
The night before, fill various containers with water and different food coloring and freeze it. Then, pop the ice out of the molds and let kids build with it until it melts. Or get serious and freeze water in bread pan molds and use them as bricks to build an igloo.
Learn more: Make Igloos/Burlington Free Press
Slip-n-Slide
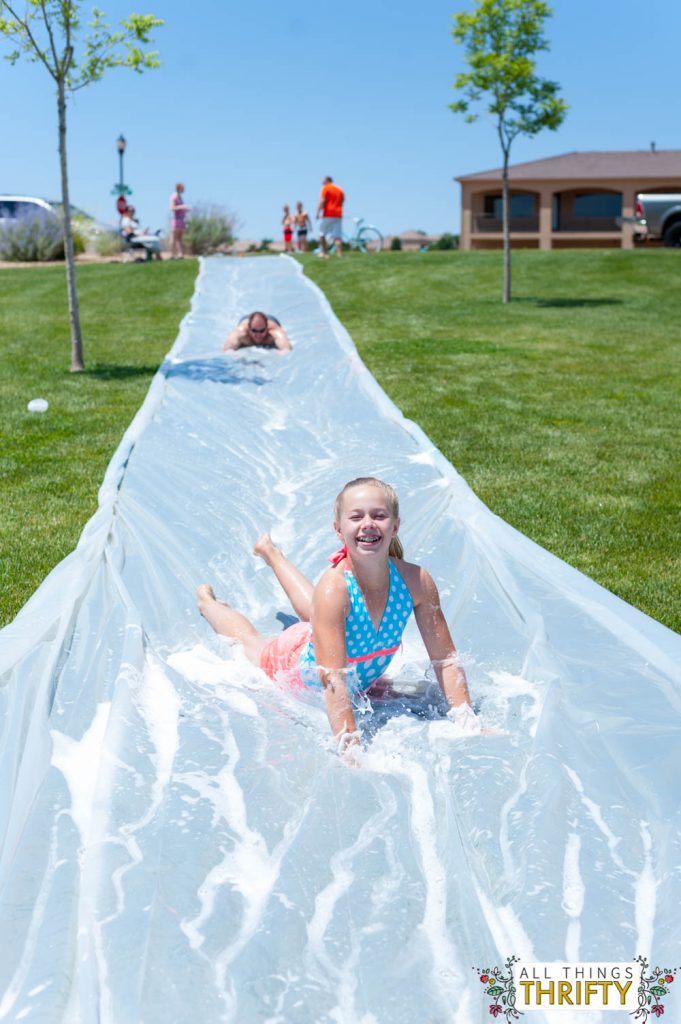
Make your own Slip-n-Slide with a plastic tarp, secure it on a hill, and run the hose down the middle. Have kids slide down on their bellies or on pool floats.
Learn more: Build a Slip-n-Slide/All Things Thrifty
Buy it: Water Slides and Body Board Set at Amazon
Throw sponges at targets
Draw a bull’s-eye on the driveway and give points to each circle. Then, put a bunch of sponges in a container of water. Have kids stand at a starting line and throw the sponges at the target.
Learn more: Sponge Bullseye/KiwiCo
Have a sponge relay
This game is great for a group of four or more kids. Put two buckets out for each kid or team. Fill one bucket with water and sponges; the other bucket stays empty. The kids have to transfer water from the full bucket to the empty one using just the sponges. Whoever fills their bucket first is the winner.
Learn more: Sponge Relay/Flying With Four
Paint with squirt guns
Fill a squirt gun with paint (or paint mixed with water if the paint is thicker), then aim it at a piece of paper or bedsheet to create spray art.
Learn more: Squirt Gun Painting/Fireflies and Mud Pies
Buy it: Squirt Guns at Amazon
Play water balloon dodgeball
Use water balloons in a game of dodgeball.
Read outside
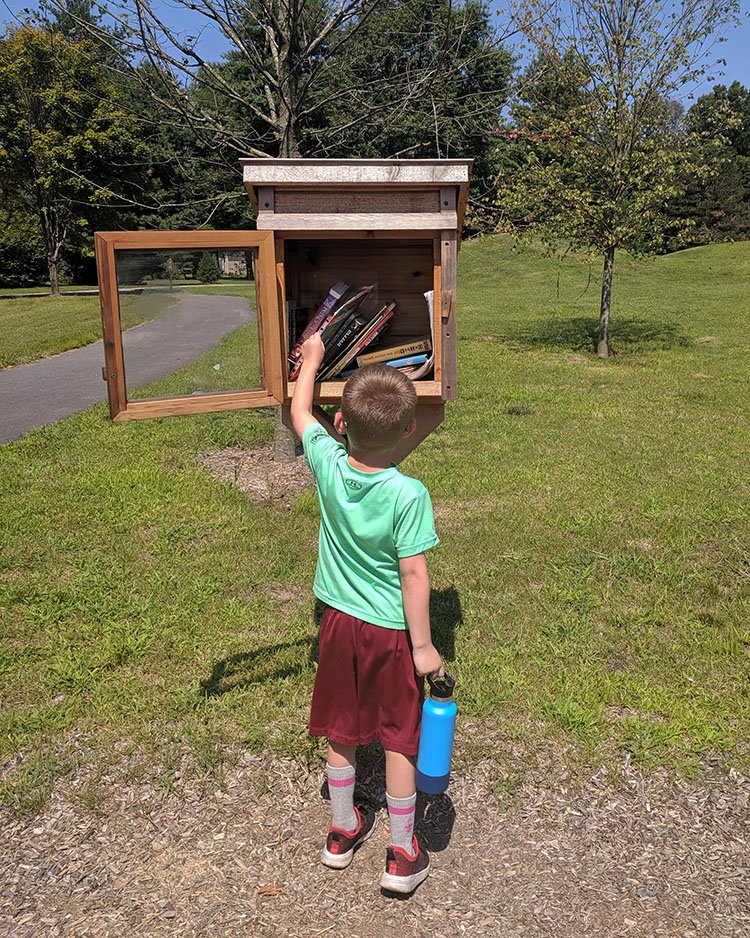
Get blankets, chairs, tents, whatever you need to make a cozy reading nook. Bring out a pitcher of lemonade and a stack of books. This activity is best when it’s nice and cool outside—no bugs and no humidity.
Learn more: Ways To Enjoy Reading Outside/Honestly Modern
Clean the cars
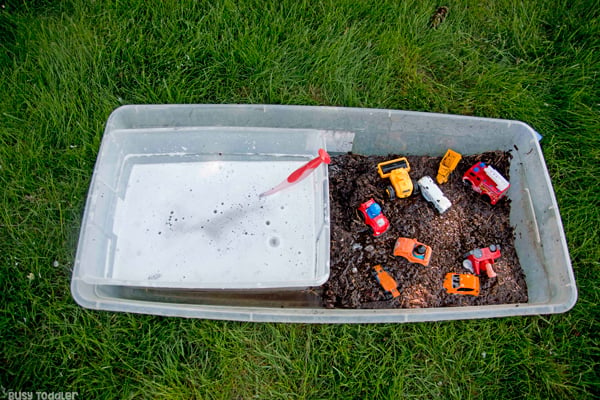
Get a plastic tub. Fill half with dirt and trucks and cars, the other half with soap and water. Then, sit back and relax as your children put vehicles through car wash after car wash.
Learn more: Clean the Cars Sensory Bin/Busy Toddler
Blow big bubbles
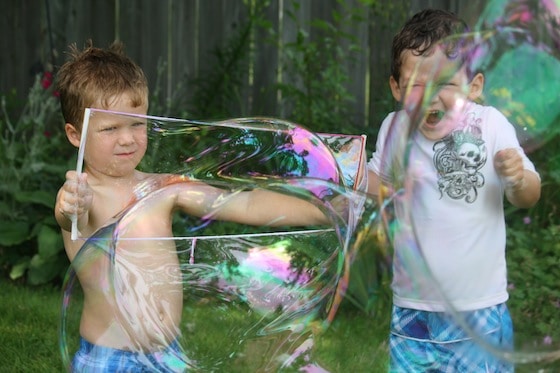
See how big a bubble you can create with homemade solution in a kiddie pool and a bunch of different bubble wands. A Hula-Hoop or rope both make good giant bubble creators.
Learn more: Homemade Giant Bubbles/Happy Hooligans
Buy it: Giant Bubble Making Kits at Amazon
Play parachute games
Stretch out a parachute and put balls on top, then shake the parachute but try not to let the balls roll off. Lift the parachute and see how many people can run under it before it comes down. Sit under the parachute and create a tent. These are just a few ideas for how to play with a parachute.
Learn more: Parachute Games/Backyard Games
Buy it: Play Parachute at Amazon
Make a sensory table
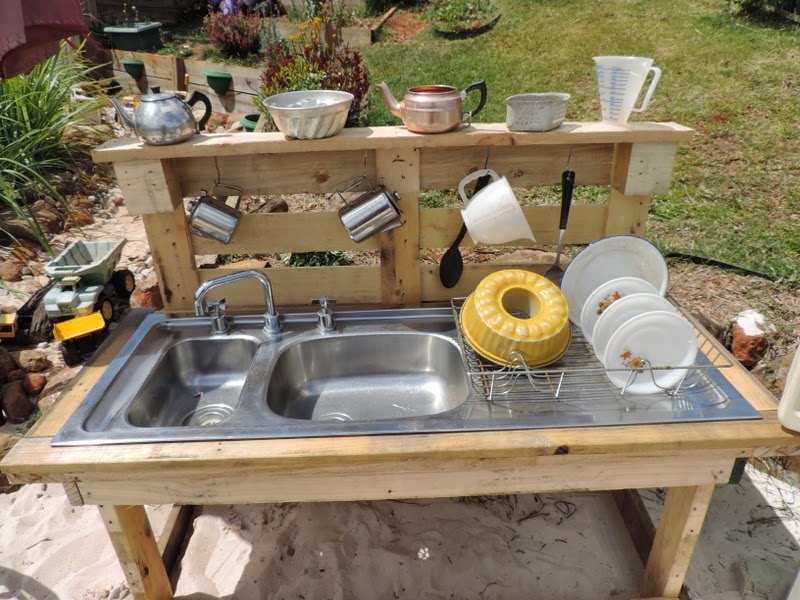
An old train table repurposed as a water table, or a coffee table, now with bins for sand and water. Water and sensory tables are a fun way for kids to play creatively.
Learn more: DIY Sensory Tables/The Empowered Educator
Play classic games
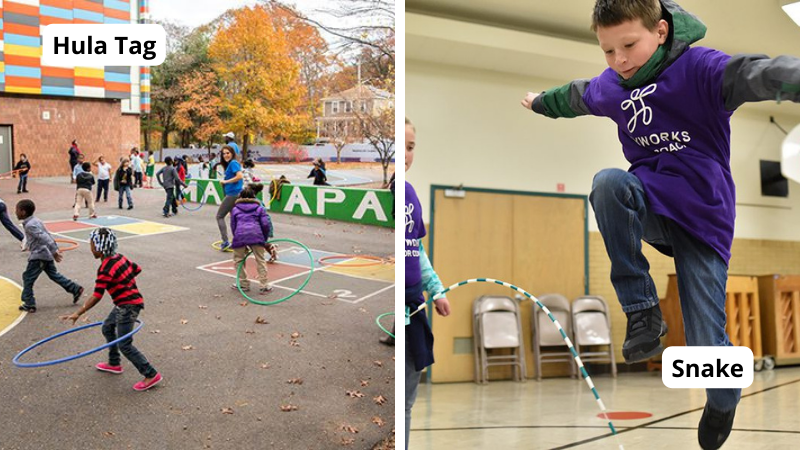
The games you played when you were a kid never go out of style. Teach your child the classics:
Red Rover, Red Rover
Red Light, Green Light
Mother May I
Kick the Can
Learn more: Classic Recess Games
Host a s’mores party
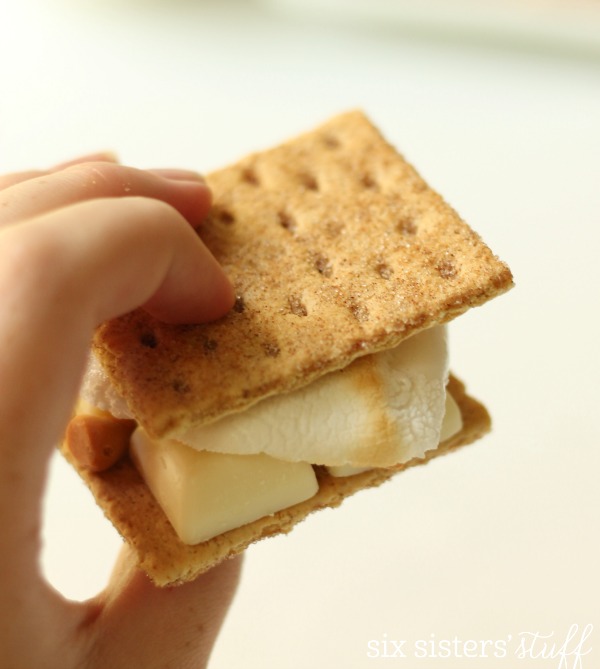
Start up the fire pit and make s’mores, the quintessential outdoor dessert. You can stick with the classic—graham crackers, marshmallows, and chocolate—or try one of the options at the link below.
Learn more: S’mores Recipes Six Sisters’ Stuff
Learn how to play cornhole
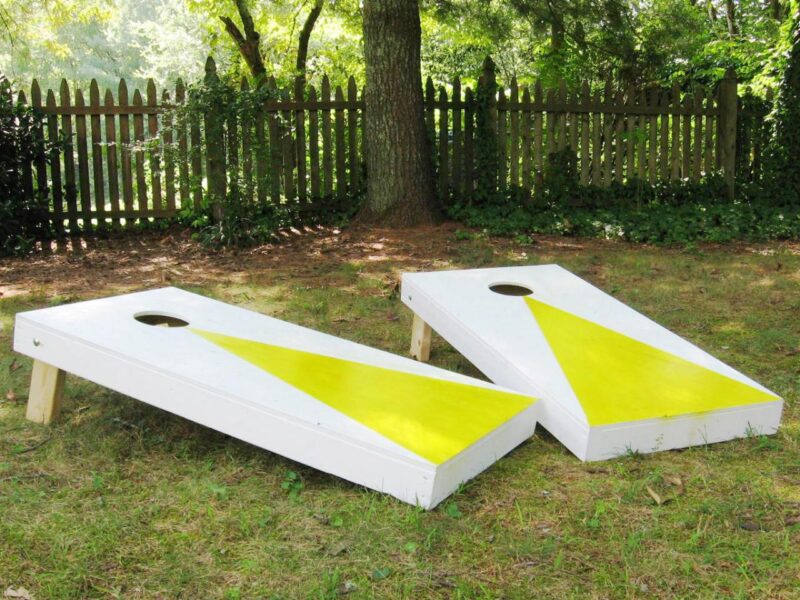
Cornhole is the classic game that involves throwing beanbags at a target. The team with the most holes in wins. You can make your own or buy a set. Either way, cornhole is a game that kids will work to master.
Learn more: Make Your Own Cornhole Game/HGTV
Buy it: Junior Cornhole Game Set at Amazon
Make sidewalk chalk art
Use painter’s tape to mark off shapes on the sidewalk. Then, color in each space with chalk. The result is a Pinterest-worthy chalk art design.
Learn more: Geometric Chalk Art/A Sprinkle of Pink
Buy it: Colored Sidewalk Chalk at Amazon
Play bocce ball
Make use of a flat area in your yard to set up a bocce ball game. Each player needs two same-color balls. Then they toss the ball to see who can get it closest to a white marker.
Buy it: Bocce Ball Set at Amazon
Play backyard putt-putt
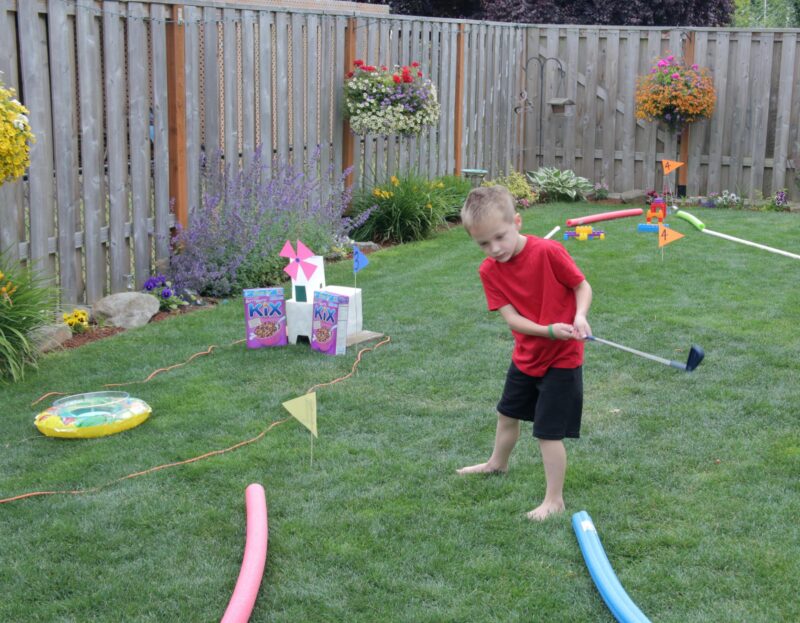
Create a real mini-golf challenge around your yard, taking all the hills, dips, and obstacles into consideration. Either use objects you already have—croquet wickets, boxes with holes cut out, PVC pipe, cups. Or purchase a mini-golf kit.
Learn more: Backyard Mini Golf Course/Kix Cereal
Buy it: Mini Golf Kit at Amazon
Make your own bubble foam
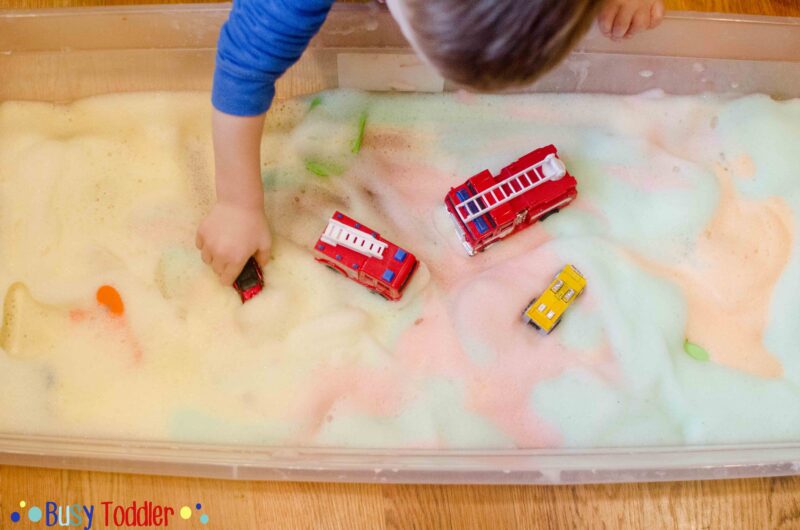
No matter how you slice it, foam is fun. And making your own foam is extra fun. Mix two parts water with one part tear-free bubble bath. Add food coloring. Mix with a hand mixer on high until it reaches the foamy consistency you like.
Learn more: Bubble Foam/Busy Toddler
Start a garden
Gardens provide plenty of outdoor activities for kids that keep on giving. In fall, plant the seeds. Keep watch on the garden during winter. In spring, look for the first shoots, and take care of the garden until harvest in summer. Up in the Garden, Down in the Dirt by Kate Messner is a picture book that explains what’s happening under the dirt in your garden, and it takes you through the entire year.
Buy it: Gardening Starter Kit at Amazon; Up in the Garden, Down in the Dirt at Amazon
Go fishing
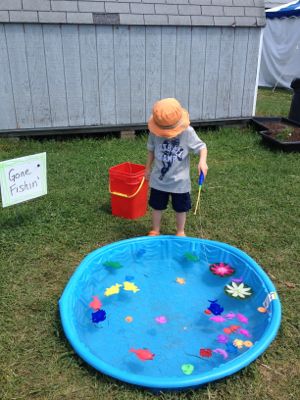
Fill up a kiddie pool with magnetic animals (or cut out fish with paper clips attached to them) and use a magnetic pole to catch them all. Fill the pool with water, or not, depending on your child’s preference.
Learn more: Brain-Boosting Ways To Use a Kiddie Pool/Mommy University
Buy it: Magnetic Fishing Set at Amazon
Run a three-legged race
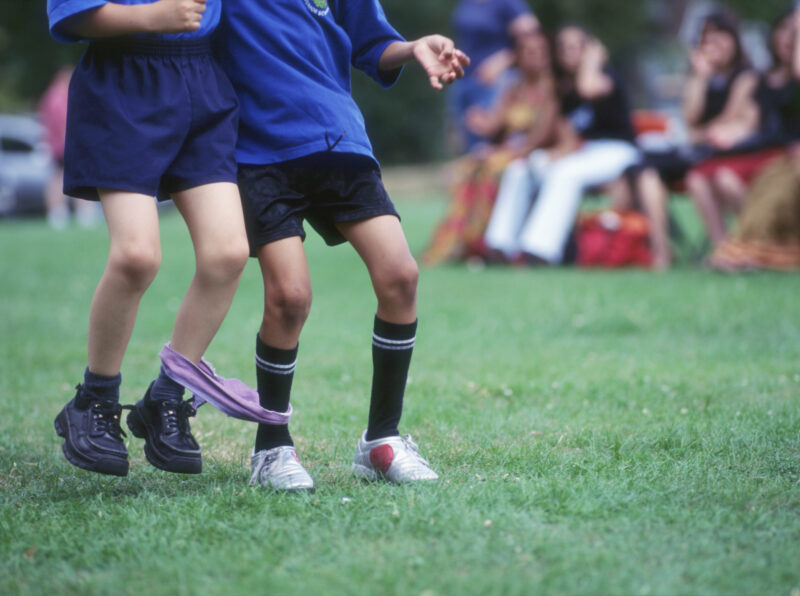
If you have an even number of kids, pair them up for a three-legged race. Use a rope or exercise band to tie kids’ legs together. For a variation, get a huge shirt and have three kids work together. One kid puts their head through the head, and two kids put their heads through the sleeves. Then, they have to run from start to finish. Kids love the challenge, and we love them learning to work together.
Learn more: Hold a Three-Legged Race/Our Pastimes
Jump rope
Jump rope is great exercise, confidence building, and fun.
Learn more: Jump Rope Rhymes and Games/Mommy Poppins
Play all kinds of tag
There are so many kinds of tag to play:
Blob Tag: When you’re tagged you join the blob.
Hot Dog Tag: One kid is the hot dog, and they tag two “buns.”
Animal Tag: Kids have to act like animals when they are tagged.
Dragon Tag: As kids are tagged, they link arms to form a dragon.
Learn more: Fun Tag Game Variations
Capture the flag
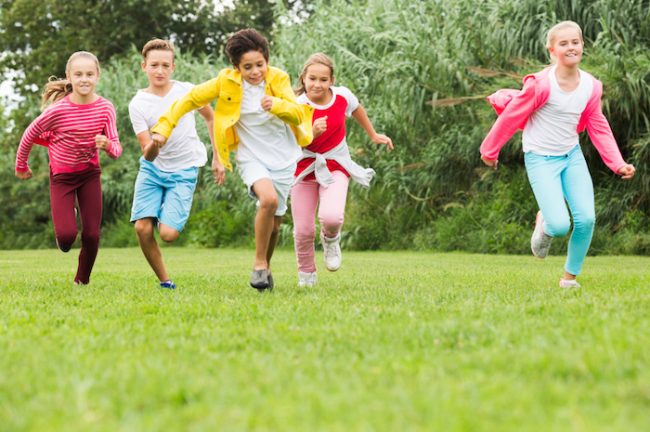
Capture the Flag’s rules haven’t changed since you were a kid. Each team tries to take the other team’s flag and get it back to their territory. But if a player gets tagged by the other team while on that team’s side, they get sent to “jail.” The game ends when one team gets the other team’s flag to their home base.
Learn more: Capture the Flag/Party Games 4 Kids
Create a business
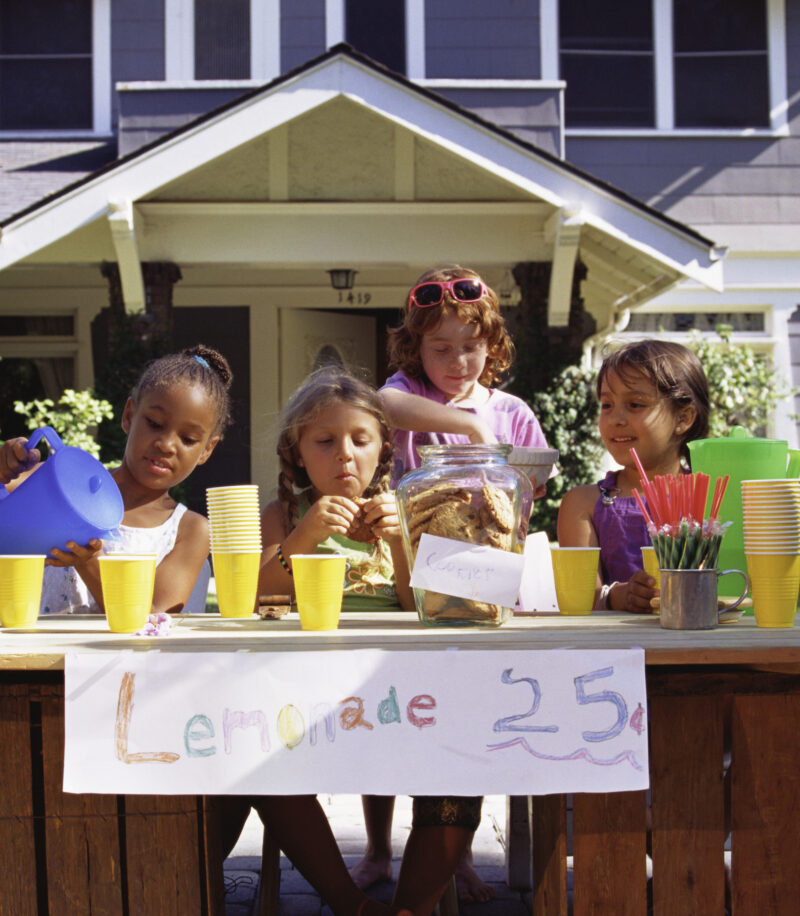
Encourage your entrepreneurial kid to set up a lemonade stand, or decide on something else to sell. First, survey neighbors to find out what they’d like to buy. (Maybe people want Popsicles in summer but hot cocoa in winter.) Then, have your kids price out the ingredients and go shopping with you. Figure out what time of day is best to sell. And put up advertisements around the neighborhood.
Create a water wall
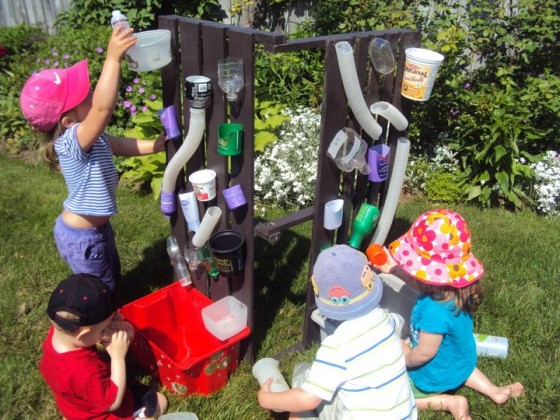
Kids love outside water activities! A water wall is essentially a maze for water to trickle through. Hang different objects from your house—tubes, milk jugs and cottage cheese cartons with the bottoms cut out, funnels, and anything else that water could go through—on a pegboard or simply on the wall. Then, run water through it and see how it flows.
Learn more: Water Wall/Happy Hooligans
Make a homemade water blob
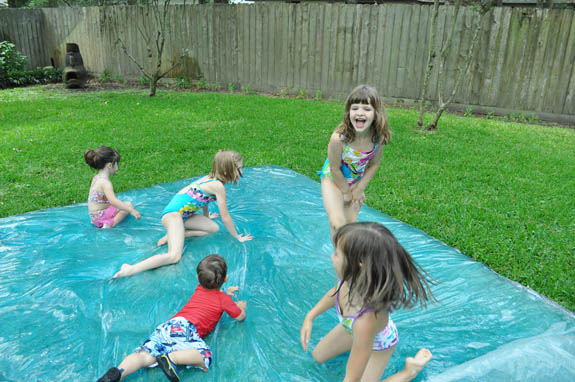
A water blob is a large piece of thin plastic, folded in half, taped shut, and filled with water. Essentially, a huge water balloon that kids can play on. Make your own by folding and sealing plastic sheeting with duct tape. Then, fill the blob with water. If it springs leaks while you play, just seal them back up with duct tape.
Learn more: Water Blob Tutorial/Clumsy Crafter
Get creative with tie-dye
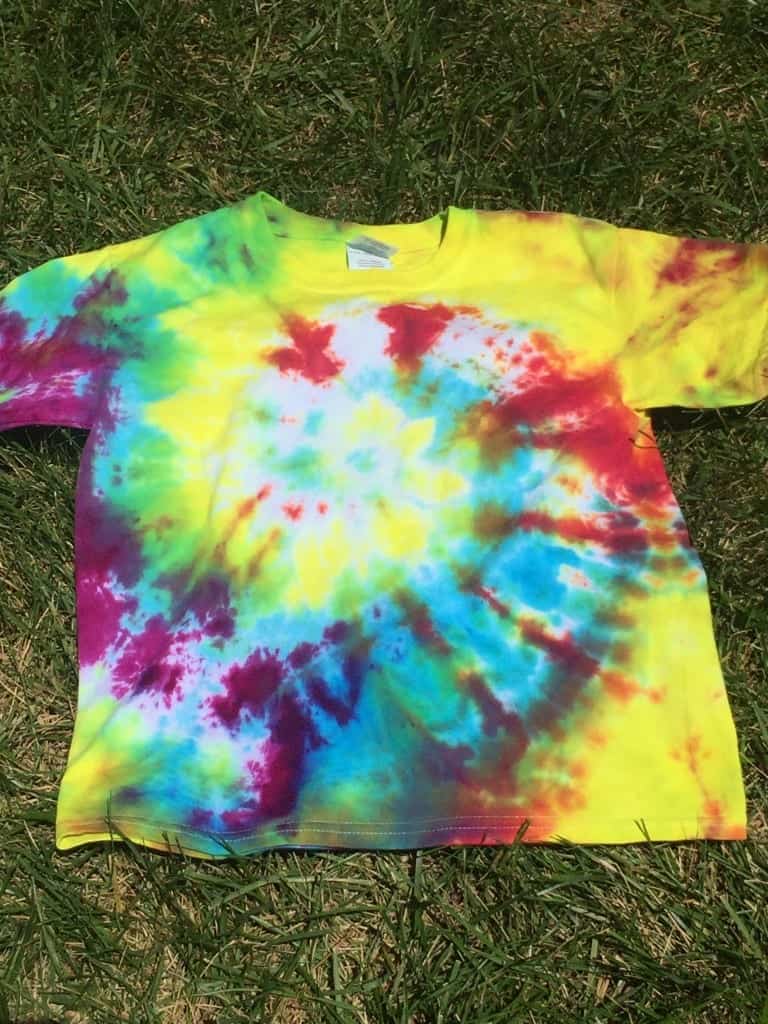
Tie-dying activities are best for kids to do outside, so take advantage of warm, sunny days to tie-dye shirts or pillow cases, or tie-dye a sheet and put it over a frame to make a tent.
Learn more: Tie-Dye Instructions/Lola Lambchops
Draw with shadows
Use sun and your child’s toys to create shadow drawings.
Make slime
Slime activities for kids are best done outside. Make your own slime with glue, food coloring, baking soda, and saline solution (and glitter if you’d like).
Learn more: Slime Recipe/The Kitchn
Make sun art
Collect leaves and plants, put them on the special paper, and leave them in the sun to create silhouettes.
Learn more: Sun Print Paper/Flinn Scientific
Buy it: Sun Art Paper Kit at Amazon
Create a nature weaving
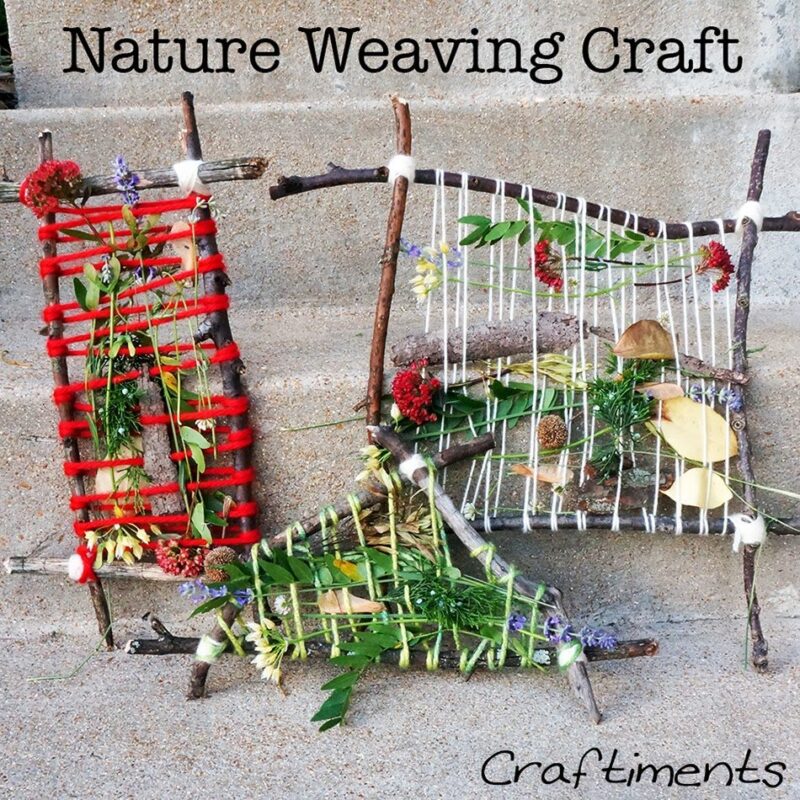
Looking for outside craft activities for kids? Use sticks and string as the structure to weave in leaves and flowers. Kids will have fun collecting plants and seeing which are the best for weaving.
Learn more: Nature Weaving Craft/Craftiments
Make a worm farm
Worms are easy enough to come by. Fill a mason jar with dirt, make sure you have some worms to observe, and watch them wriggle!
Learn more: Make a Worm Jar/Homeschool Creations
Have a tea party
Bring out the fancy dishes, make iced tea or lemonade, and put out platters of crackers and cookies to add a bit of fancy to your summer. Invite teddy bears, dolls, and even dump trucks to the party to encourage pretend play.
Learn more: Kids Tea Party Guide/The Spruce
Make a dandelion crown
Pick dandelions and other flowers with long stems and weave them together to make crowns, necklaces, and bracelets.
Learn more: Make a Dandelion Crown/Prairie Play
Play a game of kickball
Sometimes the best games are the classics. If your child has a bunch of friends over, organize them into two teams and start a game of kickball.
Have a glow party
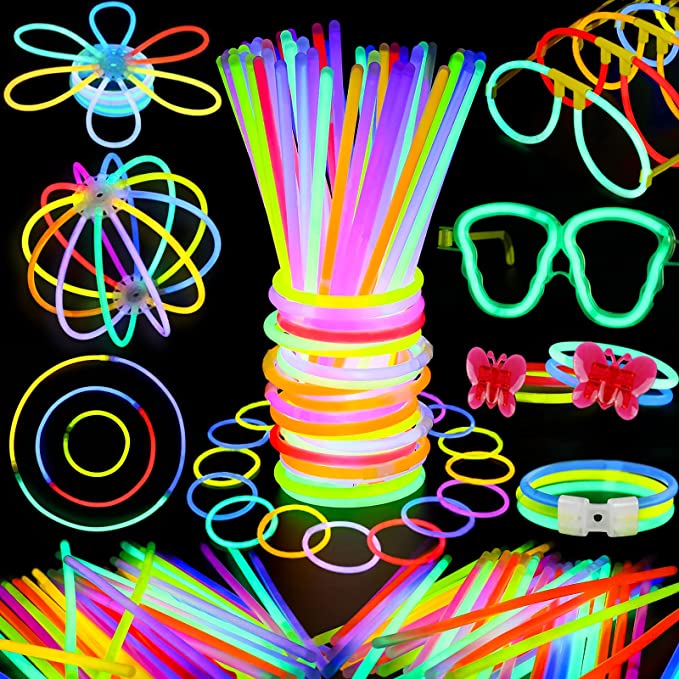
When it gets dark, break out a few glow sticks, put on some music, and dance the night away!
Buy it: Glow Sticks at Amazon
What are your favorite outside activities for kids? Share in the WeAreTeachers HELPLINE group on Facebook.
Plus, check out Wet and Wild Outdoor Science Activities.
Superscript
Parents Guide For
Preparing A Play Space For Littles
with Parents Corner
Up to 5 years
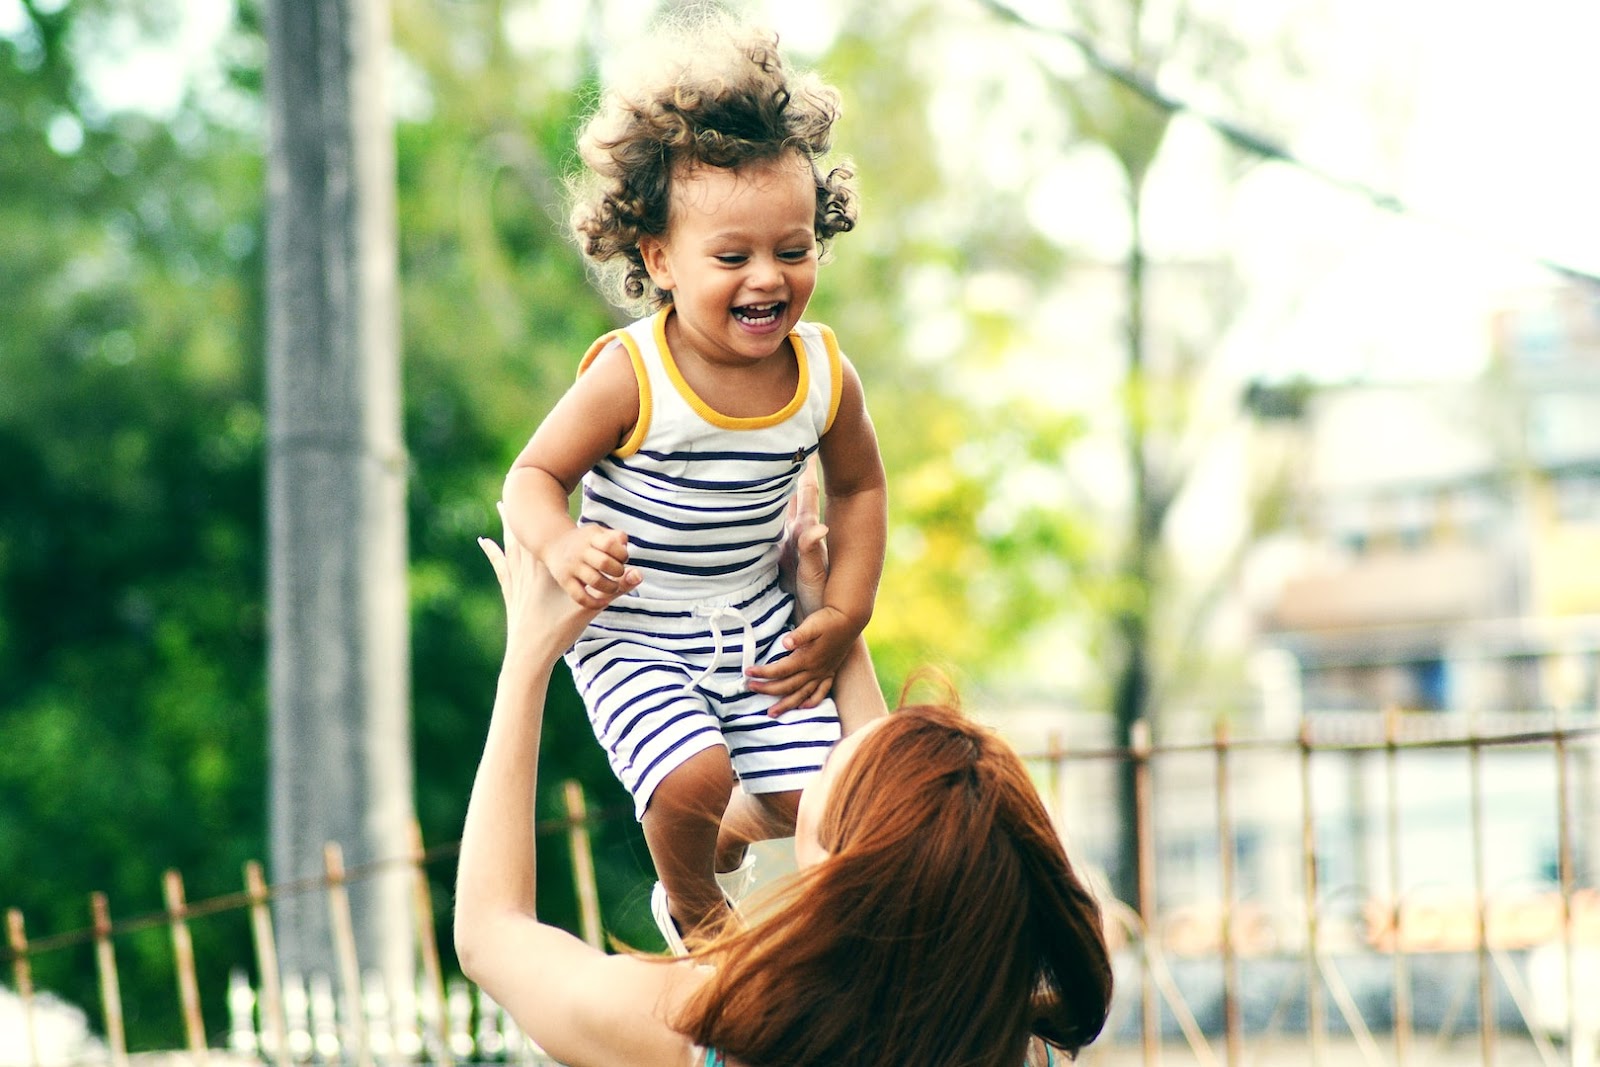
BUILDING A DIY FOREST PLAY SPACE THAT YOUR LITTLE ONES WILL LOVE.
Playfulness is central to how we all grow and learn. It’s what allows us to connect with others and let our imaginations flourish. But as we get older, play becomes more and more a luxury rather than an integral part of daily life – taking a backseat to professional and financial obligations and other dull but necessary evils.
Like the name would suggest, playspaces are for all things clever, silly, quirky, and fun for all ages.
From the whimsical ideas of Hope Marie to the creatively deceptive simple activities of fitness, recreation, and discovery that endlessly run through my brain: we want to inspire great playspaces that "toy" with the mind and unlock mental and physical muscles many of us have not stretched since childhood. Exhibiting nature this way will: artists also show us the power of play in revealing systemic injustices, subverting gender expectations, and confronting the absurdity of our political and ecological realities.
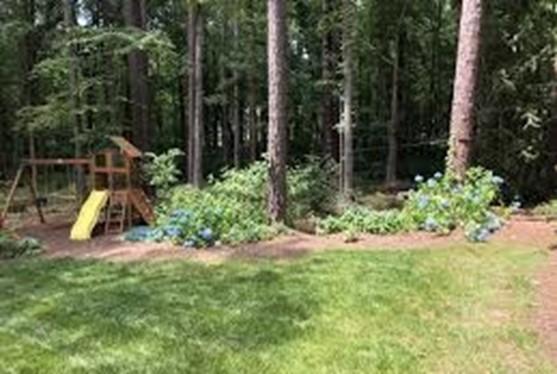
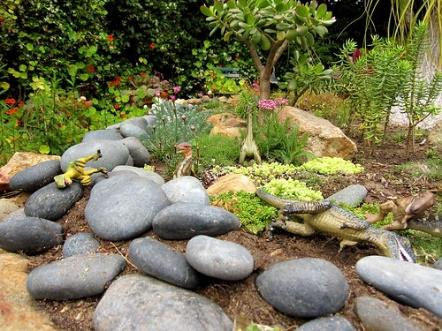
1. Pick a spot that looks inviting and versatile for play options.
Something that shouts, ‘explore me’! Think of your child’s interests, heroes, influences, things they love, etc. They should influence your vision and choices along the way. But you also want it to remain safe to the wildlife as well. Watch them use and play in the space the way it is naturally, so you don’t alter or move something that they enjoy.
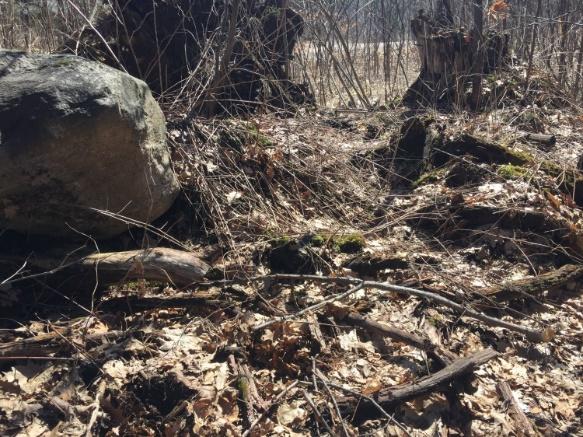
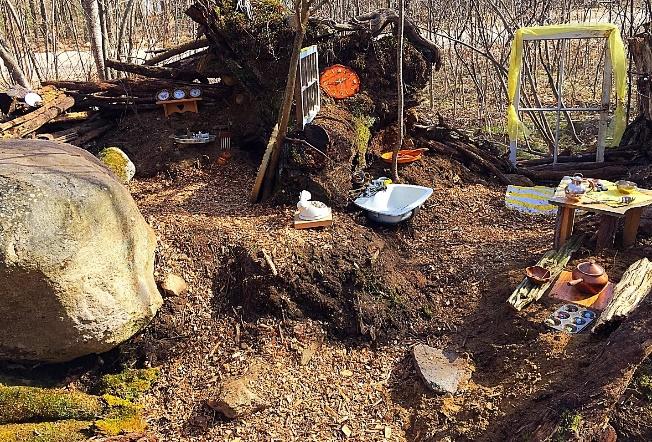
2. Clear the space as needed.
Removing tripping hazards, prickly thorn bushes and sharp rocks will help to encourage play and keep everyone safe. Be aware of who may already live in that space. For example, If there was an active birds nest, I wouldn’t touch this space.
3. Invite your expert explorers to check out the area.
Watch them investigate the area. What are they drawn to? How do they use the space?
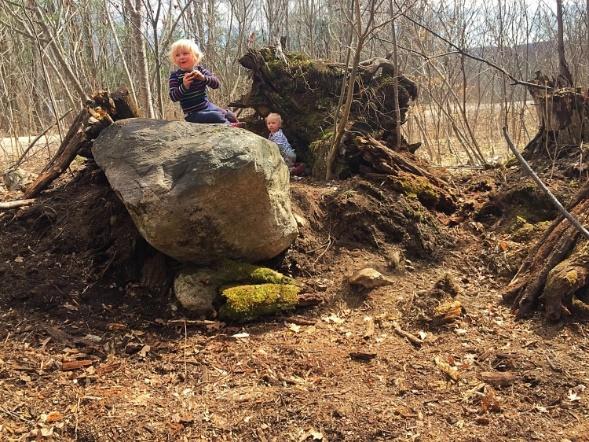
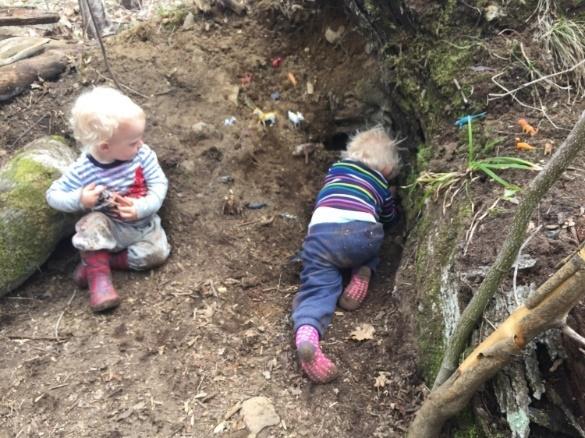
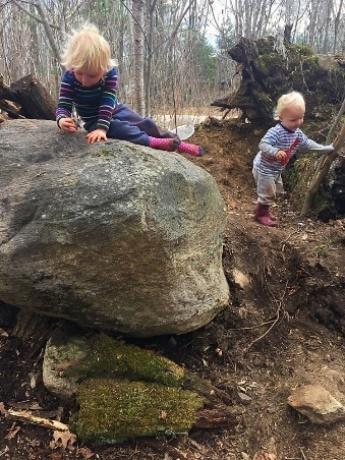
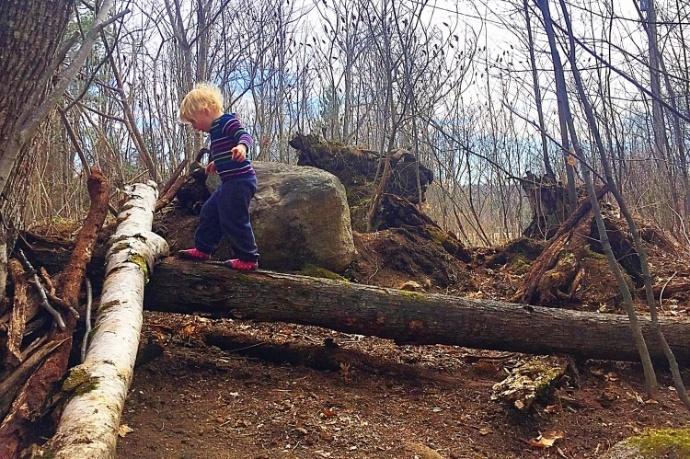
4. (After watching your little experts in the area) fix, change or add, where needed.
You don’t want to eliminate all challenges, but there’s nothing wrong with adding a few things here and there to help the kids to enjoy the space. For example, I added a step stone when I noticed my littlest explorer struggling to climb up in to the ‘entrance’.
5. Define the space.
Logs, branches and rocks work well as ‘walls’ and wood chips are excellent for ‘floors’. Old windows and mirrors are fun too once the glass is removed.
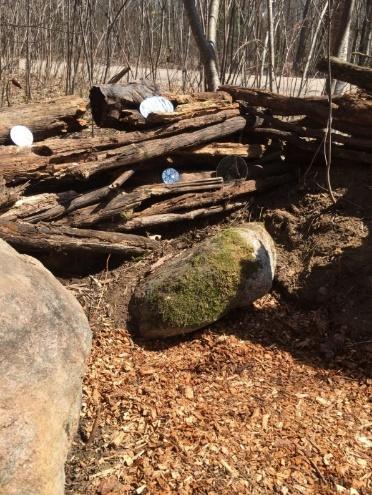
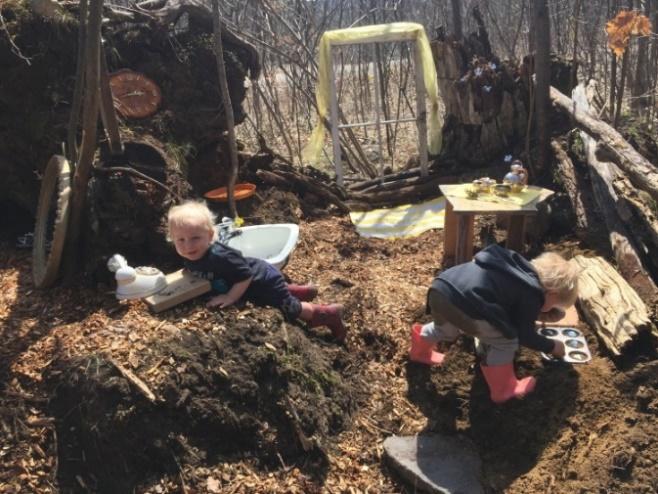
6. Add multi purpose open-ended materials.
Pots, pans and kitchen utensils are great. Bowls, cups, rocks, natural wood blocks, scoops etc.
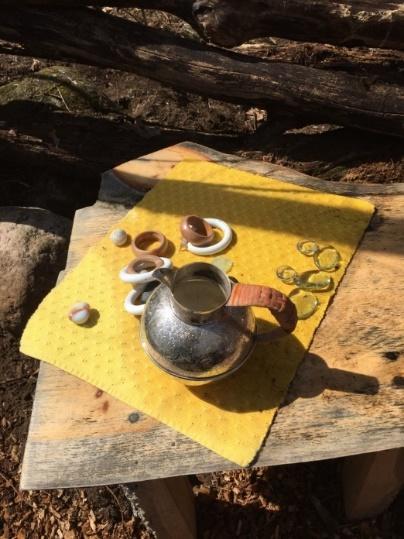
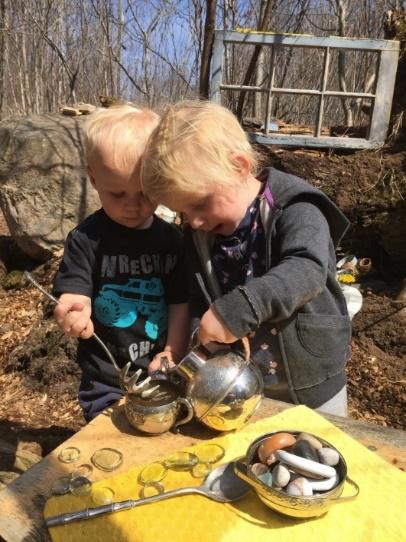
7. Make it creative and adventurous.
You are setting up an ‘invitation to play’ (as you would in the classroom if you’re an educator, Just on a larger scale and likely a little messier) A telephone, a clock, a small table and even a sink -makes the area feel like ‘home’. I also love to add items that sparkle and shine. Items that look like they aren’t typically meant for play. Special, interesting and unique – just like the little people who will be enjoying them.
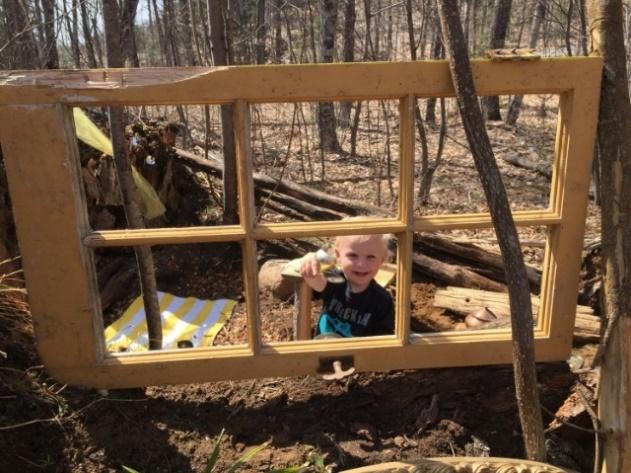
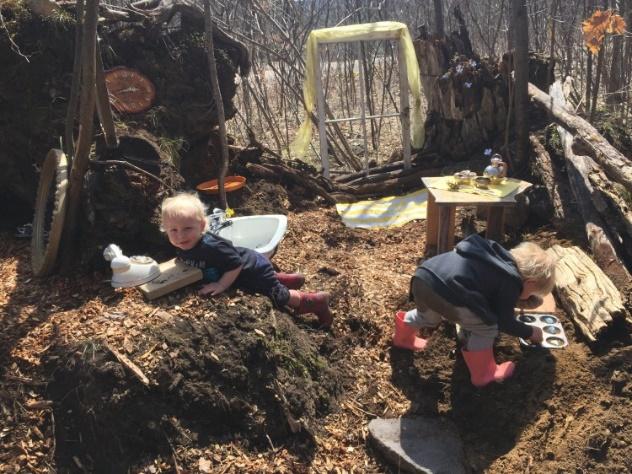
8. Keep the area safe for wildlife and your kids.
Watch for new hazards as the area changes through the seasons. Wasp nests, thorn bushes, broken branches etc.
9. Follow your child’s suggestions -discover their Interest.
If you created a space to be a ‘house’ and they have decided that it’s a ‘diner’ – go with it! Add a cash register, menus and a take-out window. Kids have the greatest ideas, and it will be fun to watch the area grow and evolve. It can be a nature science lab, wildlife hospital, home or cabin, school, gym, animal food factory, fire or ranger station, train, or automotive repair business, ecology/save the planet bureau and more.
10. Play WITH them!
Get your hands dirty. Eat the mud cakes! As a mother of 5 (ages 13-1) one thing that I know for sure is that time flies and there will be a point (*sniff sniff*) where they won’t ask you to sit and play anymore! Enjoy these moments!
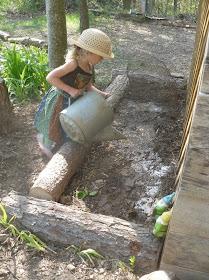
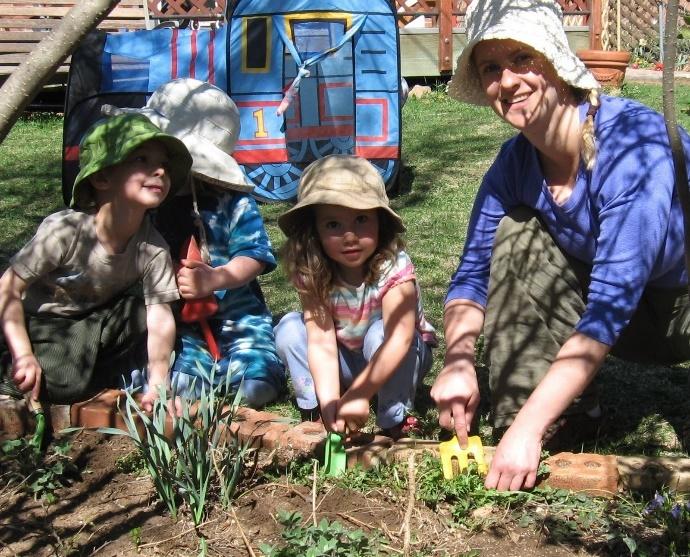
Planning your Outdoor
or forest play area
Designing a children's outdoor play space doesn't have to be complicated. In fact, I'm trying to make a real effort on the blog to include easier, natural activities.
Also, if you live in an urban environment with no backyard, a lot of these can be found/done at your local park or community garden! Here are ten things that can make a child's outdoor play space all that more special:
1. A SECRET PLACE
Kids need somewhere they can breathe, be alone and feel free. What makes a place secret? Make it their size, construct "walls" and have it in a slightly obscured location. Whether it's a clubhouse or just a sheet draped over some tree limbs, the main idea is to prompt them to create a world of their own. Boys like calling it a club or hide out.
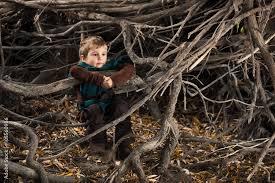
This is one of my favorite things ever. I would even wear olive and brown colors as camouflage. Our family’s rule was if it isn’t nailed down then we could use it. I liked cheese cloth dyed in mud. My mom kept my secret she would leave it under my pillow.
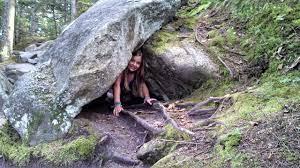
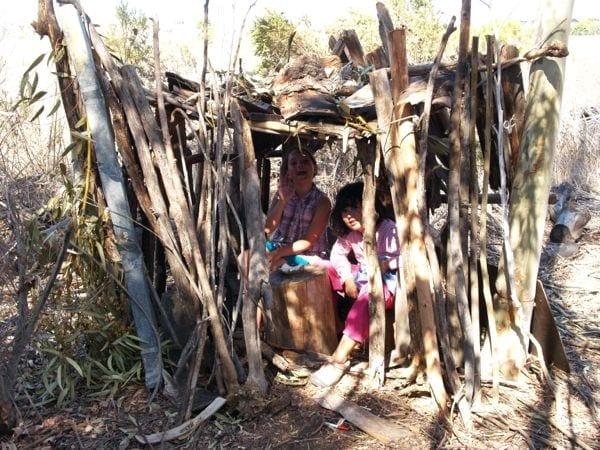
More Great Ideas:
The Five Minute Fort via My Crafty Spot
Make a Live Willow Den | We are buying our willow whips here
Giant Nest (ambitious, but had to include because it is amazing!)
2. A WATER FEATURE
Where there is water, there is fun. Enough said.
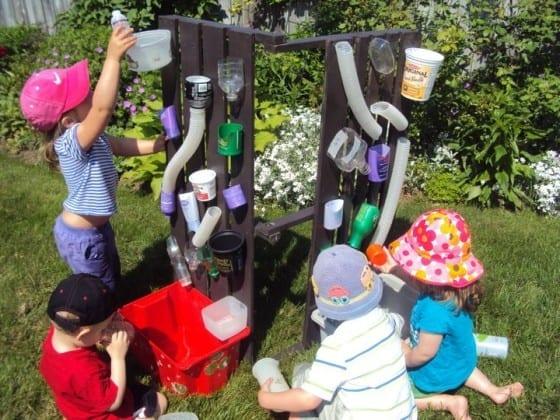
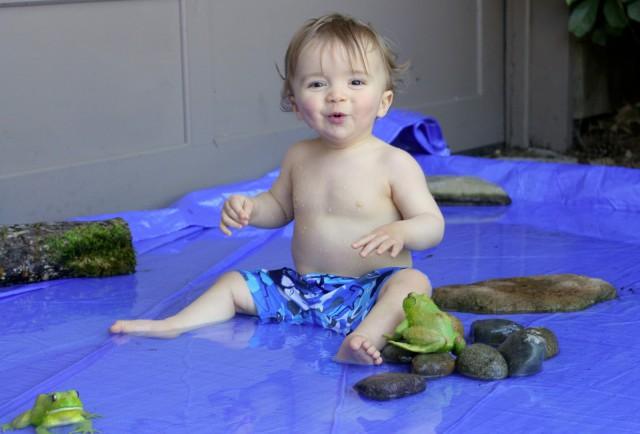
Homemade Water Wall via Happy Hooligans
More Great Ideas:
Nature Soup via Meri Cherry
10 DIY Sprinklers (I couldn't pick just one) via Fantastic Fun and Learning
How to Make a Giant Outdoor Water Bed via My Frugal Adventures
Easy Waterplayby the Picklebums
3. MUD GLORIOUS MUD
Whether it's mud pies or just digging for rocks, kids need to get dirty! I know that our mud kitchen was my daughter's favorite part of our outdoor play area this past summer. And if you really want to pair this activity down just give the kids some dirt and a bowl - trust me they will find their own wild materials.
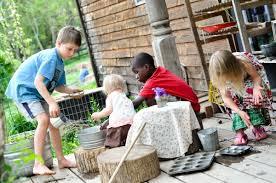
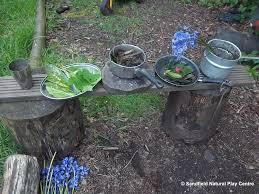
Designing an Outdoor Mud Pie Kitchen
More Muddy Ideas:
Make Mud Paint! via Learn Play Imagine
The Great Dinosaur Stomp via My Small Potatoes
30+ Ideas for Kids to Play in the Dirt via Hands On As We Grow
Mud Kitchen Essentials (this is a wonderful, comprehensive post) via abc does
4. SOMETHING TO CLIMB ON
As parents of all young children know, climbing is a natural instinct. Trees, stumps, rocks - they all present an opportunity for our kids to test their limits and go higher!
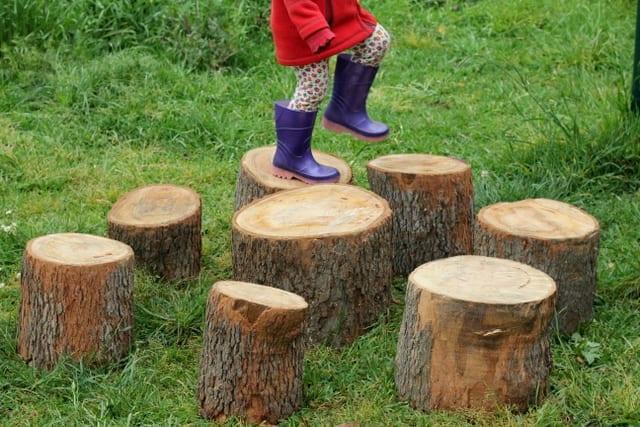
More Great Ideas:
Don't feel like installing, cutting or building anything? Have them go climb a tree!
Tire Climbing Tower via Blessings Overflowing
DIY Slackline via Pail and Pipe
Triple Wide Climbing Ladder (Buy it here)
5. SOMETHING TO GROW
For us, gardening is one of the fundamentals, and plays a unique role in our daughter's outdoor space! It may seem daunting, but there are some really easy ways to set up a growing area.
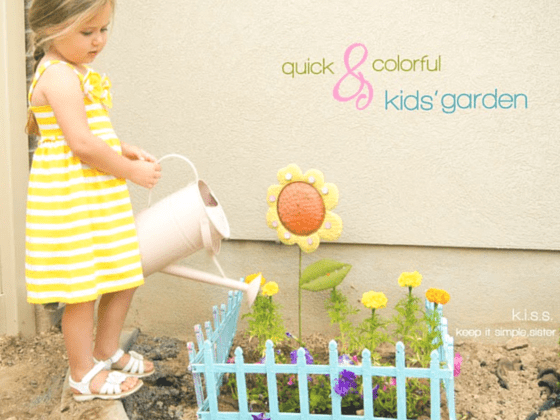
More Great Ideas:
Create a Sensory Garden via DIY gardening
You Grow Girl (My favorite resource for container gardening!)
Make a Fairy With Your Kids via See Jamie Blog
Designing a Sensory Garden via Gardening Know How
Make a Raised Bed in a Kiddie Pool via Southern Plate (with this one, I would put down a liner between the pool and the garden so the plastic chemicals don't leach into the food.
6. A PLACE TO CREATE
I always feel so much more creative when I'm outside. It is such a bonus to have an area where the kids can write, make art, music and even put on plays for each other. It doesn't matter if it is as simple as making mandalas on the ground with natural items, art and nature just go together!

More Great Ideas:
20 Amazing Outdoor Music Stations via My Nearest and Dearest
Make an Outdoor Puppet Theater via Koko Designs
Giant Outdoor Weaving Station via Seasonal Gnome
Paint Filled Eggs on Canvas via Growing a Jeweled Rose
7. SOMETHING TO SWING ON
I'll never forgot the rope swing in my grandparents' yard. It was such a simple design, but whenever any of my siblings or cousins mention those years, that swing is always in the picture. Swinging is blissful and every child deserve a chance to feel the wind against their face as they propel themselves towards the sky.
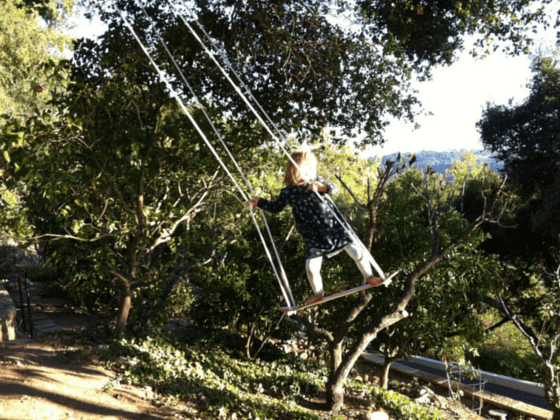
More Great Ideas:
7 Dollar DIY Rope Swing via Budget Blonde
Skateboard Swing via Little Bit Funky
Kid's Backyard Tire Swing via Popular Mechanics
Airplane Swing Tutorial via Whitney's Workshop
8. OPEN-ENDED MATERIALS
Spontaneous, unorganized play is the foundation of a child's time spent outside. In the spirit of the adventure playground movement, I like to have loose items and material available for my daughter to create with. They have no set "purpose" except for her to imagine, build and create with.
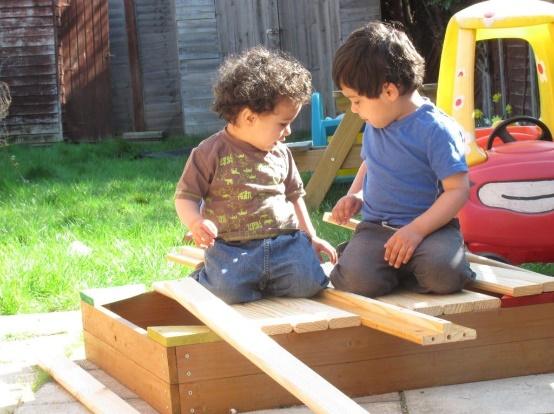
Loose Parts Play via In The Playroom
More Great Ideas:
Loose Parts Play via Inside Outside Indiana
Theory of Loose Parts via Let the Children Play
Handy Idea for Storing Loose Parts for Play via Let the Children Play
Homemade Tree Blocks via An Everyday Story
9. SOMETHING THEY CHOOSE
I've definitely been guilty of getting caught up in my own ideas and forgetting to ask my daughter what she really wants. Making sure our kids have a stake in the project can connect them to their space.
Some things I'm trying to ask her are:
What's your favorite thing to do outside?
Do you like this here?
What color should we paint this?
Do you want to name your clubhouse?
Is there anything special you want to bring outside from your room?
Are we missing anything?
Does your family want to go collecting materials with you?
Make An Outdoor Pretend Play Area
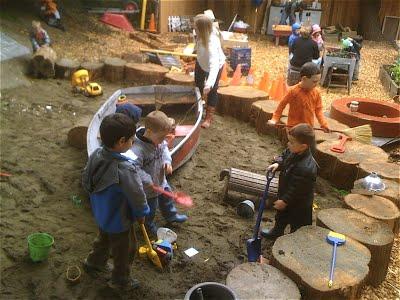
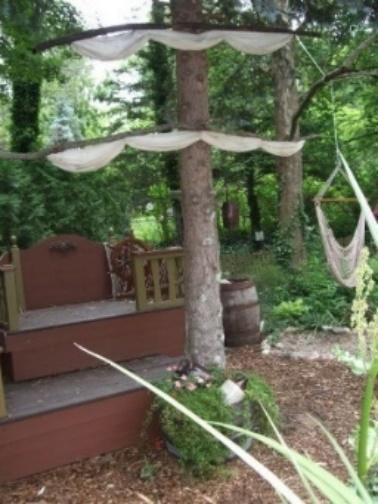
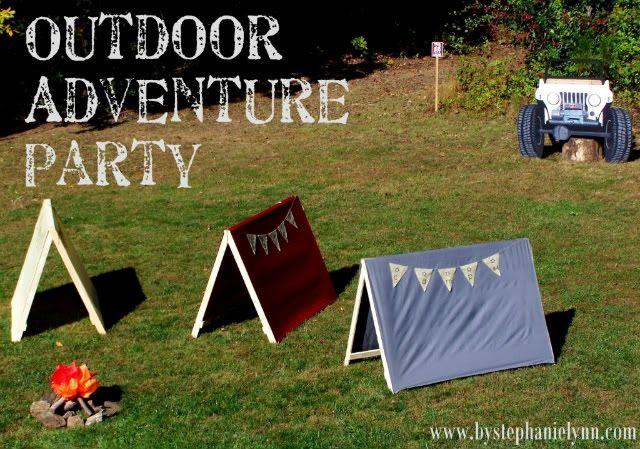
Kids love to pretend to cook and serve food, so why not take that idea to the next level with an outdoor eating area, complete with a table, stools and everything you need to have the perfect pretend (or real!) meal outside. Use the same space as a makerspace if you can.
PREPARE A BABY-SAFE BACKYARD FOR FAMILY FUN
HOW TO BABY PROOF YOUR YARD
You’ll want to begin, of course, by making your backyard space as safe as possible. Remove obstructions and lock up or fence off swimming pools, lawn equipment, poisonous plants, and other hazards. Make sure railings and gates on balconies, porches, and decks are both sturdy and up to date—slats should be less than 3.5 inches apart or covered with a strong mesh or another safety device. Then add a few low-cost, high-engagement items, inspired by the ideas here, to create a kid-friendly zone for your outdoor explorer. Try one or two suggestions to start, and then switch it up occasionally, depending on your child’s mood, the weather, your time, and budget.
Stimulate your babies and toddlers with these outdoor ideas from Learning through Landscapes…
Young children have an innate urge to learn about the world around them, and the outdoors offers a never-ending range of exciting opportunities. They can satisfy their love of movement when outside, improving muscle strength, lung capacity and bone density along the way, as well as developing important physical skills such as coordination. A rich outdoor environment offers the chance to explore and investigate, as well as encourages language and communication skills.
From the minute you open the doors or start the ritual of finding the correct clothing and footwear, babies, and toddlers’ sense that change – and the potential for adventure – is in the air, so make the most of their enthusiasm by developing your outside space…
Stimulating the senses
Babies are highly responsive to outdoor stimuli. Sound moves in a different way outside – changing naturally with the wind or variations in air pressure. Until they’re about six months old, babies can differentiate sounds much more effectively than adults; they’re much more receptive to bird sounds, for instance, and as a result they’ll love being outdoors. Light also behaves differently. It’s changed by the weather, filtered by trees and alters throughout the day. Visit spaces near trees or create a place where voile or chiffon can hang – this will filter the sun and move with touch or the wind.
Smell and taste can also be stimulated outdoors. Babies on the move make the most of any opportunity to pull themselves up to standing. An effective way to encourage this behavior while offering exciting sensory experiences is to install sturdy low-level planters filled with strongly scented herbs such as lavender or rosemary, colorful summer plants or edibles like strawberries or redcurrants.
And don’t forget touch – another key sense for helping babies to learn about the world. Outdoors, they can lie on the grass and feel it tickling their skin or experience the textural differences between hard and soft surfaces.
Tailored for toddlers
Once babies are toddling, they’ll benefit from varied landscapes. Small hills, tunnels and trails encourage activities such as crawling, rolling, stretching, and running. Tires, ladders, stumps, and planks provide opportunities for climbing, and low walls and rails at various heights allow babies to pull themselves up to standing. Textured pathways (bark, wood chip, gravel, pebbles) not only add visual interest but also sharpen the mobility skills required for managing uneven ground.
Natural materials such as sand and soil provide fantastic opportunities for exploration, investigation, and manipulation. Smaller sandpits offer great opportunities for digging, while larger areas of sand allow toddlers to use their entire bodies to feel the texture. Children can extend their play to a digging area filled with soil. Here they can pretend to plant and dig up vegetables (try providing onions or potatoes for this activity).
Water is fascinating for young children due to sounds that can be created with it and because it causes reflection. It also presents an opportunity for them to explore the qualities of the above materials, by mixing – and getting grubby! Also think about resources that support exploration of the weather, such as streamers, windsocks, umbrellas, and wind chimes.
Tip: Nooks and crannies will entice crawling and toddling youngsters, so try creating natural dens under low-hanging branches. Alternatively, supply large cardboard boxes or lengths of fabric attached to fences. Cushions and blankets help create cozy nooks for snuggling into with adults and other children for stories, songs and games. Adding interesting items such as mirrors, fir cones, sponges, large buttons, toy animals, etc. will stimulate exploration and conversation.
Learning through Landscapes offers a range of services to support outdoor learning and play in the early years. Its membership resources and publications provide a regular supply of fresh activity ideas, and it offers on-site support through advisory visits and half-day, full-day or twilight training sessions for nurseries.
Maker zone” in the natural playground
(Loose Parts Area)
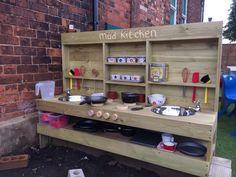
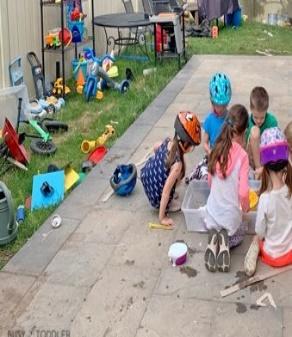
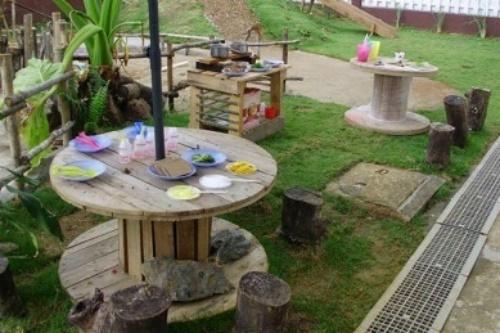
This one might cause you to scratch your head. What’s a maker or tinkering zone?
Generally, it’s a space devoted to tinkering, creating, constructing, and engineering. But it can be a creative or Mud Kitchen if your kids would prefer that.
To help spur on your little builder, offer baskets, bins, crates or piles of twigs, pinecones, vines, bark, leaves, acorns- whatever you have on hand in your ecosystem. I’d suggest also placing a flat work surface nearby, either on the ground or elevated slightly to function as a table. Be prepared for lots of creations given as “gifts” throughout the day!
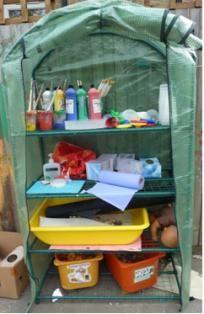
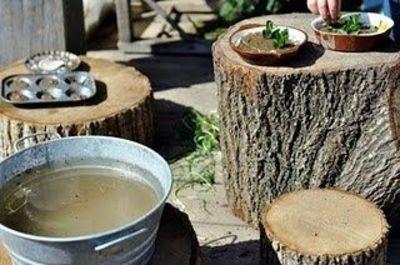
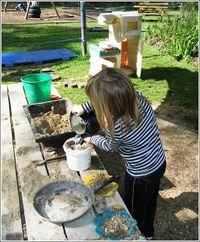
Mud & creative kitchens
A mud kitchen is another great addition to your natural backyard playground. Outfit a child-sized work space with bamboo cutting boards, ladles, little wooden bowls and utensils, etc. If the weather turns cold, your mud kitchen can easily be converted into a snow kitchen. (And if you want other ideas for winter activities, I’ve got you covered!)
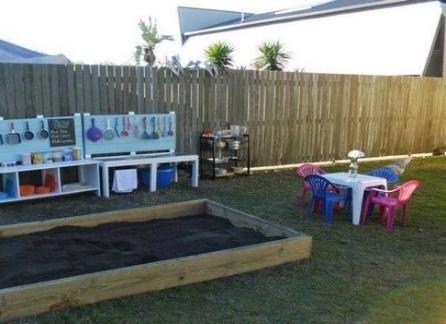
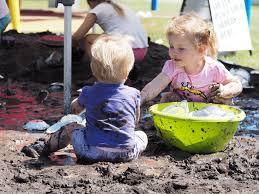
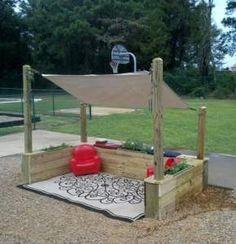
SANDY PIT
Just like Roo from the Hundred Acre Wood, little children need access to a sandy (or just plain dirt-y) pit for digging. I’m not just talking about your typical sand box. While those are great for small projects, I’m talking “rip up the sod and dig to China” levels of digging. Give your kid a variety of tools so they can switch up their digging with raking, hoeing, or weeding, too. My favorite sandboxes are created a theme and have a play tent or sun shelter.
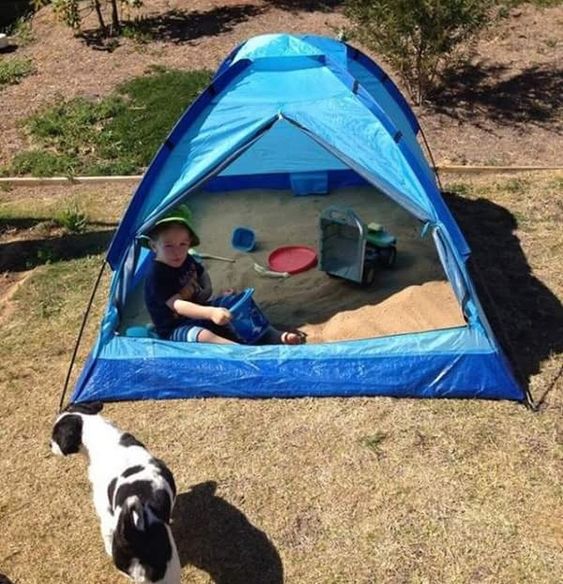
SOMETHING FOR THE BIG KIDS
Trust me, you don't want to leave this one out! It's wonderful to interact with our children, but the truth is sometimes they just need to get lost in the moment without us. This past summer we installed two hammocks and it instantly transformed the children's play area into a mixed-use space that we all love to be in. Remember it’s cooler in the wooded area because its shaded. The more comfortable you are, the longer they can play in that oxygen rich environment that is so good for their health.
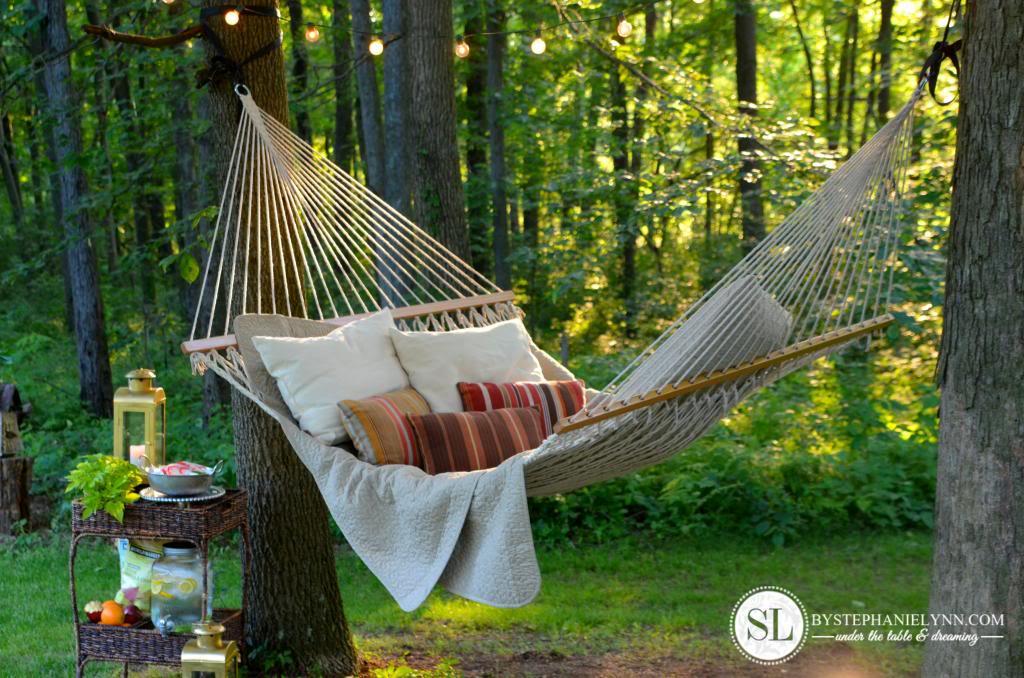
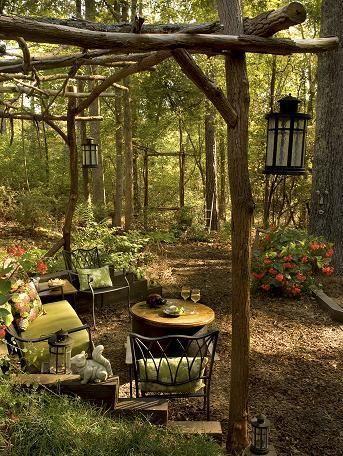
So, these are on my list, I challenge you to make your own lists based on your child's interests.
I hope you are excited over this challenge.
